Sign In
Upload
Download
Table of Contents
Contents
Add to my manuals
Delete from my manuals
Share
URL of this page:
HTML Link:
Bookmark this page
Add
Manual will be automatically added to "My Manuals"
Print this page
×
Bookmark added
×
Added to my manuals
Manuals
Brands
Inalto Manuals
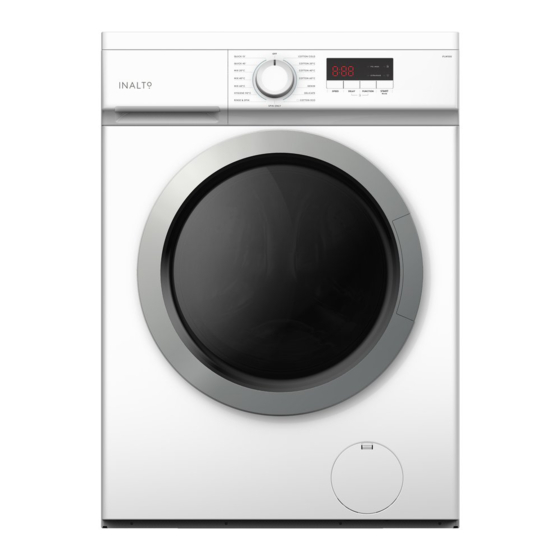
Washer
IFLW500
User manual
Inalto IFLW500 User Manual
Front load washing machine
Hide thumbs
Also See for IFLW500
:
Quick start manual
(2 pages)
1
2
Table Of Contents
3
4
5
6
7
8
9
10
11
12
13
14
15
16
17
18
19
20
21
22
23
24
25
26
27
28
page
of
28
Go
/
28
Contents
Table of Contents
Troubleshooting
Bookmarks
Table of Contents
Table of Contents
Safety Instructions
Your Washing Machine
Installation
Operating Instructions
Cleaning & Maintenance
Troubleshooting
Technical Specifications
Your Receipt
Purchase Details
Warranty Information
Advertisement
Quick Links
Download this manual
U S E R M A N U A L
I N A L T O . H O U S E
Front Load
Washing Machine
MODEL CODE/S
I F L W 5 0 0
I F L W 6 0 0
F O R A L L A U S T R A L I A N H O M E S
V 1 . 0 | 0 4 2 2
Table of
Contents
Previous
Page
Next
Page
1
2
3
4
5
Advertisement
Table of Contents
Need help?
Do you have a question about the IFLW500 and is the answer not in the manual?
Ask a question
Questions and answers
Related Manuals for Inalto IFLW500
Washer Inalto IFLW500 Quick Start Manual
5kg front load washing machine (2 pages)
Washer Inalto Classique IFLW9 User Manual
9kg front load washing machine (28 pages)
Washer Inalto CLASSIQUE IFLW50 User Manual
5kg front load washing machine (24 pages)
Washer Inalto Classique IFLW60 User Manual
6/7.5kg front load washing machine (20 pages)
Washer Inalto IFLW600 User Manual
Front load washing machine (28 pages)
Washer Inalto CLASSIQUE ITLW55W User Manual
Top loader washing machine 5.5kg, 7kg, 8kg, 10kg (28 pages)
Washer Inalto ITLWG6 User Manual
6/8kg top load washing machine (20 pages)
Washer Inalto INWM81400W User Manual
8kg washing machine (39 pages)
This manual is also suitable for:
Iflw600
Table of Contents
Print
Rename the bookmark
Delete bookmark?
Delete from my manuals?
Login
Sign In
OR
Sign in with Facebook
Sign in with Google
Upload manual
Upload from disk
Upload from URL


Need help?
Do you have a question about the IFLW500 and is the answer not in the manual?
Questions and answers