
Related Manuals for popstrukt LD03ST


Summary of Contents for popstrukt LD03ST
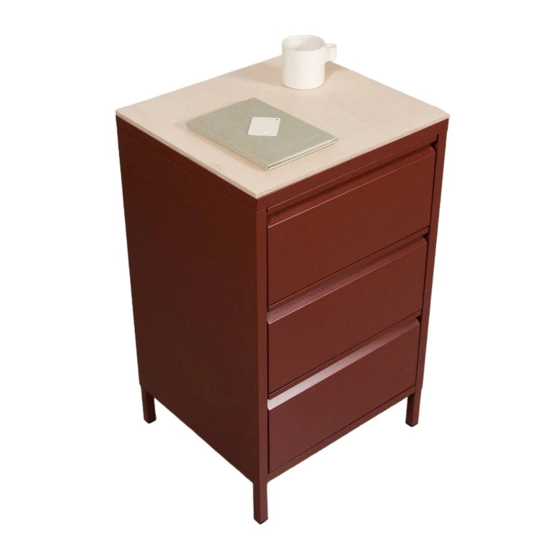
- Page 1 A S S E M B L Y I N S T R U C T I O N S B O N B O N S I D E T A B L E FOR DETAILED ASSEMBLY VIDEOS, SEARCH POPSTRUKT ON YOUTUBE C O D E | L D 0 3 S T...
- Page 2 8PCS SCREW (M4*6) FOR SELF-TAPPING GAP PAD: FRONT PANEL: SCREW (5*40): 12PCS 12PCS GAP PAD 4PCS FRONT PANEL: 3PCS SELF TAPPING PLASTIC RIVET: SCREW (5*10): 4PCS Please visit www.popstrukt.com/instructions section for more information Please visit www.popstrukt.com/instructions section for more information...
- Page 3 INSTALL THE FRONT PANEL WITH SCREWS (M4*6) . S T E P 5 S T E P 3 INSTALL THE TOP PLATE. CONNECT LEFT & RIGHT SIDE PLATES WITH FRONT & BACK BASE. Please visit www.popstrukt.com/instructions section for more information Please visit www.popstrukt.com/instructions section for more information...
- Page 4 S T E P 3 FIX THE UNIT TO THE WALL VIA W A L L MATERIAL STRIP. T O P O F U N I T F R O N T SEE “HOW TO” SECTION ON POPSTRUKT YOUTUBE PAGE FOR PRODUCT ADJUSTMENT TIPS.
- Page 5 Finish en klaar. Please visit www.popstrukt.com/resources for assembly instructions & product care tips. TAG US Tag us on Instagram @POPSTRUKT.FURNITURE and show us your assembly journey. POPSTRUKT FURNITURE @POPSTRUKT.FURNITURE POPSTRUKT FURNITURE Please visit www.popstrukt.com/instructions section for more information...
Need help?
Do you have a question about the LD03ST and is the answer not in the manual?
Questions and answers