Advertisement
Quick Links
What's in the Box
(2) Front bar mounts with (2) 6" SeaSucker
vacuum mounts attached
(2) Rear bar mounts with (1) 6" SeaSucker
vacuum mounts attached
(4) Cross bar clamps and hardware
(2) Aluminum cross bar assemblies (48")
(1) 5g Lube Tube (for vacuum pump
maintenance)
(1) spare SeaSucker vacuum pump (for
maintenance)
(1) 5/32" hex wrench (for assembly)
(1) 7/16" box wrench (for assembly)
Assemble Your Monkey Bars
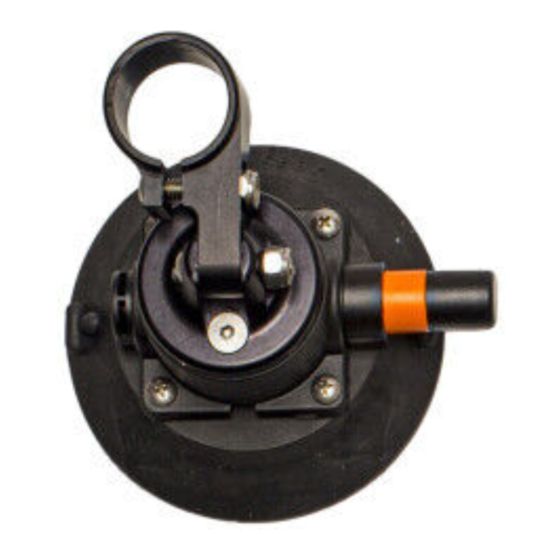
Indicator band exposed: time to
re-pump!
Monkey
Bars
Designed and manufactured by:
SeaSucker, LLC
Bradenton, Florida
www.SeaSucker.com
SX6150
4/22
Full power!
Advertisement

Related Manuals for SeaSucker SX6150


Summary of Contents for SeaSucker SX6150
- Page 1 Monkey What’s in the Box (2) Front bar mounts with (2) 6″ SeaSucker vacuum mounts attached (2) Rear bar mounts with (1) 6″ SeaSucker Bars vacuum mounts attached (4) Cross bar clamps and hardware (2) Aluminum cross bar assemblies (48”)
- Page 2 The SeaSucker Monkey Bars require simple assembly to be ready for use. Ideally, you will assemble your rack near your vehicle so you can custom fit the rack to your roof. The cross bar clamps attach to the front and rear bar mounts with a nut and bolt. Drop a clamp into the pivot slot of one of the mounts;...
- Page 4 Each vacuum mount on your SeaSucker rack should attach to clean, unobstructed metal or glass surface. The vacuum pads will not attach over a seam or other surface incongruity.
- Page 5 Removing Your Rack: Lift and Cover Remove the cargo from the rack. With your fingertip, use one of the tabs on the SeaSucker’s vacuum pad to lift the edge of the pad up from the mounting surface and break the vacuum seal.
- Page 6 on the suspect vacuum mount with the spare that came with your rack if necessary - additional replacement parts can be purchased in the Replacement Parts section of our on-line store. Problem What Might Be Wrong How To Fix It Slow Leakage Dry mounting surface or vacuum Moisten the mounting surface or the vacuum pad...
- Page 7 “Attaching Your Rack” above. Rain and wet weather should not affect the performance of your SeaSucker rack. If rain or water gets inside any of your vacuum pumps, pull the plunger out and dry the inside of the pump cylinder with a clean paper towel. Re- lube the plunger seal if necessary and reinsert the plunger in the pump cylinder.
-
Page 8: Important Warnings
SeaSucker is aware of the possibility of such damages, to the full extent as such may be disclaimed by law. -
Page 9: Your Responsibilities
You must clean, repair, or replace any of your SeaSucker vacuum mounts that do not hold vacuum for at least 4 hours. Your rack comes with an extra SeaSucker vacuum pump; keep it with your rack in case you accidentally damage one.
Need help?
Do you have a question about the SX6150 and is the answer not in the manual?
Questions and answers