Table of Contents
Advertisement
Quick Links
Advertisement
Table of Contents

Related Manuals for Heatmiser TM1-TS


Summary of Contents for Heatmiser TM1-TS
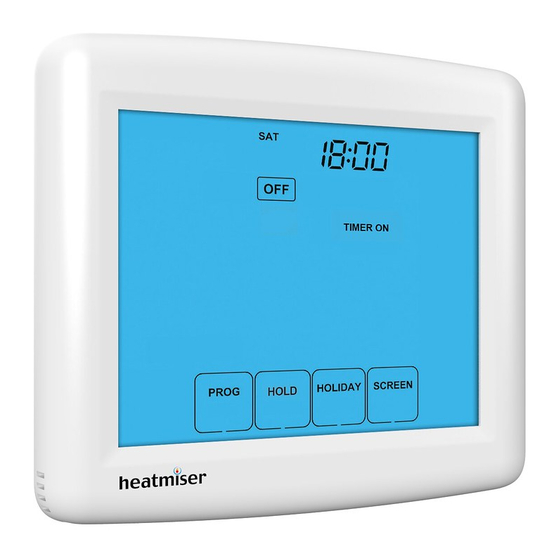
- Page 1 Model: TM1-TS / TM1-NTS Model: TM1-TS / TM1-NTS...
-
Page 2: Table Of Contents
Model: TM1-TS / TM1-NTS Table of Contents Product Image Table of Contents Installation Procedure LCD Display Operating Modes Setting the Operating Mode Setting the Clock Clean Screen Locking the Time Clock Programming 5/2 Day and 7 Day Time Clock Mode... -
Page 3: Installation Procedure
Terminate the time clock as shown in the diagrams on pages 19-21 of this booklet. Step 3 Screw the time clock back plate securely into the back box. Step 4 Clip the front of the time clock back onto the time clock back plate. Time Clock Series Model: TM1-TS / TM1-NTS... -
Page 4: Lcd Display
Cancel - Used to exit setup/program operations. Setup/Programming Keys - Used to navigate setup options. Timer Status - Displays the current status of the timed output. Comfort Level Selection Keys - Used in comfort level setup (see page 17). Time Clock Series Model: TM1-TS / TM1-NTS... -
Page 5: Operating Modes
Mode Refer to the manufacturer instructions for wiring to these devices. Common time clock wiring requirements are shown in the diagrams on pages 19 - 21. Time Clock Series Model: TM1-TS / TM1-NTS... -
Page 6: Setting The Clock
When activated, you will see the Keypad Lock symbol. • To cancel, press the bottom right corner of the display again for 10 secs. Hours Minutes Change Minutes Change Hours Keypad Lock Indicator Time Clock Series Model: TM1-TS / TM1-NTS... - Page 7 • Use the Up/Down keys to set the ON time for TIME 1 ........• When complete, press DONE to confirm settings and exit .... • Press OFF ..........................Time Clock Series Model: TM1-TS / TM1-NTS...
- Page 8 Hold Time Hold Left Icon ON/OFF keys Timer Status (Flashes in Override) To cancel the Countdown, follow the same steps but reduce the time to 00:00. To cancel the Override, repeat the steps above. Time Clock Series Model: TM1-TS / TM1-NTS...
-
Page 9: Factory Reset
00:00 on Monday. All icons displayed simultaneously. Factory reset is complete. Holiday Icon Holiday Days To cancel a Holiday setting, reduce the holiday time to 00 days. Time Clock Series Model: TM1-TS / TM1-NTS... -
Page 10: Optional Features Explained
(shown on page 17) and then use the Up/Down keys in the Programming Mode 00 = Weekday/Weekend (Default) center to adjust the setting ..................01 = 7 Day Programming • Press DONE to confirm settings and exit ..............02 = Countdown mode Time Clock Series Model: TM1-TS / TM1-NTS... -
Page 11: Wiring Diagrams
Wiring Diagram Wiring Diagram TM1-TS with Hot Water Valve TM1-TS Volt Free Output Hot Water Valve C = Common Connection NO = Normally Open C = Common Connection NC = Normally Closed NO = Normally Open Volt Free NC = Normally Closed... -
Page 12: Notes
Important - Use shield cable ..................................CAT5-FTP or BELDEN 9538 Recommendations ..................................Network Max Cable Size - 1.5mm 12VDC ..................................Max Load - 3 Amp Back Box Depth - 35mm ..................................TM1-NTS ......................................................................................................Time Clock Series Model: TM1-TS / TM1-NTS... -
Page 13: Time Clock Series
Heating Professionals: Request a copy of our product installation guide containing detailed technical specifications for our complete product range: www.heatmiser.com/guide Want More Information? Call our support team on: +44 (0)1254 669090 Or view technical specifications directly on our website: www.heatmiser.com Twitter: heatmiseruk Facebook: facebook.com/thermostats...
Need help?
Do you have a question about the TM1-TS and is the answer not in the manual?
Questions and answers