Table of Contents
Advertisement
Quick Links
Advertisement
Table of Contents

Related Manuals for Cremesso SMART BRAVA


Summary of Contents for Cremesso SMART BRAVA
- Page 1 BRAVA SMART LINE SEC. USER MANUAL...
-
Page 2: Table Of Contents
Contents Cleaning the machine .......... 15 Safety instructions ............3 Transport / storage ..........16 Overview ..............8 Disposal ..............16 Key functions ..............8 Technical data ............17 Key illumination ............9 Troubleshooting ............. 18 Starting up ..............9 Flush out piping ............10 Coffee preparation .......... -
Page 3: Safety Instructions
Safety instructions • in agricultural holdings • in hotels, motels, boarding houses and similar General information residential type environments This manual is an integral part of your product. The machine is not suitable for commercial use. Please read this manual thoroughly before The machine is not designed for use outdoors. - Page 4 Place the machine on a dry, horizontal, stable have understood the dangers associated with its and flat surface. The surface must be resistant to use. heat and liquids such as water, coffee, descaling Children must not play with the machine. The fluid or the like.
- Page 5 plate corresponds to the voltage and frequency re-positioning it, cleaning it or carrying out of the household supply. These data must maintenance work. correspond in order to avoid the risk of damage Never immerse the machine completely or to the machine. Consult a qualified electrician if partially in water or any other liquid.
- Page 6 Residual risks Risk of injury from scalding Machineparts and capsules can become very hot Risk of injury from electric shock during and after operation. Risk of burning and Ensure that the power supply cable is not scalding at the outlets. The emerging liquids and pinched and does not rub against sharp edges.
- Page 7 Pull out the power plug immediately if malfunctions, damage or anomalies (e.g. smell of burning) occur. In the event of a malfunction, have the machine checked by the customer service centre. Risk of damage to the machine due to overheating Ensure there is adequate ventilation and exhaust extraction from the machine.
-
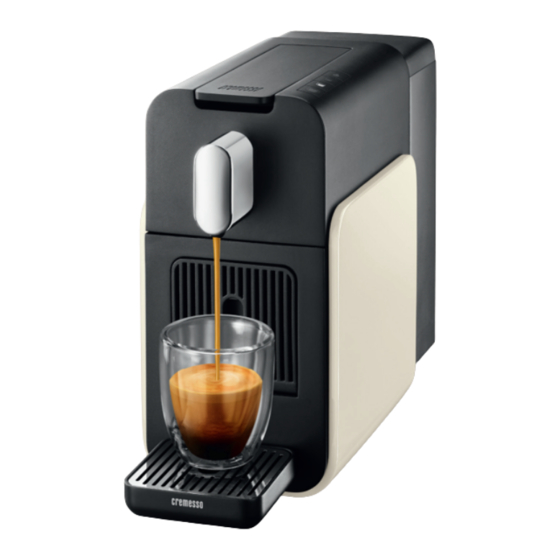
Page 8: Overview
Overview 8 Water tank cover, removable 9 Water tank 1.3 litres 1 Operating lever for loading 10 Power cable with cable winder capsules 2 Operating keys functions ( PAGE 8) 3 Output 4 Capsule container, removable 5 Drainage tank 6 Cup tray, fold-out 7 Drip tray with drain grill, removable Key functions... -
Page 9: Key Illumination
Key illumination Starting up All keys Place the coffee machine on a dry surface that is waterproof and Light up: Coffee machine is ready heat-proof. for use. Do not place the coffee machine 60 cm directly on marble or wood (risk 50 cm of coffee or descaler stains). -
Page 10: Flush Out Piping
Flush out piping Tips: • Crema – The closer the cup is to Place a cup under the output. the outlet, the better the crema. Press the cleaning key . • Preheat the cup – Press the The flushing process starts. espresso key (without capsule) 50 ml of water is used per flushing and fill the cup with water. -
Page 11: Preinfusion Function
Preinfusion function Eject capsule Tip: To prevent drips from the outlet The preinfusion function gives your – eject the capsule after the coffee coffee more aroma. output. For coffee quantities up to 80 ml, a small amount of coffee is dispensed Push the operating lever upwards. -
Page 12: Low Water Indicator
Low water indicator When your cup is full enough: Press the key to be programmed The water tank is equipped with a (e.g. espresso ) again. low water indicator. Coffee output stops. If the water tank is empty, the cleaning key lights up blue. All keys light up. -
Page 13: Energy-Saving Mode
Energy-saving mode Cleaning for the best coffee quality When preparing coffee, deposits of When the coffee machine is not water as well as coffee oils and fats used for 1 minute or the cleaning are left behind in the piping of the key is pressed for 3 seconds, the coffee machine. - Page 14 Remove all capsules from the Empty the descaler fluid bowl and coffee machine. place it under the output. Pull the lower drip tray upwards Press the cleaning key . and remove. The flushing process starts and the Place a large bowl (min. 1.2 litres) cleaning key flashes purple.
-
Page 15: Cleaning The Machine
Cleaning the machine Lift the drainage tank with capsule container slightly and Caution! Always pull out the power pull it forward. plug first before cleaning! Pull the drip tray forward, remove Attention! Never immerse the the drain grille and clean both. coffee machine in water! Pull capsule container upward. -
Page 16: Transport / Storage
Transport / storage Disposal During transport and storage, no Dispose of used capsules and water must be present in the coffee worn-out machines according to machine. the regulations in your country. Pull out the power plug. Empty the water tank and replace Machines can be returned to your dealer for professional disposal free of charge. -
Page 17: Technical Data
Technical data Parameter Value Rated voltage 230 V, 50 Hz Rated power 1450 W Energy-saving mode 0.3 W Dimensions (mm) 130 × 252 × 353 (W × H × D) Weight 2.75 kg Water tank capacity 1.3 litres... -
Page 18: Troubleshooting
Troubleshooting If this troubleshooting guide does not help you solve your problem, please contact your nearest service centre. The machine may be repaired only by an authorised service centre. No liability will be accepted for any damage due to unprofessional repairs and use of non-original spare parts, which may endanger the user and will render the guarantee null and void. - Page 19 Troubleshooting Remedial action Troubleshooting Remedial action Coffee tastes sour Inadequate flushing after descaling. No coffee output, or insufficient Water tank empty. output Flush out piping ( PAGE 10). Fill water tank and insert. Defective capsule. No water sucked in after tank was Used capsule in machine.
- Page 20 Quickstart Guide Espresso: 50 ml Lungo: 110 ml Lungo Grande: 200 ml www.cremesso.com...
Need help?
Do you have a question about the SMART BRAVA and is the answer not in the manual?
Questions and answers