Table of Contents
Advertisement
Quick Links
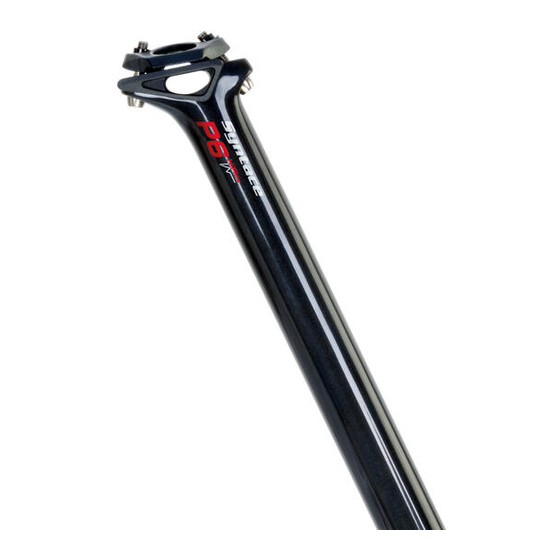
P6 SEATPOST
Congratulations on the purchase of your new Syntace P6 seatpost.
Please carefully read all instructions as we have included some important information
and helpful tips. Your Syntace seatpost has been carefully designed and constructed.
However, it is necessary that you follow all the instructions provided in this manual.
Please retain this manual and provide it to the new owner should your seatpost ever find
a new owner.
Please note that the responsibility of checking the product regularly to determine if it
needs repair or replacement, lies with the end consumer. Please be aware that all the
components of your bicycle related to your safety have a "memory like an elephant," they
remember any damage (crashes, overloading, etc.) which can add up to a shorter lifespan
of the component. We at Syntace have built in a proper amount of "Overload Safety" into
all our components.
A regular replacement schedule (ie: Every two years), of Syntace seatposts is, at this writ-
ing, not necessary. However, after any crash or impact, especially to your stem or handle-
bars, check for signs of fatigue (ie, discoloration, cracks, dents.), and to determine if the
stem or handlebars have bent. At the slightest sign of damage replace your components!
Damaged components should under no circumstance be straightened or repaired, but
immediately replaced. Otherwise the component may fail and a crash with serious injury
could result.
Proper Use of Components
The Syntace P6 seatposts are for use with mountain bikes and road bikes. Syntace P6
seatposts can be used for on-road and off-road use up to a rider weight of 130kg.
Installation & Compatibility
• Makes sure that the seatpost has the correct diameter for your frame.
• If necessary, ask your dealer, if the diameter of the seatpost is correct for your bike
frame. The internal diameter of the seat tube should be at least 0.1mm and at most
0.3mm larger than the seatpost diameter.
• Please do not use a reduction shim shorter in length than the minimum insert length
of the P6 seatpost. If the frame requires a greater minimum insert, use this as the valid
length.
Preparation
• Before installation, read your bike's manual.
• Check the seat tube for sharp edges and burrs - not only at the upper edge but also
along the clamping slot.
• Deburr all sharp edges, especially at the upper edge of the seat tube, with a file and
fine sanding paper.
Note: Sharp edges, especially at the end of the seat tube, can cause damage leading to
breakage of the seatpost.
• Check (as described in Installation & Compatibility) the diameter of the seat tube. An
ill fit of seatpost and seat tube can lead to damage and/or breakage of the seatpost.
• Remove all chips and other residue with a cloth and compressed air. Turn your bike
upside down if needed.
TIP: for carbon-fiber seatposts
• Do not use grease for installation. Remove grease from seat tube if necessary. Special
friction pastes abrade the finish after a while.
• Spray a little silicon spray into seat tube. Be assure that it does not reach your brake
rotors (watch the wind direction!).
• Carefully insert seatpost into seat tube with height markers pointing forward. If too
much force is needed, the seat tube may require reaming.
TIP: for aluminum seatposts
• Apply a little mounting paste onto seatpost. You can prevent sticking that way.
Pic. 1
The Syntace P6 seatpost can also NOT be used with seat clamps touching the seatpost. If
this happens, the seatpost could be damaged and could possibly break! In case you have
a clamp touching the post, exchange for a different model such as the Syntace Super-
Lock. If you are not certain please contact the respective manufacturer.
• Tighten the clamp just enough so you cannot turn the seat anymore.
Shortening seatpost
If you do not use the entire length of your seatpost, it can be shortened to save some
unnecessary weight. Please only shorten the post when you have determined your maxi-
mum seat post height.
• First measure the min. insert length of the post as well as the distance from the top of
your seat tube to bottom of the top tube of your frame. The larger of the two values
will be your min. insert length for the seatpost in the respective frame. The additional
length of the seatpost which remains in the seat tube when the post is at your own
personal (maximum) height, can be sawed off.
• To saw-off, carefully place the post in a vice with V-clamps. If possible, clamp the end
which will be removed anyway.
• Please use a fine metal saw blade to cut the carbon post and use a fine sand paper to
deburr. You can protect the cutting surface from fraying by applying a clear coat or
superglue.
Attention: Fine carbon particles are a health hazard. Please do not breath in or vacuum
up with a vacuum cleaner. It is best to clean up with a wet paper towel. The metal saw
blade will no longer be good for cutting metal but can be used if you need to cut carbon
again in the future.
P6 Carbon
P6 Alu
Important: The seat post has to inserted at least to
the marking „minimum insert".
Caution: In many frames the seatpost has to be
inserted even further, usually at least to the lower
edge of the top tube.
If the seatpost is not being inserted far enough, the
frame and/or the seatpost can be damaged.
Caution for carbon seatposts: Please ensure the
seatpost clamping mechanism (frame and seat post-
clamp) are suitable for carbon seatposts.
Not permitted are for example clamping mechanisms
that apply an asymmetrical clamping force causing
the post to be highly stressed at one point.
Advertisement
Table of Contents

Related Manuals for Syntace P6


Summary of Contents for Syntace P6
- Page 1 • Please do not use a reduction shim shorter in length than the minimum insert length of the P6 seatpost. If the frame requires a greater minimum insert, use this as the valid If you do not use the entire length of your seatpost, it can be shortened to save some length.
- Page 2 Regularly check for tightness. Pic. 3 In addition, we will make a special goodwill-offer to every Syntace or Liteville owner for misuse or damage - even if you are at fault - due to accident influences (“Bike on roof Care, maintenance and safety rack against garage wall”), even after years of use.
Need help?
Do you have a question about the P6 and is the answer not in the manual?
Questions and answers