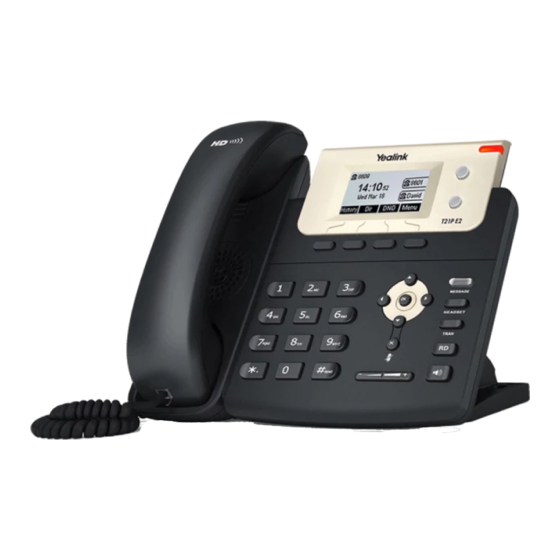
Yealink SIP-T21 E2 Quick Installation Manual
Hide thumbs
Also See for SIP-T21 E2:
- User manual (182 pages) ,
- Quick start manual (9 pages) ,
- Administrator's manual (1126 pages)
Advertisement
Wall Mount Quick Installation Guide
This quick installation guide provides step-by-step instructions for mounting your IP
phone to a wall.
This guide applies to the following phone's wall mount installation:
SIP-T21(P) E2 IP Phone
SIP-T23G IP Phone
The stand is required for wall mount installation, which is included with your IP phone.
Screws, wall anchors and applicable tools are also required for wall mount installation.
These are not included with your IP phones. You need to purchase them separately.
Adjusting the Hookswitch Tab
The IP phone is packaged with the hookswitch tab in desk mount position. Before
mounting the IP phone to a wall, you must set the hookswitch tab to wall mount
position.
To adjust the hookswitch tab:
1. Pull the hookswitch tab in the handset cradle.
2. Rotate the hookswitch tab 180 degrees.
3. Reinsert the hookswitch tab.
for SIP-T21(P) E2/T23G IP Phones
(V1.0)
www.yealink.com
Advertisement
Table of Contents

Related Manuals for Yealink SIP-T21 E2


Summary of Contents for Yealink SIP-T21 E2
- Page 1 IP phone to a wall, you must set the hookswitch tab to wall mount position. To adjust the hookswitch tab: 1. Pull the hookswitch tab in the handset cradle. 2. Rotate the hookswitch tab 180 degrees. 3. Reinsert the hookswitch tab. www.yealink.com...
- Page 2 Adjust the hookswitch tab as shown below: 180 。 T21P E2 The hookswitch tab has a lip which allows the handset to stay on-hook when the IP phone is mounted vertically. Adjusting the Stand Adjusting the Stand SIP-T21(P) E2 and SIP-T23G IP phones are mounted to the wall via the stand which consists of the reversible bracket and the base, as shown below: The reversible bracket The base...
- Page 3 1.Insert the stand into the slots on the back of IP phone. And then slide the stand up. Mounting the Wall Mount Bracket Yealink provides two kinds of the wall mount drilling templates, which locate and mark the position for mounting the screws (not provided) on the wall, as shown below:...
- Page 4 About us Founded in 2001, Yealink, the global TOP 3 SIP phone provider and a leading provider of VoIP Phone and IP communication solutions, has been focusing on VoIP products characterized by reliable quality, easy deployment and affordable price for more than a decade.
Need help?
Do you have a question about the SIP-T21 E2 and is the answer not in the manual?
Questions and answers
How to connect Yealink T2IP E2 IP phone to the switch and PC?There is only onw WAN port
To connect the Yealink SIP-T21 E2 IP phone to both a switch and a PC using only one WAN (Internet) port:
1. Connect an Ethernet cable from the switch or hub to the Internet port on the phone.
2. Optionally, connect another Ethernet cable from the PC port on the phone to your PC.
This setup allows the phone to receive network and power (if PoE is used) from the switch, and the PC to share the network connection through the phone.
This answer is automatically generated