Table of Contents
Advertisement
Quick Links
1. Short description
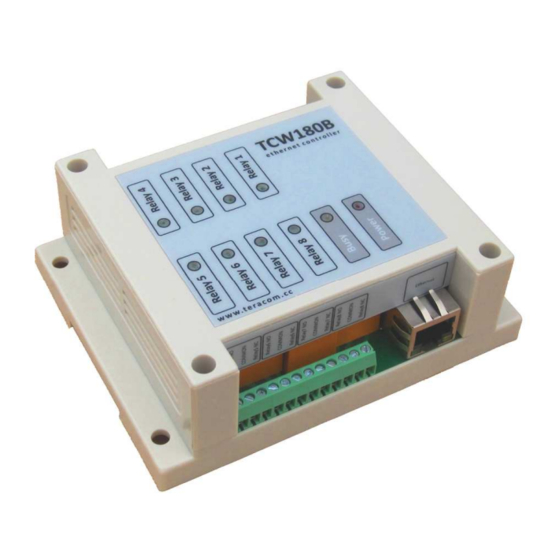
TCW180B is 8-channel Ethernet relay board, which is designed to work in IP-based networks
and managed by WEB interface or SNMP programs. This device can be used as standalone or as a
part of control and monitoring systems. Its I/O interface - 8 relay outputs and 1 digital input, is
suitable for solving specific problems in various fields such as remote control, process automation,
home automation and others.
2. Features
•
10 Mb Ethernet connectivity;
•
Password protected web based configuration and control;
•
1 digital input with "logic level" and "dry contact" modes;
•
8 relays with NO and NC contacts;
•
SNMP v.1, ICMP and VLAN support;
•
Sending SNMP Traps messages under certain conditions;
•
Sending E-mail messages under certain conditions;
•
SMTP with authorization (SSL is not supported);
•
MAC Address filtering;
•
Remote FTP firmware update.
Ethernet controller
Users manual
TCW180B
Advertisement
Table of Contents

Related Manuals for Teracom TCW180B


Summary of Contents for Teracom TCW180B
- Page 1 Users manual 1. Short description TCW180B is 8-channel Ethernet relay board, which is designed to work in IP-based networks and managed by WEB interface or SNMP programs. This device can be used as standalone or as a part of control and monitoring systems. Its I/O interface - 8 relay outputs and 1 digital input, is suitable for solving specific problems in various fields such as remote control, process automation, home automation and others.
-
Page 2: Technical Parameters
3. Technical parameters 12 ± 2 Supply voltage, VDC Maximum current ( with all relays ON), mA Weight, g 115 x 90 x 40 Dimensions, mm Operating temperature, °C 0 ÷ 40 Minimum high level input voltage for digital input, VDC Maximum low level input voltage for digital input, VDC Maximum input voltage for digital input, VDC Maximum switchable current (at 220 VAC) , А... -
Page 3: Example Application
3. Connect the I/O pins of the controller according to the required application. 4. Connect the power supply. If the red LED blinks, the power supply is OK. By default TCW180B comes with the following network settings: IP address: 192.168.1.2, Subnet Mask: 255.255.255.0, Default Gateway: 192.168.1.1 Communication with TCW180B can be established by assigning a temporary IP address to the computer. -
Page 4: Web-Based Setup
If the network settings are correct, the “Login” page will appear. 8. Web-based setup. The web based interface allows configuration, monitoring and control. Recommended browser is Internet Explorer at 1024x768 resolutions. 8.1 Login page After opening the “Login” page, authorization data must be entered (by default username=admin , password=admin). - Page 5 “Pulse All” – click on this button will change the states of all relay outputs for a time, specified in “Pulse Duration” field of “I/O Setup” page. 8.3 Account page In this page authentication details for WEB access to TCW180B can be set. Only one user is supported. 8.4 Network Setup page The Network parameters are set on this page.
- Page 6 • IP address, Subnet mask , Default gateway – these fields are active if IP address is static; • Host Name – up to 16 symbols, it appears as a “Subject” in sent e-mails; • MAC – device MAC address. The good practice is to change the default IP address of controller immediately after first power- on.
- Page 7 8.5 SNMP Setup page TCW180B supports SNMP v.1 that enables trap delivery to an SNMP management application. This enables the device to be part of large monitoring and control networks. The possible settings for “SNMP” section are: • SNMP Configuration – enable/disable SNMP;...
-
Page 8: Snmp Setup
SNMP setup TCW180B can be configured and monitored through SNMP (Simple Network Management Protocol). This could be done using every SNMPv.1 compatible program.Parameters that can be changed, are grouped according to their functions in the tables below. To obtain a valid OID number it is necessary to replace the “x”... - Page 9 x.3.11.0 Pulse2 read-write Relay 2 pulse state SYNTAX INTEGER (0..255) x.3.12.0 Pulse3 read-write Relay 3 pulse state SYNTAX INTEGER (0..255) x.3.13.0 Pulse4 read-write Relay 4 pulse state SYNTAX INTEGER (0..255) x.3.14.0 Pulse5 read-write Relay 5 pulse state SYNTAX INTEGER (0..255) x.3.15.0 Pulse6 read-write Relay 6 pulse state...
-
Page 10: Restoring Factory Default Settings
10. Restoring Factory Default Settings If the IP address or password is forgotten, TCW180B can be restored to its original factory default settings. To do this, please follow the steps below: • Turn off the power supply from the unit;...
Need help?
Do you have a question about the TCW180B and is the answer not in the manual?
Questions and answers