Advertisement
P L E A S E R E A D C O M P L E T E L Y B E F O R E Y O U B E G I N A S S E M B L Y
Win FREE Arboria Products
Give us feedback about this Arboria product and be entered into a draw-
ing to win Arboria goods. It's easy, go to www.Arboria.com, choose a
product then click on the link to review. Be sure to enter your email and
telephone so that we may contact you if you win. Upload a photograph for
an extra chance to win.
necessary.
CHECK BOX FOR THESE CONTENTS
Solid Cap Piece (1)
1
Triangular Trellis Panels (4)
2
HARDWARE
Wood screws (28)
TO O LS YO U W ILL N E E D
Phillips screwdriver (electric driver recommended)
P R E LIM INA R I E S
A NOTE CONCERNING OUR UNSTAINED TRELLIS
This trellis is made from natural wood, you may wish to stain or paint
it to achieve a desired look and increased resistance to nature's ele-
ments. We recommend that you do this before assembly for best re-
sults. Follow manufacturer's instructions when applying stain or when
painting and allow sufficient time for trellis pieces to dry prior to as-
sembly.
WORK AREA
A clean, flat work surface (floor, sidewalk, driveway or bench top) is
preferred for Step 1.
PLEASE NOTE: While screw holes are pre-drilled through the
panel faces, there are no pilot holes in edges or cap piece into which
the screws are to be driven. This is because the wood accepts
screws very easily and we want to ensure that each screw gets maxi-
Be sure to hold both pieces of wood firmly in posi-
mum "bite".
tion
when starting each screw. Make sure you are driving them in
straight, particularly into the panel edges.
A S S E M B L Y I N S T R U C T I O N S
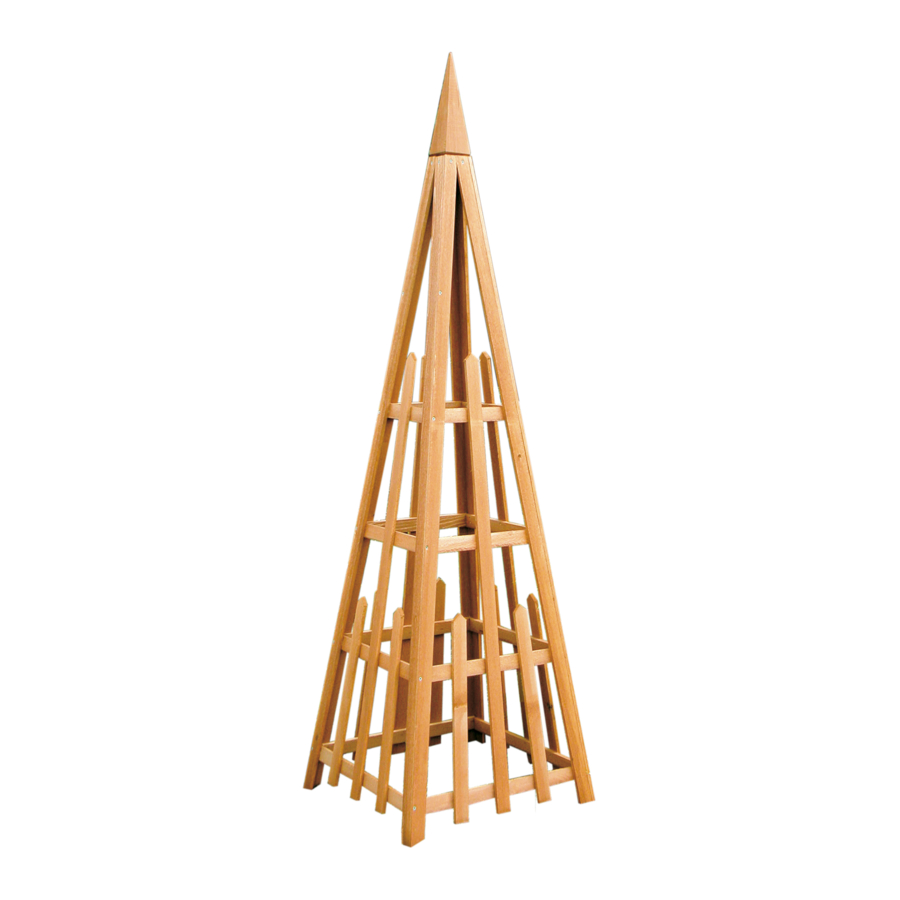
Pyramid Trellis
Visit www.Arboria.com for official rules. No purchase
8
1
2
445.35.41 6/13
Advertisement
Table of Contents

Related Manuals for Arboria Pyramid Trellis


Summary of Contents for Arboria Pyramid Trellis
- Page 1 P L E A S E R E A D C O M P L E T E L Y B E F O R E Y O U B E G I N A S S E M B L Y Win FREE Arboria Products Give us feedback about this Arboria product and be entered into a draw- ing to win Arboria goods. It’s easy, go to www.Arboria.com, choose a product then click on the link to review.
- Page 2 P a g e 2 S TE P 1 : A TTA C HIN G TH E F IR S T S I DE TO TH E P Y R A MID C A P Position the top of one triangular trellis panel on the connector stub of the solid cap piece (Diagram 1). Ensure that the cross members of the triangular trellis panel face down Line up the right edge of the trellis panel piece so that it is flush with the right side of the connector stub (see Diagram 1).
- Page 3 P a g e 3 S TE P 2 : A T TA C H IN G TH E S E C O N D S IDE PA N E L Stand the first trellis panel upright, with solid cap attached. Place a second trellis panel to the left of the first, remembering to face cross-members inward.
- Page 4 LWO Corporation 3841 N. Columbia Blvd. Portland, Oregon 97217 (503) 286-5372 (800) 459-8718 www.arboria.com...
Need help?
Do you have a question about the Pyramid Trellis and is the answer not in the manual?
Questions and answers