
Related Manuals for LZR FLATSCAN SW CAN


Summary of Contents for LZR FLATSCAN SW CAN
- Page 1 ® -FLATSCAN SW CAN SAFETY SENSOR FOR AUTOMATIC SWING DOORS User’s Guide for software version 0100 and higher Refer to tracking label on product...
-
Page 2: Installation Tips
INSTALLATION TIPS Avoid vibrations. Do not cover Avoid moving objects Remove the laser window the laser window. and light sources in protection before the detection field. the teach-in and the commissioning of the sensor. Keep the sensor permanently Avoid exposure to Avoid the presence Avoid condensation. -
Page 3: Led Signals
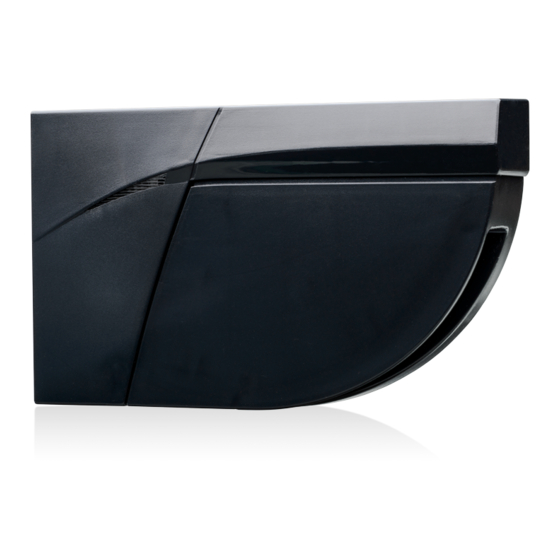
DESCRIPTION The LZR-FLATSCAN SW CAN is a safety sensor for automatic swing doors based on laser technology. It secures the moving door wing as well as the hinge area. To do so, a module must be installed in the upper corner of the door wing on both sides of the door. - Page 4 For optimum safety, install 1 module on each door wing side and interconnect them with a CAN cable. Keep a minimum distance of 15 cm between the FLATSCAN and radar sensors or use ® the LZR FLATSCAN Protective cover to avoid unwanted reactions of the door. Slide the base off the sensor module.
- Page 5 Using a wire cutter, remove the positioning aids from the Drill through the 2 bases and the door using a 10 mm base. Fasten the 3 screws using a Pozidrive screwdriver. bit in order to pass the CAN cable. Soften the edges The base needs to be firmly and securely fixed! using a sheet of sandpaper.
- Page 6 WIRING TO DOOR CONTROLLER Take the flexible tube and determine how long it Cut the surplus to avoid undesired detections caused should be in order to reach the door controller. by the flexible tube. Pass the CAN cable through the flexible tube. Make a loop with the wires of the CAN cable and pass Connect the plug to the second black connector.
- Page 7 DIP-SWITCH 1 DIP SWITCH 1 : LEAF SIDE DIP SWITCH 2 - 3 : LEAF Make sure the setting of DIP 1 is correct on all modules according to the door side. 1 2 3 4 Leaf 1 1 2 3 4 Opening side of the door = SECONDARY module 1 2 3 4 Leaf 2...
- Page 8 Wait until all MAIN modules flash green again. The Flatscan SW CAN will open the door to learn the environment. If the door doesn't open you can activate a door opening. Make sure you are way outside of the detection field. During the closing of the door, the sensor flashes red.
-
Page 9: Testing And Adjusting
TESTING AND ADJUSTING Check the correct positioning of the If necessary, adjust the tilt angle of the laser curtain by turning the safety fields by placing an object in tilt angle adjustment screw (from 2° to 10°). the detection field. After changing the angle, the sensor position or the environment, always launch a teach-in and test the correct positioning of the detection fields. -
Page 10: Wiring Information
WIRING INFORMATION DOOR CONTROLLER GREEN POWER SUPPLY BROWN YELLOW CAN HIGH WHITE CAN LOW REMOTE CONTROL SETTINGS (OPTIONAL) DIMENSIONS DOOR WING SAFETY no field no field A teach-in overwrites these values automatically. DIMENSIONS HINGE ZONE SAFETY 100* no field no field * The actual dimensions depend on the mounting height (100 cm at 4 m). - Page 11 UNCOVERED ZONE Increase in case of snow, dead leaves, etc. * measured in specific conditions and dependant on application and installation. ANTIMASKING & BACKGROUND ANTIMASKING BACKGROUND Antimasking: protective function which detects an unwanted object nearby the laser window masking the vision field. Background: reference point in the detection field of the sensor.
-
Page 12: How To Use The Remote Control
HOW TO USE THE REMOTE CONTROL After unlocking, the red If the red LED flashes quickly after unlocking, you To end an adjustment session, LED flashes and the sensor need to enter an access code from 1 to 4 digits. always lock the sensor. - Page 13 DETECTION FIELDS UNCOVERED ZONE HINGE ZONE SAFETY DOOR WING SAFETY Adjustable by remote control Typ. object size: 2 cm at 4 m Typ. object size: 10 cm at 4 m factory value: 10 cm Check the detection fields using our online sizer tool: bea-flatscan.com/sizer...
-
Page 14: Troubleshooting
If the door cycle is completed successfully, check the sensor. If not, verify the door controller, the wiring or a radar sensor. ® Keep a minimum distance of 15 cm between the FLATSCAN and radar sensors or use the LZR FLATSCAN Protective cover to avoid unwanted reactions of the door. - Page 15 The ORANGE LED is on The sensor encounters a Send the sensor back for a technical check-up. permanently. memory problem. The ORANGE LED flashes DIP-switch setting awaiting Cut and restore power to confirm the DIP-switch quickly. confirmation. setting The ORANGE LED flashes The sensor signals an Cut and restore power supply.
-
Page 16: Technical Specifications
BEA hereby declares that the LZR ® -FLATSCAN SW CAN is in conformity with directives 2014/30/EU (EMC), 2006/42/EC (Machinery) and 2011/65/EU (RoHS).The complete declaration of conformity is available on our website. Notified Body for EC-type inspection: 0044 - TÜV NORD CERT GmbH, Langemarckstr. 20, D-45141 Essen.
Need help?
Do you have a question about the FLATSCAN SW CAN and is the answer not in the manual?
Questions and answers