
Related Manuals for HOMCOM A71-005


Summary of Contents for HOMCOM A71-005
- Page 1 INadb011V02_UK A71-005_A71-005V01 (ROUND FOLDABLE) IMPORTANT, RETAIN FOR FUTURE REFERENCE: READ CAREFULLY ASSEMBLY & INSTRUCTION MANUAL...
- Page 2 IN CASE OF MISSING OR BROKEN PARTS, PLEASE CONTACT PLACE OF PURCHASE FOR ASSISTANCE. WE ARE NOT LIABLE FOR ANY INJURIES THAT MAY OCCUR WHEN USING THE TRAMPOLINE. Once a person on the trampoline Max. User weight 100Kgs...
- Page 3 Table of contents Parts list …………………………………………………3 Notes & Warnings ……………………………………..4 Assembly Instructions ………………………………5 Closing Instructions …………………………………6, 7 Assembly Instruction for stabilizing bar………………8 Parts list TR03 TR04 TR01 TR05 TR06 TR02...
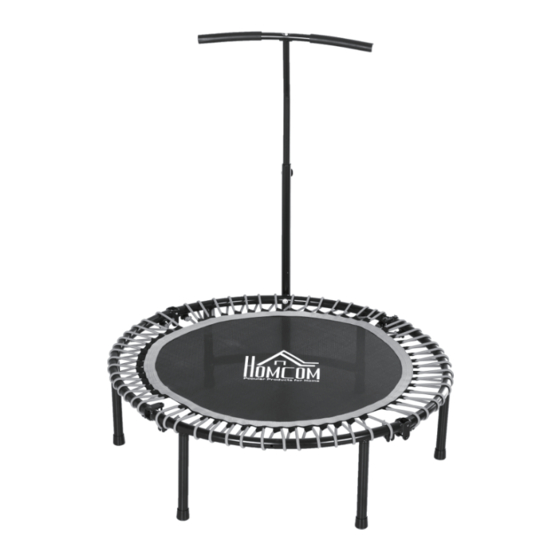
- Page 4 Unit Ref.No. Part No. Description Trampoline frame with ropes & mat TR01 TR02 Trampoline legs TR03 Top handle T bar TR04 Handle bar (top) TR05 Handle bar(bottom) TR06 Handle bar( connector) TR07 Tool 1 TR08 Tool 2 TR09 Frame screws M8 x 80mm TR10 Top bar screws M8x30mm TR11...
- Page 5 Notes & Warnings The trampoline should be installed on a stable base and properly leveled. The legs of the trampoline are installed tightly, please make sure not to pinch your fingers or hand during assembly. The elastic cords can be stiff in the early stages of usage of the trampoline and will loosen with time.
- Page 6 regularly for damage and wear, e.g. elastic cords, connection points; Payspecial attention to components most susceptible to wear (e. g. mat, elastic cords); Replace defective components immediately and/or keep the equipment out of use until repair. Injuries to health may result from incorrect or excessive training. ...
- Page 7 and looks like a half moon (image2). Make sure the larger outside hinges are touching the floor Image 1 Image2 Note: Frame will snap open so please read step No.2 carefully. Please keep all fingers away from hinge are when opening and closing. 2.
- Page 8 4. With the trampoline now open and still upside down, install each leg to a perpendicular position . CLOSING INSTRUCTIONS IMPORTANT SAFETY NOTE: Always close your trampoline with 2 people. 1. Turn the unit upside down and lay it flat. 2.
- Page 9 5. Both persons lean forward placing their outside hand on the ground and use their inside hand to grasp one of the spring ropes near the top of the trampoline (image C) 6. Together pull gently on the spring ropes and the top half of the frame will raise toward the middle.
- Page 10 2. Now connect the trampoline frame(TR01) and connector(TR06) with the handle bar bottom (TR05) by two long screws. 3. Then install the top bar(TR02) and adjust bar(TR03) by screws ,connect all parts aspicture show -10-...
Need help?
Do you have a question about the A71-005 and is the answer not in the manual?
Questions and answers