Advertisement
Quick Links
Kit Contents
- Fiberglass Fuselage Pod with Canopy
- Tapered Carbon/Glass-composite Tail Boom
- Pre-sheeted and Shaped 4-segment Wing
- Pre-sheeted and Shaped V-tail halves w/hinged elevators
- Carbon Wing Tip Joiners 6 x 100mm (4)
- Wing Bolt M4 stainless (2)
- V-tail Mount Set (1)
- V-tail Mount Plate (1)
- Triangle Top V-tail Joiner (1)
- V-tail mounting screw M3 (2)
- Nylon retainers for the V-tail mounting screws (2)
- V-tail retaner -composite w/M3 nuts (1)
- V-tail Control Horns Set (2)
- Control Horns for the Ailerons and the Flaps (4)
- Pushrod wire for Aileron and Flap (2)
- Light weight Pushrod set for elevators (2)
- Fiberglass cloth.
- Glider Drawing
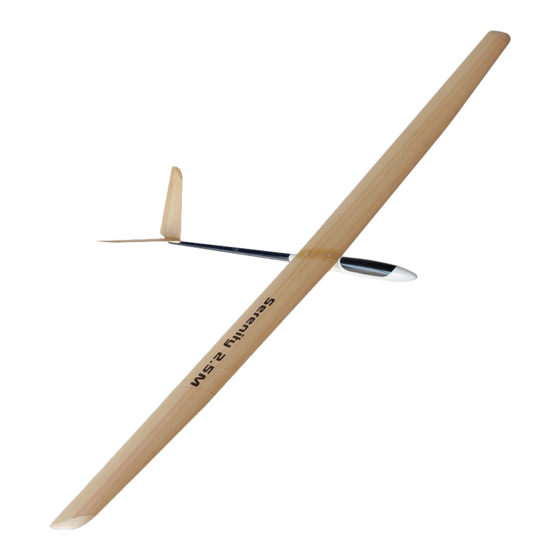
SERENITY 2.5M
Assembly Manual
Recommended Tools and Supplies:
- Hobby Knife (blade #11)
- 5 Minute Epoxy (#A0201).
(use for joining the wing panels and tail)
- 20 Minute Finishing Epoxy (#A0209)
(use for fiberglassing the joints)
- CA adhesive (#A0101).
- Masking tape
- Pliers
- Drill
- Drill Bits: 2mm, 4mm, 6mm
- Soldering Iron
- 1 meter ruler
- Flexible metal ruler (Approximately 200mm long will be
easiest to use)
- Covering Trim to customize the color scheme.
- 2 x 24" and 2 x 36"servo wire extensions
(#H00X24 & H00X36)
or 100 Inches of Servo Wire to make your
own extensions
- Universal wing servo covers (#A0031)
- Clear lacquer (DEFT)
If this is your first model, please seek
the advice of other experienced
modelers prior to assembly and
flight. An internationally recog-
nized nonprofit sanctioning orga-
nization for modeling is the Acad-
emy of Model Aeronautics. They can
provide club, field, and liability in-
surance information. Contact them
for information at:
AMA
5151 East Memorial Drive
Muncie, IN 47302-9252
(800) 435-9262
Fax: (765) 289-4248
Internet:
www.modelaircraft.org
Check the Items Needed, Tools and
Supplies, and Contents sections.
Verify the contents of the kit and
your supplies before continuing.
If you have any other problems or
questions, please contact customer
service in the U.S.A. at:
Customer Service
1122 Ginger Ave.
Billings, MT 59105
(406) 545-4118
Email:
gliders@arthobby.com
Visit us at
w w w.arthobby.com
Serenity v.11/2005
Advertisement

Related Manuals for Art Hobby SERENITY 2.5M


Summary of Contents for Art Hobby SERENITY 2.5M
- Page 1 SERENITY 2.5M Assembly Manual Recommended Tools and Supplies: - Hobby Knife (blade #11) - 5 Minute Epoxy (#A0201). (use for joining the wing panels and tail) - 20 Minute Finishing Epoxy (#A0209) (use for fiberglassing the joints) - CA adhesive (#A0101).
-
Page 2: Wing Assembly
Note: Please test fit all parts before beginning assembly. The glider has a complete 3 view assembly drawing separate to this manual. Please refer to this drawing during assembly. This drawing is the latest information about the glider and should be the primary source for measurement and placement questions. - Page 3 To achieve a proper fit, the root of each wing half must be sanded at a slight angle to fit. 6. After sanding the wing root surfaces trial fit the blocks once again. It may be necessary to make adjustments to the wing blocks. 7.
-
Page 4: Mounting The Wing
10. Connect the pushrods first to the aileron and flap horns, then to the servo arms, after that install the servos in servo bays with a small amount of silicone sealer. 11. To cover the servos you can use Art Hobby’s universal wing PHOTO 11 servo covers (#A0031). - Page 5 4. The bottom part of the V-tail mounting plate has a round shape to fit the boom. But to make a perfect fit to the boom we recommend wrapping the tail part of the boom with sand paper, and making a few strokes with the plate to achieve perfectly fitted saddle for the taper tail boom.
-
Page 6: Balance Point
1. Clean the joiner tip of the fuselage pod with sand paper. PHOTO 20 Trial fit the boom with the pod and check the aligment. 2. Install the elevator and rudder pushrod housings and pushrods. Once the pushrod placement is finalized, glue the housing tubes with epoxy inside the boom to prevent flexing.
Need help?
Do you have a question about the SERENITY 2.5M and is the answer not in the manual?
Questions and answers