Advertisement
Quick Links
Advertisement

Related Manuals for Durabook Z14I EXPANSION CHASSIS


Summary of Contents for Durabook Z14I EXPANSION CHASSIS
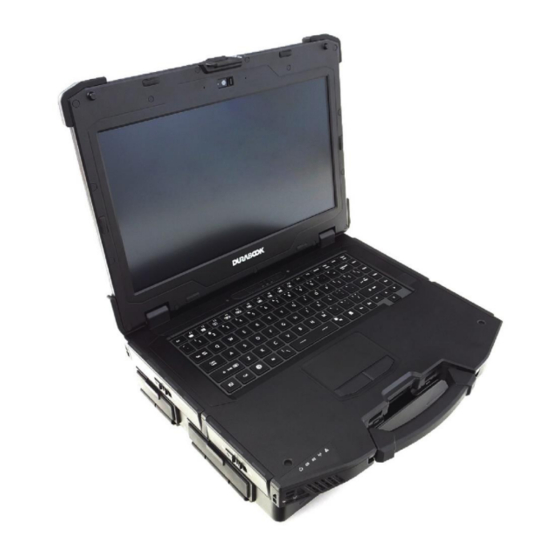
- Page 1 P/N: 62+031000+10 © 2021 Twinhead International Corp and/or its affiliates. All rights reserved.
-
Page 2: Package Contents
Z14I Expansion Chassis Package Contents If any of following items is damaged, please contact your retailer. Expansion module Adapter Power code board Expansion chassis with Bottom cover IO doors Rubber gasket Door brackets Expansion brackets PCIe cards holders PCIe cables... - Page 3 Z14I Expansion Chassis Expansion Chassis Screws Screw Type Screw Name Quantity ISOT-M3.0X10L 6 (bumpers) 8 (bumpers) ISOT-M3.0X7L 2 (full-length PCIe card) 4 (expansion brackets) 5 (expansion module board) ISOT-M2.6X4L 4 (PCIe cards holders) 14 (bottom cover) 7 (IO doors) ISOT-M2.6X8L 6 (expansion chassis) &...
-
Page 4: Installation
Z14I Expansion Chassis Installation This section will guide you on how to install the expansion chassis to your notebook. Installing the Expansion Chassis To install the expansion chassis, follow the steps below: 1. Remove the 14 screws securing the bumpers. - Page 5 Z14I Expansion Chassis 4. By aligning with the screw holes, install the expansion brackets onto their respective slots. NOTE • Ensure that the 4 O-rings ( ) are properly embedded on the upper part of the screw holes (marked with the blue-white circle).
- Page 6 Z14I Expansion Chassis 6. Connect the PCIe coaxial cable to the mainboard connector. Then connect the PCIe power cable to the mainboard connector and secure the latch. 7. Route the PCIe power and coaxial cables through the opening on the expansion chassis.
- Page 7 Z14I Expansion Chassis red-white circle) with the screw holes on the brackets. After verifying the screws holes are properly aligned, lift the chassis again, and then fasten the 4 screws to secure the expansion brackets. 8. Attach the 4 screws (ISOT-M2.6X3L) first to secure the expansion chassis to the lower case.
- Page 8 Z14I Expansion Chassis 9. Flip the expansion module board and peel the protective film off from the thermal pad. NOTE • If the thermal pad falls off, make sure to attach it back into place. CAUTION! Be careful not to touch the thermal grease when handling the thermal pad.
- Page 9 Z14I Expansion Chassis 11. Attach the 5 screws (ISOT-M2.6X4L) to secure the expansion module board to its chassis. 12. Connect the other end of the PCIe coaxial cable to the expansion module board connector. Then connect the other end of the PCIe power cable to the expansion module board connector and secure the latch.
- Page 10 Z14I Expansion Chassis 14. Assemble the standard PCIe card holder with the standard PCIe card bracket. Then secure the standard PCIe card assembly using the screw (ISOT-M4.0X6L). Repeat the same procedures to assemble the low-profile PCIe card assembly. Standard PCIe Card...
- Page 11 Z14I Expansion Chassis Low-profile PCIe Card NOTE • The standard PCIe card and low-profile PCIe card are optional accessories. 15. Align the standard and low-profile PCIe card assemblies with the expansion module board connectors and slide in place. Ensure that the PCIe card...
- Page 12 Z14I Expansion Chassis 16. Attach the 4 screws (ISOT-M2.6X4L) to secure the PCIe cards holders. NOTE • For the full-length PCIe card, besides securing the PCIe card holder, you will also need to attach another 2 screws (ISOT-M3.0X7L) (marked with orange-white circle) to secure the PCIe card to the expansion chassis.
- Page 13 Z14I Expansion Chassis 17. With the protruding tabs facing down, install the rubber gasket onto its compartment. Press down each tabs to ensure that the gasket is properly seated in place. CAUTION! To ensure the correct placement and orientation, please observe the...
- Page 14 Z14I Expansion Chassis 19. Attach the 14 screws (ISOT-M2.6X4L) to secure the bottom cover. 20. By aligning with the protruding parts of the bottom cover, install the low-profile and standard IO doors onto their respective slots on the bottom cover.
- Page 15 Z14I Expansion Chassis 21. Place the door brackets onto their respective compartments on the installed IO doors. Ensure that the protruding parts and screw holes are properly aligned. 22. Attach the 7 screws (ISOT-M2.6X4L) to secure the IO doors.
- Page 16 Z14I Expansion Chassis 23. Close the IO doors.
- Page 17 Z14I Expansion Chassis Expansion Chassis Screws Screw Type Screw Name Quantity Torque ISOT-M3.0X10L 6 (bumpers) 2.5 ± 0.3 Kgf-cm 8 (bumpers) 2.5 ± 0.3 Kgf-cm ISOT-M3.0X7L 2 (full-length 2.5 ± 0.3 Kgf-cm PCIe card) 4 (expansion 2.5 ± 0.3 Kgf-cm...
Need help?
Do you have a question about the Z14I EXPANSION CHASSIS and is the answer not in the manual?
Questions and answers