
Related Manuals for Signature Share 8340


Summary of Contents for Signature Share 8340
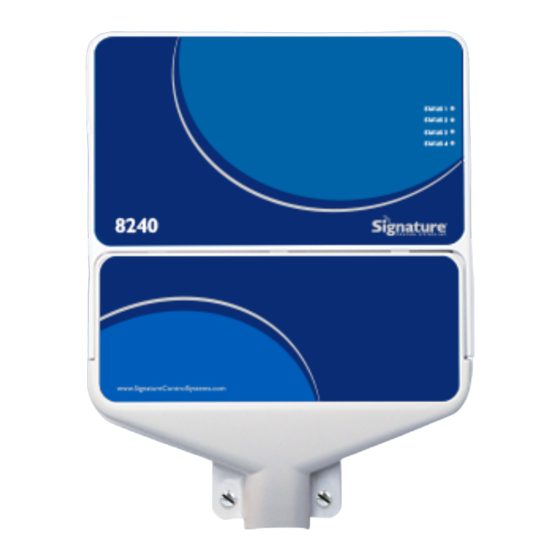
- Page 1 Quick Start Guide Share™ 8340 Irrigation Controller Quick Start Guide For Programming and Setup Instructions Visit: www.SCS-Share.com www.SignatureControlSystems.com Page 1...
-
Page 2: Table Of Contents
Connecting the Transformer Low Voltage Wiring Terminal Strip Connecting Master Valve or Pump-Start Relay Connecting Sensors Connecting to the Internet WPS Method Using Signature’s Mobile App Creating a User Account Downloading the Mobile App Technical Data LED Table Statement of Conditions Warranty Contact Information www.SignatureControlSystems.com... -
Page 3: Installation
INSTALLATION The 8340 can be mounted indoors or outdoors. Find a location near a 120V wiring source (230/240V for international models). Install the 8340. near eye level if possible. CONNECTING THE TRANSFORMER 120 VAC in United States, Canada and Mexico; 230 VAC in Europe, and 240 VAC in UK, Middle East, Australia and South Africa. -
Page 4: Connecting Sensors
CONNECTING SENSORS The 8340 is equipped with one sensor port to run a normally open, normally closed, or pulse type flow sensor. The port is user defined via the SCS-Share.com web site. To connect a sensor, connect the sensor wires to the S1 terminals. Refer to the sensor manufacturer’s instructions for specific installation details. -
Page 5: Connecting To The Internet
CONNECTING TO THE INTERNET The 8340 is equipped with built in Wi-Fi for easy connection to the internet through your home or business’ Wi-Fi system. NOTE: 5GHz Wi-Fi Networks are not supported. If your router is 5GHz capable, please make sure you connect your 8340 to the 2.4GHz Network only. -
Page 6: Using Signature's Mobile App
Step 3: Your controller will automatically establish connection to your router and connect to the internet. You will know the process is complete and the controller is connection online when LED 1 is flashing and LED 2 is solid. This process should take 2 to 3 minutes. Method 2 (MOBILE APP METHOD): Pairing Your Controller to Your Router Using Our Mobil App What you will need:... - Page 7 Step 5: A welcome screen will be displayed. Click “Continue”. Step 6: Click on “Set WiFi” Step 7: Enter your router’s SSID (name) and Password and select the Encryption type. Then press “Send.” (Note: If you do not know your SSID (Router Name) and Password, return to the previous screen and click “Read WiFi”).
-
Page 8: Creating A User Account
Step 9: Return to your controller and press the SET UP button one more time. Your controller’s LEDs will begin flashing in what appears to be a random sequence indicating that your controller is now paired to your router and is attempting to connect to the internet. Once internet connection has been established, LED1 will remain flashing and LED2 will be solid. -
Page 9: Downloading The Mobile App
Step 4: Log into the account you just created using your username and password. DOWNLOADING THE MOBILE APP The SCS Mobile App is available for free at the iPhone and Android App Stores. Search for “SCS Share” to find and download the app. Versions Supported: iOS: 8.4 or above (iPad and iPhone supported) Android: 4.4 or above, V 5.0 recommended. -
Page 10: Led Table
Control Systems, Inc. reserves the right to make changes to the product described in this document without notice. Signature Control Systems, Inc. does not assume any liability that may occur due to the use or application of the product(s) or circuit layout(s) described herein. -
Page 11: Warranty
1) Signature Control Systems, Inc. [“SCS”] warrants to the owner (the “Buyer”) that all new products, as featured in the current Signature Turf Catalog at date of purchase will be free from original defects in materials and workmanship for the time periods described below, provided they are used for approved purposes under manufacturer’s recommended specifications. -
Page 12: Contact Information
14) In the event of a defect: If a defect arises in a Signature product or part within the warranty period, you should contact your Signature retailer, distributor, or Signature Control Systems, Inc.
Need help?
Do you have a question about the Share 8340 and is the answer not in the manual?
Questions and answers