Table of Contents
Advertisement
Quick Links
Advertisement
Table of Contents

Subscribe to Our Youtube Channel
Related Manuals for Dewenwils HOYS22A


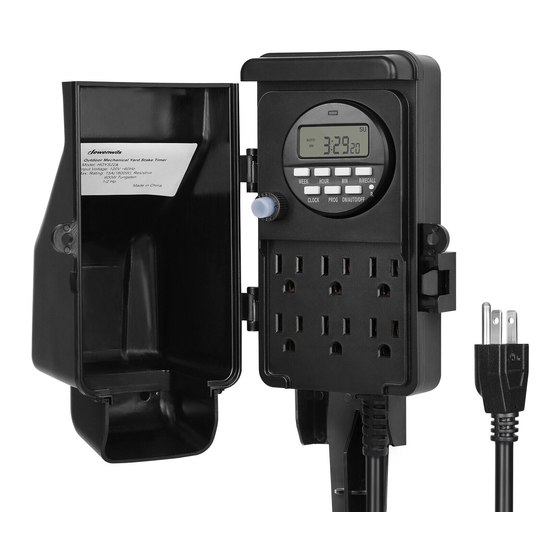
Summary of Contents for Dewenwils HOYS22A
- Page 1 Digital HOYS22A...
- Page 2 Align four tabs on stake with four holes on back of timer. Push tabs down, then up, until they lock into place. Shown as Figure...
- Page 3 Indicator Overload Protection Switch Outlets Before initial use, plug the timer in for at least 30 minutes to charge the internal battery. After the screen displays, the unit is ready for programming. 1. Reset Before programming, all settings should be reset. The reset hole which is identified by “R”...
- Page 4 3. ON/OFF Program Setting a. Press the “PROG” button once , Figure 2 will appear. There are a total of 20 ON/OFF settings. b. Press the “HOUR” or “MIN” buttons to set ON time. c. Press the “WEEK” button to select the day(s). d.
- Page 5 5. Switching Mode Indication The actual mode is shown on the display as “ON”, “AUTO ON”, “OFF”, or “AUTO OFF” together with the time of day. Press the “ON/AUTO/OFF” button to adjust to the desired setting mode. 6. Manual Override Setting As an independent programming, it is possible at any given time to advance to the next switching command by constantly pressing the “MANUAL”...
- Page 6 15A Resistive 14/3C 1000W Tungsten 1 HP...
Need help?
Do you have a question about the HOYS22A and is the answer not in the manual?
Questions and answers