
Related Manuals for Bertolini 6155EX


Summary of Contents for Bertolini 6155EX
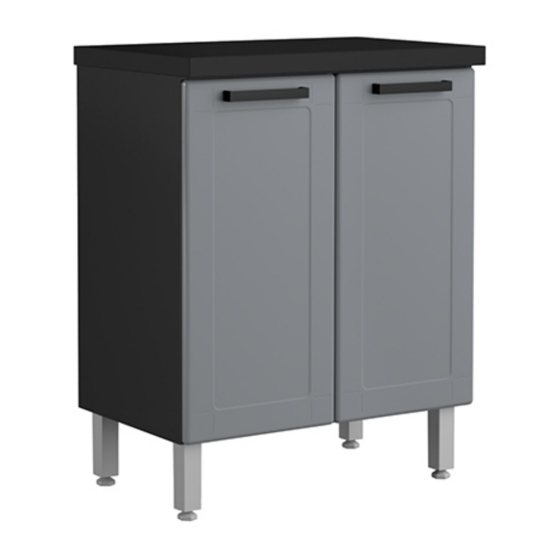
- Page 1 ASSEMBLY HANDBOOK WALL BASE GABINET - 2 HIGH DOORS MANUAL DE MONTAJE BALCON DE PARED - 2 PUERTAS ALTAS Ref.:6155EX...
- Page 2 Items you will need to provide for assembly (not included) Elementos que necesitará para el montaje (no incluido) Ø 8 INFORMATION/INFORMACIÓN WARNING SAFETY INFORMATION Do not climb or step on the unit. The unit may become unstable Please read and understand this entire manual before attempting to assemble, operate or install the product.
- Page 3 Included Hardware/Accesorios Inclusos Screw/Tornillo Bucha/Bushing/Taco AA 4,8x45mm S8mm Plastica F.C.C.FlangeadaZNBR 130073 135500 Screw/Tornillo Screw/Tornillo PFS CAB LE Phillips MP 3,5x12mm C.Flangeada 3/16"x5/16" 13000 13005 Nut/Tuerca Parafuso/Screw/Tornillo Sextavada Normal RI 3,5x25mm Plastc. Pan. 3/16"- CH.5/16" 13100 130190 Bushing/Taco Screw/Tornillo 9,7x11,5x18,5mm Porta MB AA 4,2x9,5mm F.C.C.Panela 135760 12841...
- Page 4 Parts / Piezas Quantity Nº Description Descripción Cantidad Side Panel/Lateral Upper panel/Base Bottom/Fondo Crosspiace/Travesano Right Door/Puerta Derecha Left Door/Puerta Izquierda Top/Tabla Legs support/Soporte para patas Legs/Patas Maximum weight supported distributed Peso máximo admitido distribuido Caution! Do not exceed the maximum weight limitations. Doing so can result in damage, series injury, or death.
- Page 5 Step 01/ Paso 01...
- Page 6 Step 02/ Paso 02 1º 2º...
- Page 7 Step 03/ Paso 03...
- Page 9 Step 04/ Paso 04...
- Page 10 Step 05/ Paso 05 1º...
- Page 11 2º 3º 4º...
- Page 12 Step 06/ Paso 06...
- Page 13 Step 07/ Paso 07...
- Page 14 Step 08/ Paso 08...
- Page 15 Step 07 - Wall mounting / Paso 07 - Fijacíon en la pared * Make the marking on the wall to fix the furniture. * Hacer la marcación en la pared para fijación del mueble. * Level all furniture before setting. * Nivelar todos los muebles antes de instalar.
- Page 16 Wall Stud -Use WALL ANCHOR F31 only if you can not locat a stud in the wall. -Utilice el ANCLA DE PARED F31 solo si no puede ubicar un montante en la pared. 1º -If the position of the hole is in the Stud of the wall, "...
- Page 17 Step 15/ Paso 15 ¡Inportant! Support the tap(item 9) on the wall, before fixing it to the cabnet base. ¡Importante! Apoyar la tapa (item 9) en la pared, antes de fijar en el balcon.
- Page 18 Step 16/ Paso 16 Step 17/ Paso 17 Secure the screws partially. Fijar los tornillos parcialmente.
- Page 19 Step 18/ Paso 18 1º 1º 2º Door adjustment/Ajuste de las puertas Internal adjustment Depth adjustment Ajuste interno Ajuste de profundidad D o o P u e r t a...
- Page 20 Step 19/ Paso 19...
- Page 21 Step 20/ Paso 20...
- Page 24 Rua Francisco Luiz Bertolini, 235 www.bertolinikitchens.com Caixa Postal 604 - CEP 95701-118 www.cocinasbertolini.com Bento Gonçalves - RS - Brasil Fone +55 54 2102.8500 179937EX vendas@bertolini.com.br REV.00-29/08/2018 export@bertolini.com.br...
Need help?
Do you have a question about the 6155EX and is the answer not in the manual?
Questions and answers