
Related Manuals for Belkin OmniView PRO2


Summary of Contents for Belkin OmniView PRO2
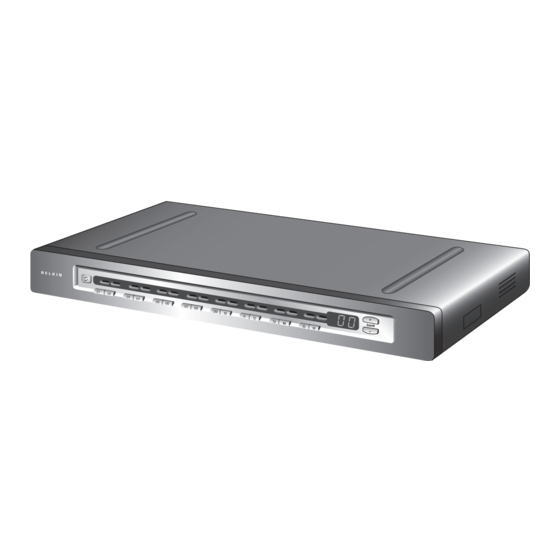
- Page 1 OmniView ® PRO2 KVM Switch Start Here Quick Installation Guide F1DA104Zea F1DA108Zea F1DA116Zea...
- Page 2 (PS/2-style) or F1D9401-XX (USB-style)] Introduction This Quick Installation Guide will guide you through the steps needed to install the OmniView PRO2 KVM Switch (the Switch). If you have any problems during this installation, please refer to the User Manual. Introduction...
- Page 4 Mount the Switch to the rack rails. (Refer to diagram below.) Your Switch is now mounted securely to the rack and you are ready to connect the console. Mount the Switch...
- Page 7 Attach the power supply to the power jack on the back of the Switch. (Refer to diagram below.) Power up the connected servers. Check for keyboard, video, and mouse function on each port. To install your Switch in a daisy-chain confi guration, please refer to the User Manual.
- Page 8 +46 (0) 8 5229 1874 fax +45 (0) 3612 6010 fax +971 (0) 4 369 2705 +971 (0) 4 368 8402 fax © 2007 Belkin International, Inc. All rights reserved. All trade names are registered trademarks of respective manufacturers listed. P75458ea...
- Page 9 Switch KVM PRO2 OmniView ® Commencez ici Guide d’installation rapide F1DA104Zea F1DA108Zea F1DA116Zea...
- Page 10 Pour installer le switch, vous aurez besoin du matériel suivant : Switch KVM Dispositif de Adaptateur Moniteur VGA OmniView PRO2 montage en baie secteur 12 V/1 A (fourni) et vis (fourni) (fourni) Clavier USB ou PS/2 Souris USB ou PS/2 Kit de microcâblage...
- Page 12 Montez le switch dans la baie. (Reportez-vous à l’illustration ci-dessus.) Votre switch est maintenant solidement ancré dans la baie. Vous pouvez maintenant brancher la console. Montage du switch...
- Page 15 Branchez le cordon d’alimentation à la prise d’alimentation à l’arrière du switch. (Reportez-vous à l’illustration ci-dessous.) Allumez les serveurs connectés. Vérifiez que le clavier, le moniteur et la souris fonctionnent à chaque port. Pour installer votre switch dans une confi guration de montage en chaîne, consultez le manuel de l’utilisateur.
- Page 16 +46 (0) 8 5229 1874 Fax +45 (0) 3612 6010 Fax +971 (0) 4 369 2705 +971 (0) 4,368 8402 Fax © 2007 Belkin International, Inc. Tous droits réservés. Toutes les raisons commerciales sont des marques déposées de leurs fabricants respectifs. P75458ea...
- Page 17 OmniView ® PRO2 KVM-Switch Start Installationsanleitung F1DA104Zea F1DA108Zea F1DA116Zea...
- Page 18 USB- und Mikrokabelsatz PS/2-kompatibel [Belkin Artikelnr. F1D9400-XX (PS/2) oder F1D9401-XX (USB)] Einleitung Diese Installationsanleitung begleitet Sie Schritt für Schritt bei der Installation des OmniView PRO2 KVM-Switches (dem Switch). Sollten bei der Installation Probleme auftreten, finden Sie im Benutzerhandbuch weitere Informationen. Einleitung...
- Page 20 Befestigen Sie den Switch im Rack. (Siehe Abbildung unten.) Ihr Switch ist jetzt sicher im Rack befestigt und Sie können die Konsole anschließen. Befestigung des Switches...
Need help?
Do you have a question about the OmniView PRO2 and is the answer not in the manual?
Questions and answers