Advertisement
without prior notice for product improvement.
Consult with your dealer or manufacturer for details.
A quality product of
Customer Care
For more information, please visit our website
Email: customercare@midea.com.ph
Toll free:
1-800-10-863-5522
Landline:
(02) 863-55-22
SMS:
0917-8425555
www.midea.com.ph
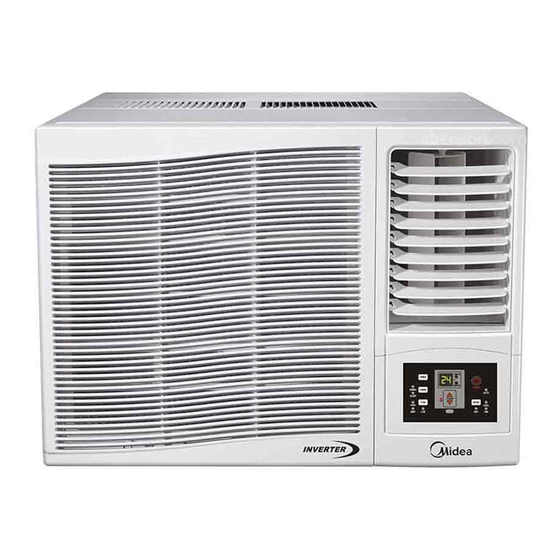
Window Type Inverter Model
Advertisement


Need help?
Do you have a question about the RG15A1/E and is the answer not in the manual?
Questions and answers