Advertisement
Advertisement
Table of Contents

Related Manuals for Wolverine Airsoft REAPER GEN II


Summary of Contents for Wolverine Airsoft REAPER GEN II
- Page 1 OWNER’S MANUAL WOLVERINE AIRSOFT www.wolverineairsoft.com...
- Page 2 Page 2 Welcome to the Wolverine Airsoft HPA Family! Your REAPER HPA engine kit comes with follow- ing contents in the package. Please ensure that all components of the package are present and undamaged. All packages contain: REAPER HPA Engine...
-
Page 3: Table Of Contents
Installation Tuning Maintenance Troubleshooting Don’t Forget to Register Your Warranty! Your REAPER HPA Engine is backed by Wolverine Airsoft’s limited warranty. Scan the QR code or visit www.wolverineair- soft.com/warranty to read our full warranty and register your HYDRA HPA engine. -
Page 4: Getting Started
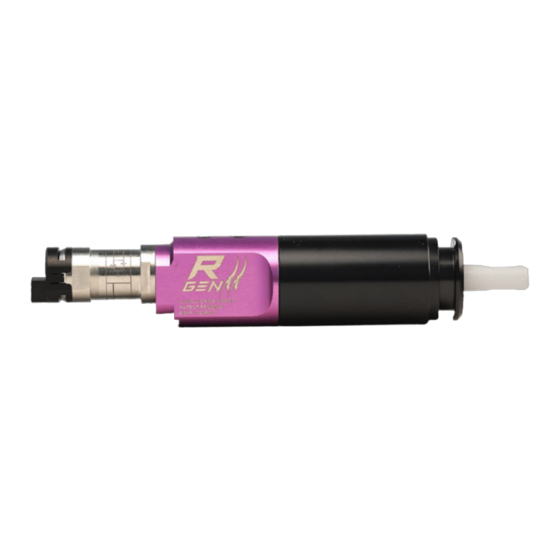
Page 4 Getting Started Your REAPER HPA engine is a precise instrument containing many individual components. Before you begin, please see the diagram below and familiarize yourself with each component. Valve 1.2x10 Spring Nozzle Cylinder Solenoid Housing O-ring 1.5x18 1x19 Nozzle O-ring O-ring... -
Page 5: Nozzle Replacement
Page 5 Nozzle Replacement Our standard REAPER HPA kits come standard nozzles that fit most replicas. Howev- er, your replica may require a different nozzle to be installed. (Please see our Compatibility Guide at www.wolverineairsoft. com/compatibility). You can easily change the nozzle by first remov- ing the cylinder and then the spring and nozzle. -
Page 6: Tuning
Page 6 Tuning Tuning refers to the process of electronically ad- justing the engine’s dwell for maximum perfor- mance and efficient air usage. Dwell is a measurement of the length of time that the solenoid valve is opened, allowing air to flow from the air tank to propel the BB. - Page 7 Page 7 Begin disassembling your REAPER engine by unscrewing the two halves counterclock- wise. Next, disassemble the cylinder assembly by pushing the nozzle towards the back of the cylin- der. Remove the nozzle cage from the cylinder. You may need to tap the cylinder on your hand or a hard surface to break the cage free from the cylinder.
- Page 8 Page 8 Lubricate the 1x5mm O-ring on the shaft of the valve housing as well as the 1.5x18mm O-ring be- low the threads. Lubricate the 1x7mm O-ring in- side the bushing in the front of the cylinder. Your REAPER is ready to reas- semble.
-
Page 9: Troubleshooting
Page 9 Troubleshooting Symptom Possible Solution Gun always fires in semi The selector plate is not engaging the se- regardless of selector lector switch and will need material added switch position to permit proper operation. Contact WA or a qualified technician for assistance. -The burst setting is set to semi-auto Gun always fires in burst -The selector plate is always engaging... - Page 10 Need professional help? To find a retailer close to you visit: www.wolverineairsoft.com/dealers www.wolverineairsoft.com...
Need help?
Do you have a question about the REAPER GEN II and is the answer not in the manual?
Questions and answers