Sign In
Upload
Download
Table of Contents
Contents
Add to my manuals
Delete from my manuals
Share
URL of this page:
HTML Link:
Bookmark this page
Add
Manual will be automatically added to "My Manuals"
Print this page
×
Bookmark added
×
Added to my manuals
Manuals
Brands
Powerlink Manuals
Portable Generator
EP Series
Operation manual
Powerlink EP Series Operation Manual
Sound-proof type generator set
Hide thumbs
1
2
Table Of Contents
3
4
5
6
7
8
9
10
11
12
13
14
15
16
17
18
19
20
21
22
23
24
25
26
27
28
29
30
31
32
33
34
35
36
37
38
39
40
41
42
43
44
45
46
47
48
49
50
51
52
53
54
55
56
57
58
59
60
61
62
63
64
65
66
67
68
69
70
71
72
73
74
75
76
77
78
79
80
81
82
83
84
85
86
87
88
89
90
91
92
93
94
95
96
97
98
99
100
101
102
103
104
105
106
107
108
109
110
111
112
113
114
115
116
117
118
119
120
121
122
123
124
125
126
127
128
129
130
page
of
130
Go
/
130
Contents
Table of Contents
Troubleshooting
Bookmarks
Table of Contents
Table of Contents
Safety Information
Safe Operation
Safety Label Location
Safety Labels Meaning
First Aid
Generator Set Introduction
Specifications
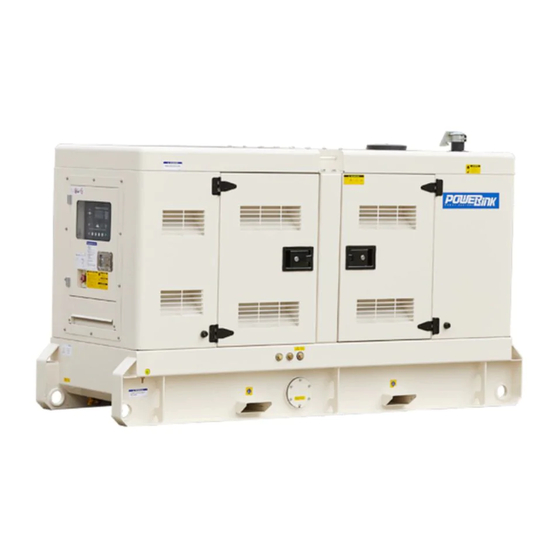
Appearance
General Description
Generator Set Type
Structure Type
Installation
General
Outdoor Installation
Indoor Installation
Utility Power
Load Connections
Ground Connections
ATS Connections
Battery Connections
Water Jacket Preheat Connections
External Fuel Tank Connections
Pre-Check before Starting
General Pre-Check
Checking Engine Oil Level
Checking Fuel Level
Checking Coolant Level
Operation for PLC-702 Control System
Main Electrical Components
Operation for R Type Structure
Operation for RS Type Structure
Convenience Receptacles
Protection
During Operation
Operation for PLC-5220 Control System
Main Electrical Components
Operation for R Type Structure
Operation for RS Type Structure
Operation for C Type Structure
Convenience Receptacles
Protection
During Operation
Parameter Configuring
Operation for BGC-L Control System
Main Electrical Components
Control Cabinet and Switch Cabinet
Single Genset Operation
Paralleling Gensets Operation
During Operation
Protection
Parameter Configuring
Maintenance
General
Periodic Maintenance Schedule
Generator Set Maintaining
Air Cleaner
Engine Coolant
Engine Oil and Oil Filter
Fuel Filter
Oil-Water Separator (if Equipped)
Battery Maintenance
Lifting and Transporting
Overnight Storage
Long-Term Storage
Troubleshooting
General
Generator Set Trouble
Control System Trouble
Engine Trouble
Alternator Trouble
Battery Charge Trouble
Parameter
Advertisement
Quick Links
1
Table of Contents
2
Specifications
3
Troubleshooting
Download this manual
Table of
Contents
Previous
Page
Next
Page
1
2
3
4
5
Advertisement
Table of Contents
Need help?
Do you have a question about the EP Series and is the answer not in the manual?
Ask a question
Questions and answers
Related Manuals for Powerlink EP Series
Portable Generator Powerlink GXE250-BG Operation Manual
(11 pages)
Portable Generator Powerlink GXE350-NG Operation Manual
Gas generator set (67 pages)
Portable Generator Powerlink A713VS Operation Manual
Diesel generator set , tier 4 final series (58 pages)
Portable Generator Powerlink GXE50-NG Operation Manual
Gas generator set (65 pages)
Portable Generator Powerlink A625V-C Operation Manual
Diesel generator set, tier 4 final series (72 pages)
Portable Generator Powerlink GXE200-NG Operation Manual
Gas generator set (68 pages)
This manual is also suitable for:
Pp10d6s
Pp10s
Pp13s
Pp14d6s
Pp20s
Pp21d6s
...
Show all
Pp30s
Pp31d6s
Pp42s
Pp47d6s
Pp60d6s
Pp60s
Wps1000s
Wps100d6s
Wps100s
Wps10d6s
Wps10s
Wps1100d6s
Wps1250s
Wps130d6s
Wps1325d6s
Wps137s
Wps13s
Wps14d6s
Wps1500s
Wps150s
Wps180d6s
Wps180s
Wps200s
Wps205d6s
Wps20s
Wps216d6s
Wps21d6s
Wps225s
Wps250s
Wps30s
Wps31d6s
Wps350d6s
Wps350s
Wps400d6s
Wps400s
Wps450d6s
Wps450s
Wps45s
Wps47d6s
Wps500d6s
Wps500s
Wps550d6s
Wps600d6s
Wps600s
Wps60d6s
Wps60s
Wps625s
Wps660d6s
Wps725s
Wps750d6s
Wps800s
Wps80d6s
Wps80s
Wps880d6s
Wps900s
Table of Contents
Print
Rename the bookmark
Delete bookmark?
Delete from my manuals?
Login
Sign In
OR
Sign in with Facebook
Sign in with Google
Upload manual
Upload from disk
Upload from URL


Need help?
Do you have a question about the EP Series and is the answer not in the manual?
Questions and answers