Advertisement
SRM-252S
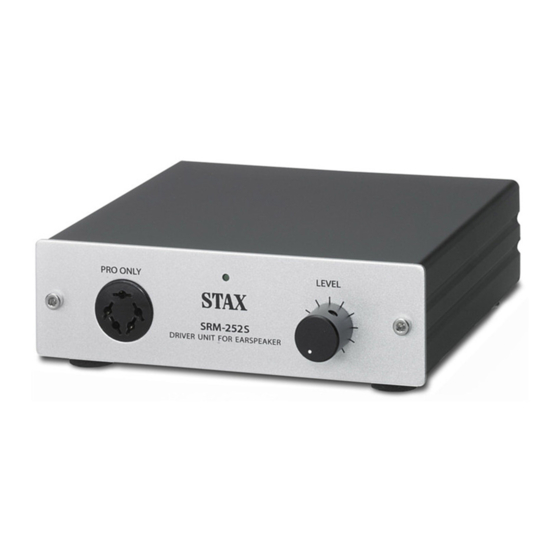
DRIVER UNIT FOR EARSPEAKER
取扱説明書
このたびはスタックスの イヤースピーカー用ドライバーユニットSRM-252Sをお買い上げ
いただき、誠にありがとうございます。この製品の音質、性能をフルに発揮してお使いいた
だくため、また安全にご使用いただくためにこの説明書をよくお読みの上、末永くご愛用く
ださいますようお願い申しあげます。お読みになったあとは保証書と共に必ず保存しておい
てください。
User's Manual
Thank you very much for purchasing STAX SRM-252S driver unit for ear speaker. Please
read this manual carefully in order to use the unit safely and to bring out its maximum
performance for many years of listening pleasure. Please be sure to keep this manual
along with the warranty card for future.
Safety information
This product contains high-voltage circuitry. Never attempt to disassemble or
modify it to avoid danger.
安全に関する注意
この製品は高電圧を内蔵しています。危険ですから、
!
絶対に分解したり改造しないようにお願い致します。
PRO ONLY
DRIVER UNIT FOR EARSPEAKER
SRM-252S
LEVEL
OFF
○
R
Advertisement
Table of Contents

Related Manuals for STAX SRM-252S


Summary of Contents for STAX SRM-252S
- Page 1 てください。 User's Manual Thank you very much for purchasing STAX SRM-252S driver unit for ear speaker. Please read this manual carefully in order to use the unit safely and to bring out its maximum performance for many years of listening pleasure. Please be sure to keep this manual along with the warranty card for future.
- Page 2 ●Insert the supplied AC power adaptor into a リアパネルのACアダプター・ジャックに差し wall (or table) socket, and then its other plug 込みます。 into the DC inlet on the SRM-252S rear panel. ●フロントパネルのイヤースピーカー用出力端 ●Insert the cable plug of your ear speaker with 子にイヤースピーカーのプラグの突起表示を上 its convex mark upward into the SRM-252S にして差し込みます。ボリュームツマミを静か...
- Page 3 Terminals and functions 各部の名称 【フロント側/FRONT PANEL】 パイロットランプ/LED PRO ONLY LEVEL SRM-252S DRIVER UNIT FOR EARSPEAKER イヤースピーカー用出力端子 パワースイッチ/ボリュームツマミ Output terminal for ear speaker: Power switch/Volume knob 【リア側/REAR PANEL】 DC12V/4W PARALLEL PARALLEL INPUT INPUT SRM-252S Driver unit for earspeaker RISK OF ELECTRIC SHOCK...
- Page 4 The AC power adaptor must be inserted into a wall (or table) socket of the same mains voltage stated on the adapter box. 現在お使いのシステムに追加する場合: When adding the SRM-252S to the existing system: プリアンプ又はプリメイン・アンプの録音用 Connect it to the “REC OUT” terminal of a pre- 出力「REC OUT」端子へ接続してください。...
- Page 5 ●ボリュームを絞った状態から徐々に音を大 simultaneously start to come out from left and right channels. きくしていく時、若干の連動誤差によって This is the so-called “gang-error” of a 左右で音の大きさが変化することがありま double-axis volume controller, and not a すが、これは故障では有りませんのでご安 failure. 心下さい。 製品をお送りになる際には故障個所早期発見 のため、できるだけ症状を詳しく書いたメモ を同封してください。 その他故障と思われる症状が出ましたら、お買い求めになった販売店もしくは弊社サービス課 049 (258)2660 までお問合わせください。お送りになる場合は症状を詳しく書いたメモを同封してくだ さい。また、弊社のホームページ(www.stax.co.jp)でもご相談をお受けしています。...
- Page 6 *The repair and inquiry from overseas are ・受付日:弊社休日および祝日を除く月曜~金曜 not accepted. Please contact the STAX distributor or dealer in your country. (STAX LTD.) スタックス 有限会社 ○ ●住所:〒354-0046 埼玉県入間郡三芳町竹間沢東7-1 TEL: 049-258-2660(代)FAX:049-258-2659 7-1 Chikumazawa-higashi, Iruma-gun, Saitama-Prefecture, Japan Printed in Japan 10-08 1K MP C STAX...
Need help?
Do you have a question about the SRM-252S and is the answer not in the manual?
Questions and answers