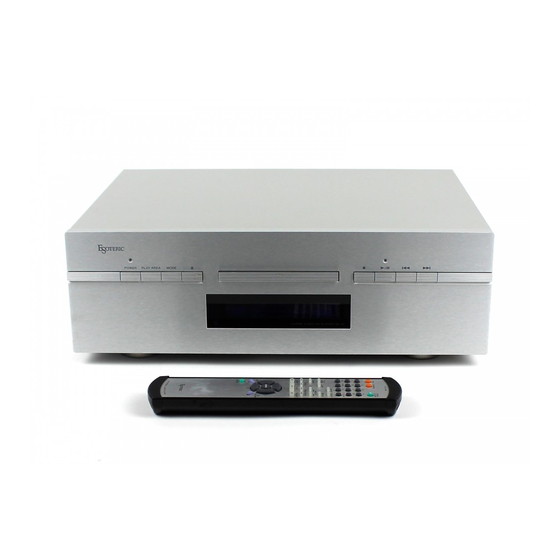
Esoteric SA-10 Owner's Manual
Super audio cd player
Hide thumbs
Also See for SA-10:
- Owner's manual (52 pages) ,
- Brochure & specs (12 pages) ,
- Upgrade information (3 pages)

Related Manuals for Esoteric SA-10


Summary of Contents for Esoteric SA-10
- Page 1 D00967920A Super Audio CD Player OWNER’S MANUAL ....MANUEL DU PROPRIÉTAIRE . . .
-
Page 2: Important Safety Instructions
CAUTION: TO REDUCE THE RISK OF ELECTRIC SHOCK, DO NOT REMOVE COVER (OR BACK). NO USER- SERVICEABLE PARTS INSIDE. REFER SERVICING TO QUALIFIED SERVICE PERSONNEL. The lightning flash with arrowhead symbol, within an IMPORTANT SAFETY INSTRUCTIONS 1) Read these instructions. 2) Keep these instructions. -
Page 4: Before Use
What’s in the box Please confirm that the following accessories are in the box when you open it. Remote control unit x 1 Batteries (AA, R6, SUM-3) x 2 Felt sheet x 3 Power cord x 1 Owner’s manual x 1 Warranty card x 1 Read this before operation <... - Page 5 Copy-protected discs, DualDiscs and other discs that do not conform to the CD standard may not play back correctly in this player. If you use such discs in this unit, TEAC ESOTERIC COMPANY cannot be responsible for any consequences or guarantee the quality of reproduction.
- Page 6 CAUTION: < Switch off the power to all equipment before making connection. < Read the instructions of each component you intend to use with this unit. < Be sure to insert each plug securely. To prevent hum and noise, avoid bundling the signal interconnection cables together with the AC power cord or speaker cables.
- Page 7 2 channel analog audio output terminals Use either the XLR or RCA (pin) terminals for analog stereo output. If your amplifier has balanced XLR analog audio inputs, connect the XLR jacks on the unit to the amplifier’s XLR jacks, otherwise use the RCA (pin) connections. Use commercially available XLR or RCA audio cables.
-
Page 8: Power Cord Receptacle
Consult a qualified electrician if you are in doubt. < Use only the supplied Esoteric power cord. Use of other power cords may result in fire or electric shock. Unplug the power cord when you are not going to use the unit for an extended period of time. -
Page 9: Front Panel Features
B C D Power indicator Blue (on) The POWER button of the main unit is ON. Red (standby) When the POWER button is depressed, press the STANDBY button of the remote control unit to turn the unit standby. In the standby mode, press the ON button of the remote control unit to turn the unit ON. -
Page 10: Understanding The Remote Control Unit
This button is used for controlling i.LINK output and will become available after a future hardware upgrade (charged). AUDIO This button doesn’t work on the SA-10. SCAN (m/,) Use these for fast scanning during playback. STOP Use this to stop playback. - Page 11 Use this button to change the brightness of the front panel display. REPEAT Use this button to set the repeat playback mode. GROUP This button doesn’t work on the SA-10. SKIP (.//) Use these for skip operations. PAUSE Use this to pause playback.
-
Page 12: Front Panel Display
Disc type indicator Shows the type of disc currently loaded. REPEAT indicator Lights when repeat play is selected SETUP indicator Lights in the setup menu. Message area Alphanumeric display to show times, status messages, etc. DOWN MIX indicator Lights to show that a multi-channel source has been down mixed to 2 channels. - Page 13 Press the OPEN/CLOSE button (L) to open the tray. Insert the disc label side up. < Make sure the disc is centered in the tray in order to avoid any malfunction or jamming of the tray or damage to the disc.
-
Page 14: Pausing Playback
Pausing playback Press the PLAY/PAUSE button to pause playback. Press it again to restart playback. When using the remote control unit, press the PAUSE button to pause playback. Press the PLAY or the PAUSE button to restart playback. < Caution - do not leave player in the “pause” mode for extended periods of time. -
Page 15: Selecting The Playback Area
Selecting the playback area There are two types of Super Audio CDs, regular ones that contain 2-channel stereo and multi-channel stereo and hybrid discs (two-layer discs) that contain Super Audio CD and regular CD data. When a hybrid Super Audio CD is loaded and when the playback is stopped, press the PLAY AREA button to select a playback area. -
Page 16: Repeat Mode
Repeat mode Use the REPEAT button to select the repeat mode for playback. Repeated presses of the REPEAT button cycle between the following options: REPEAT TRK REPEAT DSC (track repeat) (whole disc repeat) REPEAT OFF (no repeat) < Halting playback stops the repeat mode. Track repeat When this is selected, the currently selected track repeats. -
Page 17: Word Sync
This feature is used when you want to get your whole system locked to a single sync signal (clock) by connecting this unit to the Esoteric AI-10, G-0/G-0s or other devices that are capable of outputting a sync signal (word clock). -
Page 18: Setting Word Sync, Digital Filter, Dsd, Etc
Setting Word Sync, Digital Filter, DSD, etc. MODE Repeatedly press the MODE button to select the menu item to be changed. WORD (normal display) < If you leave the unit idle for 10 seconds, the setting mode will be cancelled. Use the SKIP buttons (.//) to select the options within the menu item. -
Page 19: Settings (Introduction)
Settings (introduction) - Page 20 Leave them as they are (factory settings). They concern the i.LINK (AUDIO) terminals, and will have effect only after a future hardware upgrade (charged). Note that “Distance” have no effect on the SA-10 even after a hardware upgrade. Settings (Setup Menu Chart) GeneralSet SP Setup...
-
Page 21: Settings (Audio Setup)
Analog output settings (Analog Out) When an option marked with “>” is displayed, use the up or down cursor buttons to change the setting, and press the ENTER button to confirm the entry. Select “2ch” to output 2-channel audio from the LINE OUT terminals. -
Page 22: Speaker Size (Sp Size)
This setup has no effect at the moment. Leave this setup as it is (factory settings) When the SA-10 is updated in the future, it will have an effect on the sound output from the i.LINK (AUDIO) terminals. Use these speaker setup menus when the i.LINK (AUDIO) terminal is connected to a surround sound amplifier, and when you don’t use the speaker menus of the amplifier. - Page 23 i.LINK Output Setting The i.LINK (AUDIO) terminals will become available after a future hardware upgrade (charged). When the i.LINK (AUDIO) terminal is connected to an amplifier or a D/A converter, select a proper i.LINK output setting. Press the i.LINK button. Each time the i.LINK button is pressed, the output setting changes.
-
Page 24: Troubleshooting
Digital audio recording is not possible on another device e Copy-prohibit material cannot be copied digitally. Noticeable difference in CD and Super Audio CD’s volume. e That is because CDs and Super Audio CDs use different recording methods. Word Sync The display shows “No Word!”... -
Page 25: Data Transfer Rate
The i.LINK (AUDIO) terminals will become available after a future hardware upgrade (charged). The i.LINK is also known as IEEE 1394, an international specification. By connecting an i.LINK (AUDIO)-capable device to the i.LINK (AUDIO) terminal on this unit using an i.LINK cable, you can transmit Super Audio CD multi-channel signals that could not be transmitted but in analog format in the past can be transmitted in its original digital format, in addition to the capability of... -
Page 26: Specifications
Input level......TTL level/75 Ω The SA-10 can accept and synchronize to the following...
Need help?
Do you have a question about the SA-10 and is the answer not in the manual?
Questions and answers