Advertisement
Quick Links
Advertisement

Subscribe to Our Youtube Channel
Related Manuals for Outsunny 84C-249


Summary of Contents for Outsunny 84C-249
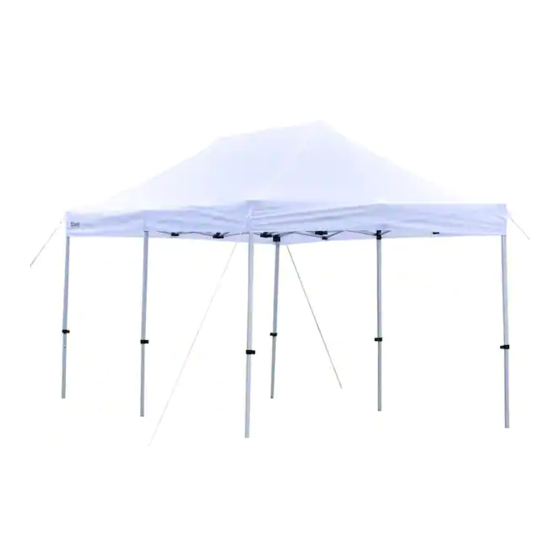
- Page 1 INbra001_US 84C-249 READ AND SAVE THIS INSTRUCTIONS FOR FUTURE USE ASSEMBLY & INSTRUCTION MANUAL...
- Page 2 Warning: . 1. A 3 person assembly is required for this tent. 2. Please take appropriate actions as heavy rain, wind and snow can damage the tent. If necessary please dis-assemble and store for later use. 3. In snowy conditions please do not alow the thickness of the snow to be more than 5cm on the roof, this should be cleared as soon as possible for your safety.
- Page 3 PART ① ② ④ ⑤ ③ 1. Need 4 persons to assemble the canopy. Stand frame upright. Starting at the corners, with a partner standing on the opposite side, grasp the two out legs, slightly lift the frame off the ground and step backward, stopping at full arms' length.
- Page 4 2. Place the Main Canopy over the top frame. Use the Velcro pads to secure each corner of the canopy to the frame under the plastic leg caps. 3. Each person should then grasp the bottom of the middle frame section(cross beams) where it forms a diamond.
- Page 5 4. Engage the slider at each corner by pushing up the slider with one hand while holding down the top of the leg with the other hand. Repeat this at the rest of corners. 5. Lift two adjacent outer legs and pull out inner legs gently until spring loaded snap button pops in position.
- Page 6 6. Attach the Velcro straps around the frame to secure canopy top. 7. Secure the gazebo by driving a stake down through one of the holes in each foot base.
- Page 7 8. Measure out from the leg to a proper distance and secure the four big stakesto ground at a 45 degree angle. Tie up one end of each guide rope to the triangular shaped rope holder located on the outside fabric cormers. Tie the other end of each rope to the stake on the ground.
- Page 8 2. Detach Velcro Straps from each side of the canopy frame. 3. Release each push pin on MIDDLE leg and shorten the frame to its original height prior to extending the legs during set-up.
- Page 9 4. Release each konb button on each Corner leg and shorten the frame to its original height prior to extending the legs during set-up. 5. With partner on the opposite side, grasp the middle section of the frame and lift up slightly.
- Page 10 6. Walk forward slowly allowing for the frame to fold inward and close. Be careful not to pinch fingers or hands as you close the frame. 7. Completely close the frame with or without the canopy attached.
- Page 11 8.Place the frame into the storage bag slowly until gazebo fits comfortably. Zip the storage bag completely shut. Be sure the gazebo is completely dry before storage. 9.Wheel your portable gazebo to your desired storage area.
Need help?
Do you have a question about the 84C-249 and is the answer not in the manual?
Questions and answers