Delta 980T-SS-DST Series Installation Manual
Single lever pilar touch pull down kitchen faucets
Hide thumbs
Also See for 980T-SS-DST Series:
- Installation manual (16 pages) ,
- Installation instructions manual (16 pages)
Advertisement
Table of Contents
- 1 Solenoid Installation
- 2 Hose Installation
- 3 Instalación de la Manguera
- 4 Wire Connections
- 5 Soap Dispenser Installation
- 6 Setting the Handle Limit Stop
- 7 Fijando la Parada de Límite de la Manija
- 8 Manual Bypass of Electronic Features
- 9 Cleaning the Screen
- 10 Maintenance
- 11 Low Battery Indication
- 12 Mantenimiento
- 13 Entretien
- 14 Solenoid Troubleshooting
- 15 Parts Overview
- Download this manual
U P
ASME A112.18.1 / CSA B125.1
ICC / ANSI A117.1
Models/Modelos/Modèles
980T-SS-DST & 980T-SSSD-DST
Series/Series/Seria
Write purchased model number here.
Escriba aquí el número del modelo comprado.
Inscrivez le numéro de modèle ici.
WARNING: THIS FAUCET IS NOT TO BE USED WITH PORTABLE
DISHWASHERS! / ADVERTENCIA: ¡SESTA LLAVE NO SE DEBE UTILIZAR
CON MAQUINAS LAVAPLATOS PORTATILES! / AVERTISSEMENT: ON NE
DOIT PAS BRANCHER UN LAVE-VAISSELE PORTATIF SUR CE ROBINET!
MEETS OR EXCEEDS — ASME A112.18.1 / CSA B125.1
ALCANZA O EXCEDE LAS SIGIENTES NORMAS —
ASME A112.18.1 / CSA B125.1
LE ROBINET EST CONFORME OU SUPèRIEUR AUX EXIGENCES DES
NORMES SUIVANTES: ASME A112.18.1 / CSA B125.1
For easy installation of your Delta
faucet you will need:
• To READ ALL the instructions completely
before beginning.
• To READ ALL warnings, care, and maintenance
information.
Para instalación fácil de su llave Delta
usted necesitará:
• LEER TODAS las instrucciones completamente
antes de empezar.
• LEER TODOS los avisos, cuidados, e
información de mantenimiento.
Pour installer votre robinet Delta
facilement, vous devez:
• LIRE TOUTES les instructions avant de débuter;
• LIRE TOUS les avertissements ainsi que toutes
les instructions de nettoyage et d'entretien.
60089
C
®
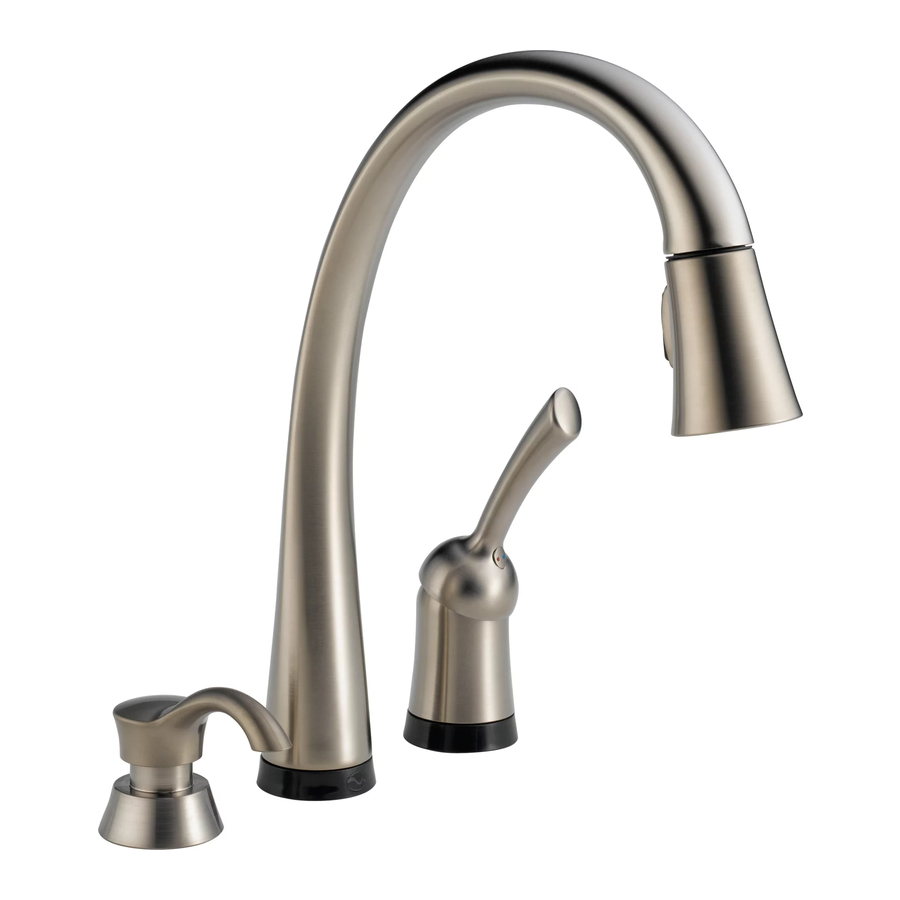
SINGLE LEVER PILAR™ TOUCH
PULL DOWN KITCHEN FAUCETS
LLAVES DE AGUA EXTRAIBLES PARA
COCINAS DE PALANCA PILAR™ DE
FUNCIÓN AL TACTO
ROBINET TACTILE PILAR
RÉTRACTABLE POUR ÉVIER DE CUISINE
You may need/Usted puede necesitar/
Articles dont vous pouvez avoir besoin:
T E FLO N
60089
1
À BEC
MC
2/25/09
Rev. C
Advertisement
Table of Contents

Related Manuals for Delta 980T-SS-DST Series


Summary of Contents for Delta 980T-SS-DST Series
- Page 1 • To READ ALL the instructions completely before beginning. • To READ ALL warnings, care, and maintenance information. Para instalación fácil de su llave Delta usted necesitará: • LEER TODAS las instrucciones completamente antes de empezar. • LEER TODOS los avisos, cuidados, e información de mantenimiento.
- Page 2 ® be free from defects in material & workmanship for a period of 5 years. Delta Faucet Company recommends using a professional plumber for all installation & repair. Delta will replace, FREE OF CHARGE, during the warranty period, any part or finish that proves defective in material and/or workmanship under normal installation, use &...
- Page 3 Top Mount / Instalación por Encima / Bâti su NOTE: These faucets are designed to fit a maximum counter top thickness of 2 1/2”. NOTA: Estas llaves de agua / grifos están diseñadas para usar en encimeras – muebles con un grosor de 2 1/2”. NOTE : Ces robinets sont conçus pour un comptoir ayant une épaisseur maximale de 2 1/2 po.
-
Page 4: Solenoid Installation
Valve Assembly Installation Slide the gasket (1) up over tubes and wire of valve assembly, then place into groove in base (2). Feed tubes and wire down through hole in sink making sure that the gasket is properly seated. Note: If surface is rough or uneven use silicone under the gasket. -
Page 5: Hose Installation
Insert hose through spout tip only. Hose Installation Insert hose guide (1) into the end of hose (2). Make sure LED wire (3) is clear of shank (4). Pass hose (2) up through tip of spout (5) and out shank (4). It may take several attempts to feed hose. -
Page 6: Wire Connections
Wire Connections Briefly touch the cold stop or other ground to dissipate any static charge. Attach wire (1), from the solenoid assembly, onto the groove on the spout mounting shank (2). Wire extension from the shank (3) is shipped with a protective plastic cap (4). Remove this by grasping the plug and pulling off the cap. Discard cap. Connect wire (3), extending from the mounting shank, to wire (5) extending from the solenoid assembly. - Page 7 Delta no se responsabiliza por las tuberías que se han cortado demasiado cortas o cortadas de una manera que no permite una articulación libre de filtración.
- Page 8 Correct method Método Correcto Bonne méthode Custom Fit Connections - Plastic Sleeve Installation Instructions 1. Identify desired length of tube (1). Leave 1" - 2" of extra length to allow for easier installation and cut tube. Ensure cut is straight and burr free. 2.
- Page 9 Clip the "C" shaped clips (1), on the ends of the green wire harness (2), to the nuts of the inlet hoses. Grooves in the nuts will retain the clips in place. To provide positive connections and to prevent the clips from becoming dislodged, electrical tape can be wrapped around the clips.
-
Page 10: Setting The Handle Limit Stop
Setting The Handle Limit Stop (Optional) This faucet includes an integrated handle limit stop that has two positions. Position 1, to the left, allows full handle motion (the full range between “all cold” to “all hot”). The faucet is set in position 1 in the factory. Position 2, to the right, allows half of the normal handle motion (“all cold”... -
Page 11: Cleaning The Screen
Nota: Si la luz roja (8) está destellando durante 2 segundos cuando está prendido y 2 segundos cuando está apagado, llame al departamento de Servicio al Consumidor al 1-800-345-DELTA. Note : Si le voyant rouge (8) clignote pendant 2 secondes, puis demeure éteint pendant 2 secondes, appelez le service à... -
Page 12: Solenoid Troubleshooting
Solenoid Troubleshooting 1. If your spout flashes a red light on then off and then keeps repeating this, replace the batteries. If the spout still flashes a red light, please replace RP53230, solenoid and electronics kit. (see manual bypass of electronics section*) 2. -
Page 13: Parts Overview
RP53211▲ Spout & Base Assembly Ensamble del Tubo de Salida y Base Bec et Base RP53210▲ Sprayer Assembly w/Integral Checks Ensamble del Rociador Con Topes Integrados Douchette avec clapets de non-retour intégrés RP50815 Aerator Aereador Aérateur RP52217 Wrench Llave Clé RP6052 Spout Gasket Empaque del surtidor... - Page 14 Notes / Notas / Notes...
- Page 15 Notes / Notas / Notes...
- Page 16 Notes / Notas / Notes...