
Related Manuals for Curtis TV2010


Summary of Contents for Curtis TV2010
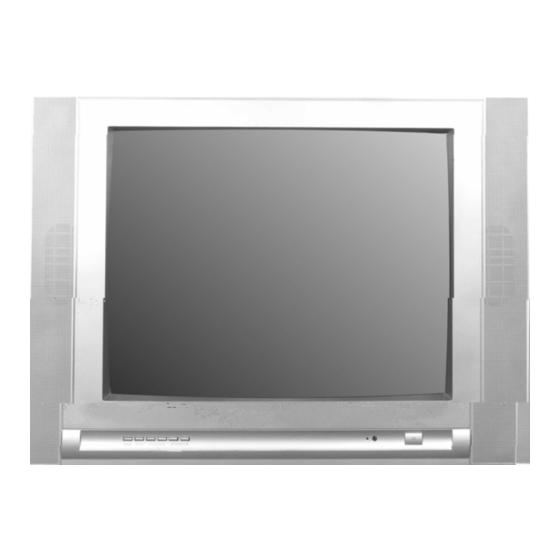
- Page 1 TV2010 Colour Television OPERATION MANUAL Please read these instructions carefully Before operating this product...
-
Page 2: Installation
Thank you for purchasing our product. To ensure that you fully understand the capabilities of this television set, please read this entire manual carefully, and keep it handy for future reference. INSTALLATION • Locate the TV set in a room where direct light does not reflect on the screen. -
Page 3: Important Safeguards
IMPORTANT SAFEGUARDS READ INSTRUCTIONS All the safety and operating instructions should be read before the unit is operated. RETAIN INSTRUCTIONS The safety and operating instructions should be retained for future reference. HEED WARNINGS All warnings on the unit and in the operating instructions should be adhered to. -
Page 4: The Causes Of Interference
18. SERVICING Do not attempt to service this unit yourself as opening or removing covers may expose you to dangerous voltage or other hazards. Refer all servicing to qualified service personnel. 19. DAMAGE REQUIRING SERVICE Unplug this unit from the wall outlet and refer servicing to qualified service personnel under the following conditions: a) When the power-supply cord or plug is damaged. -
Page 5: Location Of Controls
LOCATION OF CONTROLS Television Set Side A/V Inputs Speaker TV/AV Selector Menu Button Volume Down Button Volume Up Button Channel Down Button Channel Up Button Power Indicator 10. Remote Sensor 11. Main Power Switch 12. Speaker 13. AC power Cord 14. -
Page 6: Dvd Player
Connection to Other Devices This TV set can be connected to a VCR, DVD player, video camera, game system or any other A/V component. DVD Player Side Jacks Video/Audio equipment can be connected to AUDIO and VIDEO IN jacks located on the back or side panel of the TV set. -
Page 7: Remote Control
REMOTE CONTROL... -
Page 8: Using The Remote Control
USING THE REMOTE CONTROL Installing batteries Notes: Use only the size and type of batteries specified. Do not mix different types of batteries together or old batteries with fresh ones. Remove the batteries when remote control will not be used for a long period of time. -
Page 9: Selecting Input Signal
SELECTING INPUT SIGNAL Watching AV program This TV set provides AV input terminals for your convenient connection to VCR, or other video equipments. To watch video program from AV inputs, press TV/AV button repeatedly until you see the appropriate input indicator on the screen. -
Page 10: Channel Selection
Press MENU button repeatedly to display Search menu. Press CH- or CH+ to select Channel menu item. Press V- or V+ to select the unwanted channel. Press CH- or CH+ to select Skip. Press V- or V+ to select Skip ON. Thus, after exiting the menu, the channel will then be skipped when you select programs with the Channel up/down button. -
Page 11: Picture Adjustment
Use DSP button to know the current channel number Press DSP button to display the current TV state. If in TV program 12 ST SAP viewing, then it will display the current channel number, sound mode and remaining sleep time (if set). To scan programs Press SCAN button, the TV set will scan the channels from current channel to higher channels one by one, every program will be displayed for about one second and then go on scanning. -
Page 12: Sound Controls
SOUND CONTROLS Adjusting Volume Use Volume up/down button Press V- button, the volume decreases; Press V+ button, the volume increases. Make use of Sound menu to adjust volume Press MENU twice to display Sound menu, then make use of V+/-button to adjust the level. Use MUTE button Press MUTE button on the remote control to cut off the sound from TV. -
Page 13: System Settings
Setting sleep timer Making use of the Sleep timer function allows you to have the set automatically turn off after a preset time. For example, if you would like the TV to auto turn off in 60 minutes, you can press button repeatedly until the screen displays the desired amount of time. -
Page 14: Specifications
SPECIFICATIONS Television System: NTSC/M Receiving channel: 181 channel tuner (Frequency synthesized tuning) Audio output: 2 speakers of 3W each Audio output mode: RF-MONO, A/V STEREO Antenna impedance: 75 ohm terminal Output terminal: Video input 1vp-p/75 Ohm, audio input 400mV Closed caption: NTSC/M receiving time (cc1-cc4/tt1-tt4) OSD Language: English/French...
Need help?
Do you have a question about the TV2010 and is the answer not in the manual?
Questions and answers
Need help to get the tv to work
To troubleshoot the Curtis TV model TV2010:
1. Power Supply: Ensure it is connected to the correct power source (not DC or an unspecified supply).
2. Ventilation: Make sure the TV has enough space for ventilation and is not placed near heat sources or in direct sunlight.
3. Sound Issues: If there's no sound, press the mute button on the remote to resume audio.
4. Timer Settings: If the TV doesn’t turn on automatically, check that the clock is set correctly before setting the ON timer.
5. ON Timer Setup:
- Press MENU repeatedly to access the Timer menu.
- Set the clock using CH- or CH+ to select Clock, then V- to set the hour and V+ to set minutes.
- To set the ON timer, select On Time and On Program, set the time and channel, then choose Once or Everyday under Repeat.
- Switch the TV to standby mode for the timer to activate.
If the TV still doesn't work, check for physical damage or consider professional service.
This answer is automatically generated