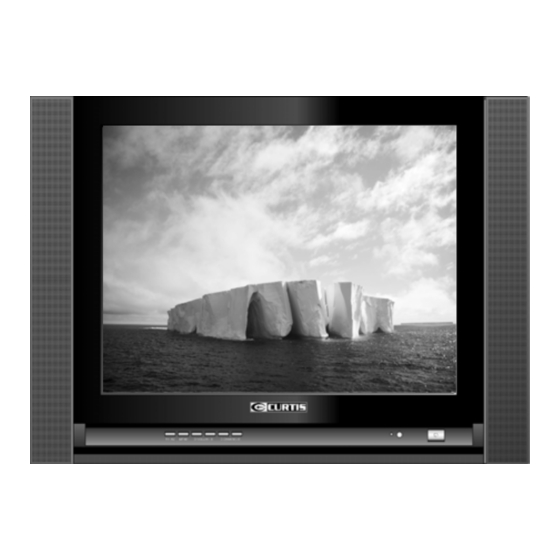
Table of Contents
Advertisement
Quick Links
Advertisement
Table of Contents

Summary of Contents for Curtis TV2740
-
Page 2: Installation
Never connect this TV set to DC supply or any other power supply than the one indicated in SPECIFICATIONS section. Do not install the TV set in a location near heat sources such as a radiator, air ducts, and direct sunlight or in a closed area without proper ventilation. -
Page 3: Important Safeguards
IMPORTANT SAFEGUARDS READ INSTRUCTIONS All the safety and operating instructions should be read before the unit is operated. RETAIN INSTRUCTIONS The safety and operating instructions should be retained for future reference. HEED WARNINGS All warnings on the unit and in the operating instructions should be adhered to. -
Page 4: The Causes Of Interference
Herringbone pattern and partial picture loss can result from the operation of diathermy equipment from a nearby medical center or hospital. Snow Weak TV signals from long distant stations result in an unsteady picture and give the effect of falling snow. An antenna adjustment or antenna amplifier may be needed. Ghost Multiple images caused by TV signals reflected back from surrounding buildings, hills, aircraft, etc. -
Page 5: Location Of Controls
LOCATION OF CONTROLS Television Set Side A/V Inputs Speaker TV/AV Selector Menu Button Volume Down Button Volume Up Button Channel Down Button Channel Up Button Power Indicator 10. Remote Sensor 11. Main Power Switch 12. Speaker 13. AC power Cord 14. -
Page 6: Connection To Other Devices
Connection to Other Devices This TV set can be connected to a VCR, DVD player, video camera, game system or any other A/V component. DVD Player Side Jacks Video/Audio equipment can be connected to AUDIO and VIDEO IN jacks located on the back or side panel... -
Page 7: Remote Control
REMOTE CONTROL... -
Page 8: Using The Remote Control
To Switch the TV Set On and OFF When the TV is plugged into an AC outlet, the main POWER is ON and the TV is in Standby mode. The TV set can be put in stand-by mode (OFF) or ON by pressing the “Power on/Standby” button on the remote control or by pressing the Main Power Switch in front of the TV. -
Page 9: Selecting Input Signal
S-VIDEO IN terminals. Switching from AV to TV When the TV set is in AV mode, you can press TV/AV button repeatedly to switch back to TV mode. TUNING IN TV/CATV selection... -
Page 10: Channel Selection
AFT. Enter into Search menu, press CH- to select AFT then press V-or V+ to select AFT On. CHANNEL SELECTION You can select your desired TV p rogram by one of the following methods. Use Direct Channel Select buttons... -
Page 11: Picture Adjustment
Use DSP button to know the current channel number Press DSP button to display the current TV state. If in TV program 12 ST SAP viewing, then it will display the current channel number, sound mode and remaining sleep time (if set). -
Page 12: Sound Controls
Before setting the ON timer and OFF timer, please set the Clock item first. Setting ON timer/ON program With the ON timer, the TV will automatically turn on to a preset channel at a preset time. 1. In Timer menu, press CH- or CH+ to select On Time. -
Page 13: System Settings
Press V+ or V- to select a proper OSD language. Setting Blue Screen If the Blue Screen is turned on, the TV will appear a blue screen when there is no input signal. 1. Enter into Settings menu. 2. Press CH- or CH+ to select Blue Screen. -
Page 14: Troubleshooting Guide
Audio output: Audio output mode: Antenna impedance: Output terminal: Closed caption: OSD Language: Power: Measurements (Length Width Height): Net Weight: Accessories: Note: Design and specifications are subject to change without prior notice TROUBLESHOOTING GUIDE Should this unit exhibit a problem, check the following before seeking service: Symptoms No picture, no sound Poor sound, picture OK...


Need help?
Do you have a question about the TV2740 and is the answer not in the manual?
Questions and answers