Table of Contents
Advertisement
Installation, Start-up and Maintenance Manual
Publication Number: 631806051
Revision Date: September 1, 2007
Revision: A
Visit the IMI Cornelius web site at
CCM and CCU Series Installation, Start-up and Maintenance Manual
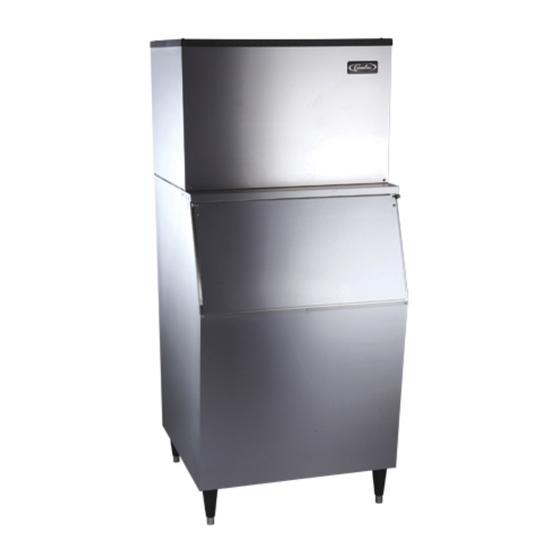
Nordic Ice Maker
Model CCM and CCU Series
www.cornelius.com
IMI CORNELIUS INC.
www.cornelius.com
for all your Literature needs.
Manual Number 631806051
Advertisement
Table of Contents

Related Manuals for Cornelius CCM CCU


Summary of Contents for Cornelius CCM CCU
- Page 1 Installation, Start-up and Maintenance Manual Publication Number: 631806051 Revision Date: September 1, 2007 Revision: A Visit the IMI Cornelius web site at CCM and CCU Series Installation, Start-up and Maintenance Manual Nordic Ice Maker Model CCM and CCU Series www.cornelius.com for all your Literature needs.
- Page 3 CCM and CCU Series cube ice machines. Do not attempt to perform installation, start-up or maintenance unless you have read and fully understand this manual. If at any time you encounter conditions that are not addressed in this manual, please contact the Cornelius Technical Service Department at: E-Mail: tech.service@Cornelius.com...
-
Page 4: Table Of Contents
Foreward Table of Contents Freight Claim Procedure Model Number and Serial Number Format Installation Guidelines Remote Condenser Guidelines Electrical and Plumbing Requirements How the Machine Works Start-Up Procedure General Maintenance Cleaning Procedure Cabinet Care Winterizing Procedure Maintenance Record Page ii Table of Contents Page i Page ii... -
Page 5: Freight Claim Procedure
If loss or damage does not appear until merchandise has been unpacked, make a written request for inspection by the carrier within 15 days of the delivery date. Then file a claim on a form from the carrier. File Claim Without Delay Do Not Return Damaged Merchandise to Cornelius Page iii... -
Page 6: Model Number And Serial Number Format
Condenser Type: A=Air, W=Water, R=Remote Cabinet Width (in inches) Approximate Production X 10 in 24 hours 70°F Air / 50°F Water Series: Cornelius Cuber Modular (U=Undercounter) Large data plate will be placed on the back of the unit. Serial Number... -
Page 7: Installation Guidelines
Installation Guidelines Installation Guidelines For proper operation of the Cornelius ice machine, the following installation guidelines must be followed. Failure to do so may result in loss of production capacity, premature part failures, and may void all warranties. Reference the installation parameters prior to installing the machine: Ambient Operating Temperatures Minimum Operating Temperature: 50°F (10°C) - Page 8 If the ice machine is too far forward on the bin, the opened door may not be stable, resulting in an unexpected closing of the bin door. If the ice machine is to be mounted on a bin or dispenser other than a Cornelius, refer to the manufacturers instructions for machine mounting.
-
Page 9: Remote Condenser Guidelines
Remote Condenser Installation For proper operation of the Cornelius ice machine, the following installation guidelines must be followed. Failure to do so may result in loss of production capacity, premature part failure, and may void all warranties. Remote condensers must be installed per local building codes. A two to four inch diameter roof penetration will be needed for refrigerant lines and electrical conduit. - Page 10 The CCM0530R, CCM0630R, CCM0830R, CCM1030R and CCM1530R remote ice makers incorporate the mixing valve in the condenser. This configuration allows up to a 100 foot calculated remote line set run. Reference the diagram below to calculate the maximum 100 foot line set run. ICE Machine Model Number CCM1530R CCM1030R...
-
Page 11: Electrical And Plumbing Requirements
Electrical and Plumbing Requirements Electrical and Plumbing Requirements: CCU0150, and CCU0220 (Includes 50Hz. and 230 Volt Units) Note: The CCU Undercounter series do not have a splash curtain. These models utilize a thermostatic bin control in place of a mechanical bin switch. - Page 12 Electrical and Plumbing Requirements Electrical and Plumbing Requirements: CCU0300 (Includes 50Hz.Units) Note: The CCU Undercounter Series do not have a splash curtain. These models utilize a thermostatic bin control in place of a mechanical bin switch. ON-OFF-WASH Switch is located in the control box. Remove the grill screws to access the control box.
- Page 13 Electrical and Plumbing Requirements Electrical and Plumbing Requirements: CCM0330, CCM0430, CCM0530, CCM0630 (Includes 50Hz. Units) Page 8...
- Page 14 Electrical and Plumbing Requirements Electrical and Plumbing Requirements: CCM0830 and CCM1030 (Includes 50Hz. And 3 Phase Units) Page 9...
- Page 15 Electrical and Plumbing Requirements Electrical and Plumbing Requirements: CCM1448, CCM1848 AND CCM2148 (Includes 50Hz. and 3 Phase Units) Page 10...
- Page 16 Electrical and Plumbing Requirements Electrical and Plumbing Requirements: CCM0322 AND CCM0522 (Includes 50Hz.Units) Page 11...
- Page 17 Electrical and Plumbing Requirements Electrical and Plumbing Requirements: CCM1530 Remote Page 12...
-
Page 18: How The Machine Works
How the CCM Ice Machine Works How the Ice Machine Works A general description of how the CCM Series cubers works is given below. With the ICE/OFF/WASH switch in the ICE position, the compressor, water pump and condenser fan motor (when applicable) will energize starting the freeze cycle. -
Page 19: Start-Up Procedure
Start-Up Procedure Before starting the machine, make sure the machine is level within 1/8 inch in all directions, the bin or dispenser leg height can be adjusted by rotating the leg foot. Check the water level in the water trough. It should be approximately ½ inch above the top of the water pump impeller housing. - Page 20 Bin Control Operation The bin control is used to shut the machine off when the bin fills with ice. The bin control must be checked upon installation or initial start-up and when performing maintenance. There is one bin switch for each evaporator. The actuator arm of the bin switch comes in contact with the splash curtain.
-
Page 21: General Maintenance
General Maintenance Electrical shock and/or injury from moving parts inside this machine can cause serious injury. Disconnect electrical supply to machine prior to performing any adjustments or repairs. Failure to perform the required maintenance at the frequency specified will void warranty coverage in the event of a related failure. -
Page 22: Cleaning Procedure
Ice Machine Cleaning and Sanitizing Instructions 1. Remove the ice machine front panel. 2. Make sure that all the ice is off of the evaporator. If ice is being made, wait for cycle completion then turn the machine “OFF” at the ICE/OFF/WASH selector switch. 3. -
Page 23: Cabinet Care
Cleaning stainless steel Commercial grades of stainless steel are susceptible to rusting if not properly maintained. It is important that you properly care for the stainless steel surfaces of your ice machine and bin to avoid the possibility of rust or corrosion. Use the following recommended guidelines for keeping your stainless steel looking like new: 1. -
Page 24: Winterizing Procedure
Winterizing Procedures Important! Whenever the ice machine is taken out of operation during the winter months, the procedure below must be performed. Failure to do so may cause serious damage and will void all warranties. 1. Turn off water to machine. 2. -
Page 25: Maintenance Record
Service History Service History Model Number__________________Serial Number__________________Date Installed__________ __________________________________________________________________________________________ __________________________________________________________________________________________ __________________________________________________________________________________________ __________________________________________________________________________________________ __________________________________________________________________________________________ __________________________________________________________________________________________ __________________________________________________________________________________________ __________________________________________________________________________________________ __________________________________________________________________________________________ __________________________________________________________________________________________ __________________________________________________________________________________________ __________________________________________________________________________________________ __________________________________________________________________________________________ __________________________________________________________________________________________ __________________________________________________________________________________________ __________________________________________________________________________________________ __________________________________________________________________________________________ __________________________________________________________________________________________ __________________________________________________________________________________________ __________________________________________________________________________________________ __________________________________________________________________________________________ __________________________________________________________________________________________ __________________________________________________________________________________________ __________________________________________________________________________________________ __________________________________________________________________________________________ __________________________________________________________________________________________ __________________________________________________________________________________________ __________________________________________________________________________________________ __________________________________________________________________________________________ __________________________________________________________________________________________ __________________________________________________________________________________________ __________________________________________________________________________________________ __________________________________________________________________________________________ __________________________________________________________________________________________ __________________________________________________________________________________________...
Need help?
Do you have a question about the CCM CCU and is the answer not in the manual?
Questions and answers