Table of Contents
Advertisement
Quick Links
Advertisement
Table of Contents

Related Manuals for Lilliput GK-7600


Summary of Contents for Lilliput GK-7600
- Page 1 Industrial control equipment manual Manual Instruction...
-
Page 2: Table Of Contents
Directory IMPORTANT SAFETY INSTRUCTIONS ........................... 2 CAUTIONS ................................... 2 Q&A.................................... 3 1.INTRODUCTION ............................... 4 2.CONNECTIONS AND CONTROLS ..........................5 ..................................5 RONT ANEL ..................................6 ANEL 3.SETTING UP ................................7 ..............................7 OUCH SCREEN CALIBRATION 4.WHOLE INSTALLATION ............................11 5.DIMENSION ................................12 6. -
Page 3: Important Safety Instructions
IMPORTANT SAFETY INSTRUCTIONS Please read User Guide before using this product. Please keep User Guide for future reference. Please read the cautions to prevent possible danger and loss of property. CAUTIONS Please do not place the display screen towards the ground. ... -
Page 4: Q&A
Q&A 1. Power Issues cannot power on Please check the connector plugs and connector jack. Ps:Please make sure that power switch cable connected well to avoid unnecessary problems. 2. Screen Issues No display. Implement time last long when click on functions, which result in can’t be activated. Delaying or stagnating when pictures switch. -
Page 5: Introduction
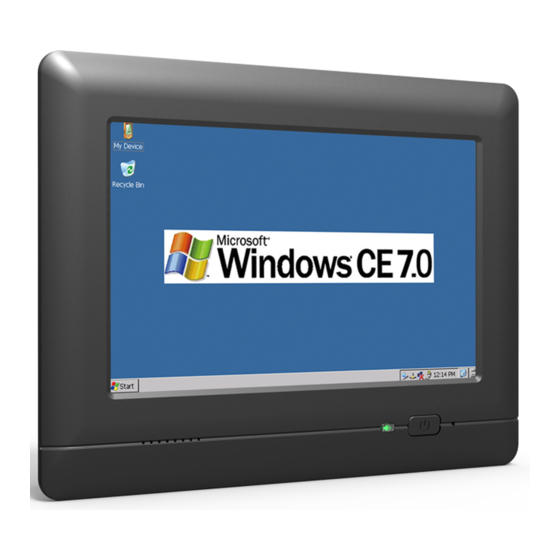
1. INTRODUCTION Overview It’s a highly performance embedded industrial control device, which has a core CPU of TI3352 processor (based on ARM Cortex-A8) with Windows Embedded Compact7 / Linux Debian7.0 operating system. With features of rich resources, interfaces, low consumption and high reliability, etc. -
Page 6: Connections And Controls
2. CONNECTIONS AND CONTROLS Front Panel Buttons Description Speaker Speaker ① If without battery, the indicator light is green when power on; and the indicator light is off when power off. ② If with battery, and the battery is not fully charged, the light is red when Power indicator power on;... -
Page 7: Rear Panel
Rear Panel... -
Page 8: Setting Up
3. Setting Up Touch screen calibration If the touch screen can't respond to your click, please run the touch screen calibration program. 1. Connect the power and press the power key to open, directly enter into the OS of Windows Embedded Compact7 2. - Page 9 3. Click "Control Panel" in the file manager 4. Then click "Stylus"...
- Page 10 5. Select "Calibration" in "Stylus Properties" dialog box 6. Click "Recalibrate" to begin the calibration. 7. During calibration, keep your finger or touch pen on the cross center of the screen until it moves to another area on the screen. 【Operational tip】...
- Page 11 8. Arbitrarily click the screen after calibration. Return to "Stylus Properities" 9. Finish calibration; 10. Click to accept new setting, and exit the screen calibration. 11. Click to reserve original setting, and exit the screen calibration.
-
Page 12: Whole Installation
4. Whole Installation About Mounting Process for Device 1. Mounting the whole device into the wall. (ps: the thickness of wall should be within 15mm) 2. Insert the 4 iron sheets to the sockets at the back of device. (as the guiding lines of above chart) 3. -
Page 13: Dimension
5. DIMENSION 6. Battery Installation I. Battery: II. Plug power line into socket of battery slot... - Page 14 III. After plug in and put the battery into slot IV. Settle the power line in the slot, then finish installation. V. Serial port switch.
-
Page 15: Parameters
7. Parameters CPU TI 3352 600MHz ARM Cortex-A8 System configuration ROM: 4GB eMMC Flash RAM:DDR3-512MB OS: Windows Embedded Compact7/ Linux Debian 7.0 SIM card slot Micro SD (TF) card slot USB Device 2.0×1,USB Host 2.0×2 Interface Earphone output port DC power input RS232×2 / RS422×1 (or RS485×1) interface LAN Ethernet Function... -
Page 16: Accessories
8. Accessories...
Need help?
Do you have a question about the GK-7600 and is the answer not in the manual?
Questions and answers