Advertisement
10
技术要求:
1.说明书设计尺寸:210×297mm(A4),印刷尺寸:142×210
2.整本说明书使用105g铜版纸黑白印刷,其他颜色详见内文;
3.必须保证字体按照图纸正确印刷,不得出现乱码现象;
4.纸张边角应裁切整齐,印刷字迹清晰整洁、内容正确,没有明显的拖墨和重影等缺陷;
5.未注公差按GB/T 1804-C标准执行;
变更记录:
变更单号
变更人
说明书
品牌:CCH
(版本号编码规则:品牌首字母+日期,示例:T20210111)
变更日期
说明书版本号 变更内容
印 刷 标 准 颜 色 CMYK 值
CMYK:100/50/0/0
CMYK:0/0/100/0
CMYK:15/100/20/0
CMYK:0/0/0/100
mm;
设 计
校对1
谭丽佳
封晓晶
工 艺
校对2
批 准
许传刚
此页面无须印刷
This page needs no printing.
审核1
图 样 标 记
黄檞栋
审核2
S
A
B
李玉旺
江苏友奥电器有限公司
日 期
20210113
重 量 比 例
1:1
Advertisement

Subscribe to Our Youtube Channel
Related Manuals for CCH YPS3-14H


Summary of Contents for CCH YPS3-14H
- Page 1 印 刷 标 准 颜 色 CMYK 值 审核1 图 样 标 记 重 量 比 例 设 计 校对1 谭丽佳 封晓晶 黄檞栋 说明书 工 艺 校对2 审核2 李玉旺 CMYK:100/50/0/0 CMYK:0/0/100/0 品牌:CCH CMYK:15/100/20/0 CMYK:0/0/0/100 江苏友奥电器有限公司 批 准 日 期 许传刚 20210113...
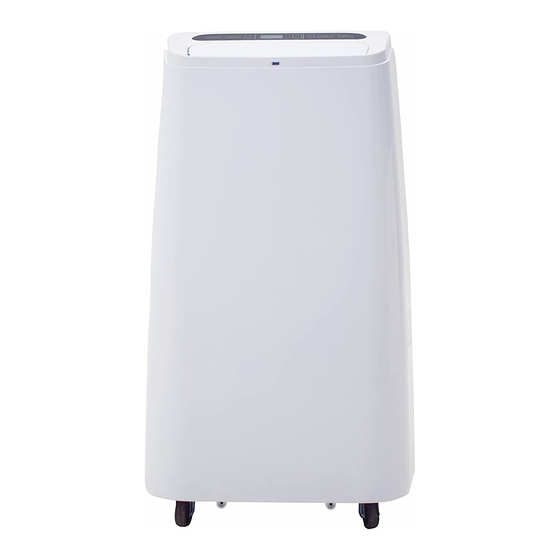
- Page 2 YPS3-14H Portable Air Conditioner User Manual Thank you for selecting this high quality air conditioner. Please be sure to read this manual carefully before using it.
-
Page 3: Table Of Contents
Page: 2/14 Content I. Notes....................3 II. Featuresand Components............III. Installation and Adjustment............6 IV. Control Setting.............. .…..V. Drainage Instructions............... 10 VI. Maintenance………………………………………………… VII. Troubleshooting................12 VIII. Appendix................. 13... -
Page 4: Notes
Page: 3/14 Thank you for choosing the luxurious and elegant mobile air conditioner. Please keep the manual for later review, and read the manual carefully before use. I. Notes Notes: The air conditioner is only suitable for indoor use, and is not suitable for other applications. * Follow local grid interconnection rules while installing the air conditioner and ensure that it is properly grounded. -
Page 5: Featuresand Components
Page: 4/14 II. Features and Components 1. Features New look, compact structure, streamlined machine, aristocratic atmosphere. • Provides cooling, heating (single cold with no such function), dehumidification and air supply • function. Has automatic air swing function. The outlet can be covered when the machine is turned off to •... - Page 6 air vent -exhaust Exhaust hose assembly Heat preservation sleeve of exhaust pipe...
- Page 7 1. Installation: Warning: before using the mobile air conditioner, keep it upright for at least two hours. The air conditioner can be easily moved in the room. In the moving process, ensure that the air conditioner is in the upright position and should be placed on a flat surface. Do not install and use the air conditioner in the bathroom or other humid environments.
- Page 8 Page: 7/14 Figure 4 2)Elongate the hose and snap the flat end of the hose joints into the elliptical hole of the window sealing plate assembly (as shown in Figure 5 and Figure 6) . Notes: 1. the flat end of the hose joints must be snapped into place. 2.
- Page 9 Power key Mode selection key Window display Down key Up key Wind speed selection key Timing key When power is connected to the unit for the first time, buzzer will play power-on music, and then the machine will get into standby status. 1.
- Page 10 Page: 9/14 7. Timer Key: During power on, press the key to close timing. During power off, press the key to open timing. downwards by one hour increments. Instructions of key operation of the high-quality remote control are as follows: 1.
- Page 11 Page: 10/14 : press the key to switch between Celsius and Fahrenheit. III. Protection Functions Frost Protection Function: In cooling, dehumidification or economic power saving mode, if the temperature of the exhaust hose is too low, the machine will automatically enter protection status;...
-
Page 12: Drainageinstructions
Page: 11/14 V. DrainageInstructions 1. Manual drainage: When the machine stops after the water is full, turn off the machine power and unplug the power plug. Notes: Please move the machine carefully, so as not to spill the water in the water pan at the bottom of the body. - Page 13 Filter holder Filter holder (as shown in the above figure). With vacum cleaner, vacum off all lint, and dander traped on filter. Put the EVA filter screen into warm water with neutral detergent (about 40℃/104℉) and dry it in the shade after rinsing clean. 2.2: Clean the lower filter screen frame 1 ) Hold the handle of the CON filter screen frame, and pull it outward gently to remove it.
-
Page 14: Troubleshooting
Page: 13/14 5: Cover the air conditioner with a plastic bag. Put the air conditioner in a dry place, keep it out of the reach of children, and take dust control measures. Ideally, store in original box. 6: Remove batteries of the remote control to prevent acid damage. Note: ensure that the unit is placed in a dry place and keep all machine components properly stored. -
Page 15: Appendix
Page: 14/14 VIII.Appendix Fuse Parameters Type: FSD or 50F Voltage: 250V Current: 3.15A Schematic Diagram Condenser Capillary Compressor Evaporator For model, technology and specific parameters please refer to product nameplate. Treatment: Don't put the abandoned machine with other unsorted waste together. Such waste shall be placed separately for other special use. - Page 16 1850 S Carlos Ave, Unit2 Ontario, CA 91761 Hour s : 8: 30A M -5: 00PM PST TO OBTAIN WARRANTY SERVICE: Contact CCH Technical Support Toll free: 1-844-909-7300 Email:TechSupport@cchappliance.com From 8:30AM to 5:00PM Monday through Friday Pacific Time. WARRANTY PERIOD: Labor: 1 Year from the Date of Purchase.
Need help?
Do you have a question about the YPS3-14H and is the answer not in the manual?
Questions and answers