Table of Contents
Advertisement
Quick Links
ASSEMBLY TIPS
To avoid damaging furniture perform the assembly of your Loll furniture on a clean soft
surface like a blanket, carpet, or the fl attened cardboard box the furniture was shipped in.
Components should not be unnecessarily forced together! Plastic is fl exible and you may need
to persuade the pieces to align them properly. If it seems something isn't fi tting together you
likely have it wrong and you should reread the instructions to ensure you are aligning the proper
components. You can also contact your Loll Sales Associate or Customer Service for support at
877.740.3387.
Don't Use a Cordless Screw Gun: It is not necessary and we do not recommend using a screw
gun or drill to install and tighten bolts in inserts. Finger tighten all bolts fi rst and then use the
Allen Tool provided to fi nish tightening all bolts after the piece is assembled.
** Please Recycle the BOX and paper packaging.
DAMAGED PRODUCT
Sometimes accidents occur. Please inspect your Loll furniture when you receive it to make
sure that it has not been damaged during shipping. If damage has occurred please take digital
pictures of the damaged furniture and the box it was shipped in, and email them to
sales@lolldesigns.com or call using our toll free number: 877.740.3387, ext. 1. The damage will
be assessed and you will be contacted with a solution to the problem. It may be helpful to save
all of your packaging material in case a return is necessary.
PRODUCT CARE
Your new Loll furniture is a no maintenance product. It is fade resistant and you'll never need to
paint or stain it and it can be left outside all year regardless of the season. It will not rot, even if
left standing in water; it's plastic. Nonetheless, we're pretty sure your Loll furniture will get a lot
of use and will at some point need cleaning. We recommend a garden hose and incorporating a
soft bristle brush. Adding a tablespoon or two of your favorite eco- friendly soap to the wash will
get everything squeaky clean! Mineral deposits left over from hard water can be removed with a
solution of vinegar and water.
Assembly Instructions & PRODUCT INFO
SALMELA SILO
Loll Designs
1325 North 59th Avenue West
Duluth, Minnesota 55807
lolldesigns.com | 877.740.3387
5 YR WARRANTY
Loll Designs strives to build long-term relationships based on confi dence and trust with
our customers. We sit beside, on top, and beneath the quality of our fi ne furniture and will
make things right if you are not completely satisfi ed with your purchase. Loll Designs hereby
guarantees that the piece will be of good quality and workmanship, free from faults and defects.
Loll warrants that all components will not fade or fail, under normal use, for fi ve years from the
year mark on the piece or the date of purchase.
*For commercial orders the warranty is three years.
1% FOR THE PLANET
Besides halting the path of perfectly reusable material on its way to the landfi ll, with your
purchase of Loll Designs furniture you've also contributed to helping our environment through
1% For the Planet. 1% For the Planet is an alliance of companies that donate 1% of their gross
sales to qualifying and approved environmental organizations. Since its launch in 2001, 1% For
the Planet has grown to include nearly 700 corporate members worldwide. For more information
visit the 1% For the Planet website (www.onepercentfortheplanet.org). Loll is member #610.
Advertisement
Table of Contents

Related Manuals for Loll Designs SALMELA SILO


Summary of Contents for Loll Designs SALMELA SILO
- Page 1 Components should not be unnecessarily forced together! Plastic is fl exible and you may need make things right if you are not completely satisfi ed with your purchase. Loll Designs hereby to persuade the pieces to align them properly. If it seems something isn’t fi tting together you guarantees that the piece will be of good quality and workmanship, free from faults and defects.
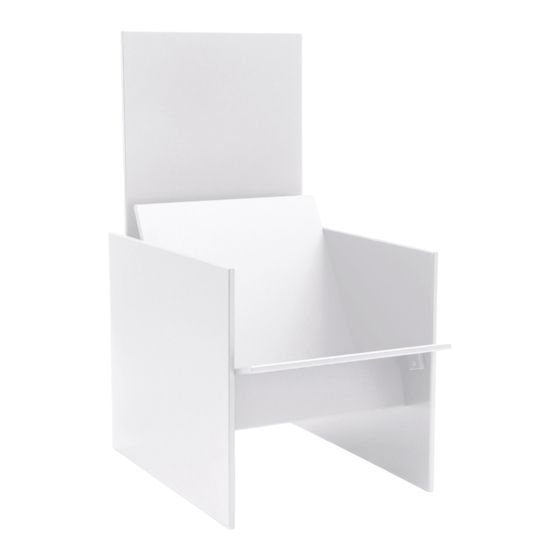
- Page 2 INCLUDED PARTS COUNT COUNT COUNT Left Side LEFT SIDE RIGHT SIDE BACK SLAT Left Side Back Slat Left Side Right Side Left Side Right Side Right Side Right Side COUNT COUNT COUNT MID SLAT SEAT SLAT SEAT BRACE Back Slat Seat Brace Seat Slat Seat Slat...
- Page 3 * It is very important that you finger tighten all bolts into inserts to ensure that you do not cross-thread bolts and inserts before tightening. It ASSEMBLY INSTRUCTIONS will also be easier if you wait to tighten bolts until you have all bolts installed and the piece completely assembled. This will allow for more movement of individual pieces and help in aligning holes with inserts.
- Page 4 ASSEMBLY INSTRUCTIONS Step 2 ATTACH MID SLAT ATTACH BACK Step 2 Step 4 Step 4 and repeat and repeat Fit the Mid Slat into the Sides cut out as shown. Place a Long Block (recessed holes side out) Fit the Back Slat into the Sides cut out as shown. Place a Long Block (recessed holes side out) into the Mid Slat’s pocket cut out, Insert bolts through the Long Block into the Sides threaded into the Back Slat’s pocket cut out, Insert bolts through the Long Block into the Sides threaded holes and finger tighten.
Need help?
Do you have a question about the SALMELA SILO and is the answer not in the manual?
Questions and answers