Advertisement
Available languages
Available languages
Quick Links
Advertisement

Subscribe to Our Youtube Channel
Related Manuals for Kimex 031-3200K1


Summary of Contents for Kimex 031-3200K1
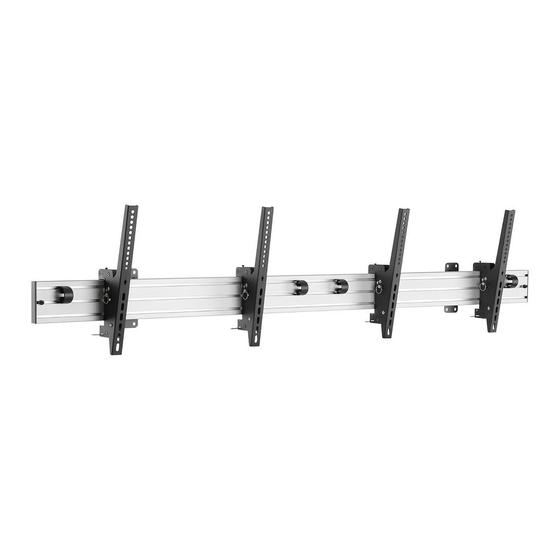
- Page 1 SUPPORT MURAL 2 ECRANS 55" MANUEL D'INSTALLATION 031-3200K1...
-
Page 2: Liste Des Composants
G> Lisez l'intégralité du manuel d'instructions avant de commencer l'installation et l'assemblage. Si vous avez des questions concernant les instructions ou les avertissements, veuillez contacter votre distributeur local pour obtenir de l'aide. � � ATTENTION Ecrou (x10) Support TV (x4) Embout (x2) M8x12 (x8) ·Une utilisation avec des produits plus lourds que les poids nominaux indiqués peut... - Page 4 4. Réglage de l'inclinaison 5a. Fixez le support du téléviseur à l'écran arrière plat ° ° ° ° ° ,-15 ,-10 1-- - - - - c _ 5 0 -1 0 ° -1 5 ° 20 ° est l'angle naturel et la goupille de sécurité n'est pas nécessaire. 5.
- Page 5 5b. Fixez le support du téléviseur à l'arrière de l'écran 6. Accrochez l'écran M-G � e-M-H �M-G �M-G � M-G � M-H & M-H f:}-- M-H t,> □ · Choisissez les vis, rondelles et entretoises appropriées (si nécessaire) en fonction du type d'écran. ·...
- Page 6 7. Réglage du niveau 8. Fixez avec cadenas Note: Laissez un espace d'au moins 1 mm entre les écrans. Note: Le cadenas n'est pas inclus. Maintenance • Vérifiez que le support est sûr et sûr à utiliser à intervalles réguliers (au moins tous les trois mois). •...
- Page 7 Wall mount for 2 screens 55'' Installation manual 031-3200K1...
-
Page 8: Recommended For Installation
G> Read the entire instruction manual before beginning installation and assembly. If you have any questions regarding the instructions or warnings, please contact your local distributor for assistance. � � WARNING Nut (x10) TV stand (x4) C End caps (x2) M8x12 (x8) ·... - Page 9 Attach the wall plate to the mounting rail Attach the mounting rail to the solid brick make sure the space between the wall plate halves on both sides is equal. Install the mouthpiece Mark the exact location of the Screw the wall plate to Drill pilot holes mounting holes the wall...
-
Page 10: Tilt Adjustment
4. Tilt adjustment 5a. Attach the TV stand to the rear flat screen ° ° ° ° ° ,-15 ,-10 1-- - - - - c _ 5 0 -1 0 ° -1 5 ° 20 ° is the natural angle and the safety pin is not needed. 5. - Page 11 5b. Attach the TV stand to the back of the screen 6. Hang the screen M-G � e-M-H �M-G �M-G � M-G � M-H & M-H f:}-- M-H t,> □ · ·Choose the appropriate screws, washers and spacers (if necessary) according to the type of display. ·...
- Page 12 7. Level adjustment 8. Secure with padlock Note: Leave a space of at least 1 mm between the screens. Note: The padlock is not included. Maintenance • • Check that the mount is safe and secure to use at regular intervals (at least every three months). •...
Need help?
Do you have a question about the 031-3200K1 and is the answer not in the manual?
Questions and answers