Advertisement
Quick Links
Advertisement

Related Manuals for Glamox SmartLED STRIP G2


Summary of Contents for Glamox SmartLED STRIP G2
- Page 1 Glamox SmartLED STRIP G2 User manual...
- Page 2 English Deutsch Nederlands For further installation and maintenance Weitere Installations- und Wartungsweise Voor verdere installatie en onderhoud, zie guidance, please see the document finden Sie in dem Dokument “Installation het document “Installation and maintenance “Installation and maintenance manual” and maintenance manual” zusammen mit manual”...
- Page 3 English Deutsch Nederlands Do not connect to a temporary power Nicht an unsauberes Netz (Baustrom) Sluit niet aan op een tijdelijke supply source. This may damage the anschliessen. Die elektronischen Bauteile elektriciteitsvoorziening. Dit kan de electronics. können dadurch beschädigt werden. elektronica beschadigen.
- Page 4 Driver limitations DRIVER 35W DRIVER 60W DRIVER 100W DRIVER 150W KUT28001920 KUT28001921 KUT28001253 KUT28001437 SMARTLED STRIP G2 8x5000 1200lm/m 930 400–3150 mm 650–5450 mm 1050–9100 mm 1600–13700 mm KUT28003611 SMARTLED STRIP G2 8x5000 1200lm/m 940 450–3150 mm 700–6050 mm 1200–10050 mm 1750–12500 mm...
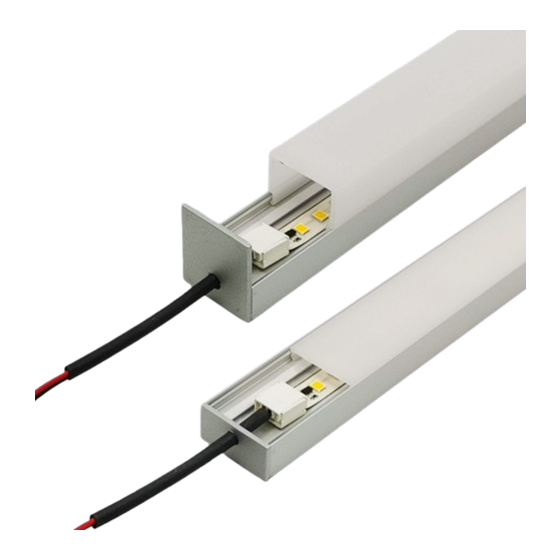
- Page 5 Profile, Diffuser, Mounting KIT, LED tape, Driver, Connector, Gloves KUT28003611 SMARTLED STRIP G2 8x5000 1200lm/m 930 KUT28003612 SMARTLED STRIP G2 8x5000 1200lm/m 940 KUT28003615 SMARTLED STRIP G2 8x5000 1800lm/m 930 KUT28003616 SMARTLED STRIP G2 8x5000 1800lm/m 940...
- Page 6 SmartLED STRIP Always use ESD approved gloves when handling LED tape! Always degrease the profile before mounting the LED strip! Cut profile and diffuser Degreasing! 90º 45º Always degrease the profile before mounting the LED strip! LED STRIP to PCB mounting Correct cutting of the LED strip Row mounting Use electrical insulation tape...
- Page 7 SmartLED STRIP / Connection variants Correct mounting Centre to lenght Centre the LED STRIP PCB – Wire trough end caps PCB – Wire trough profile Min. 20 mm Min. 8 mm Min. 10 mm PCB – PCB...
- Page 8 SmartLED STRIP / Mounting Diffuser gap! Diffuser gap! 1 mm 1 mm Use pressure Use pressure CLICK! CLICK!
- Page 12 Please refer to our website Please visit our web site for contact information for information about www.glamox.com our 5-year warranty.
Need help?
Do you have a question about the SmartLED STRIP G2 and is the answer not in the manual?
Questions and answers