DwarfConnection DC-LINK-ULR1 Quick Start Manual
Hide thumbs
Also See for DC-LINK-ULR1:
- Quick start manual (2 pages) ,
- Manual (20 pages) ,
- User manual (22 pages)
Table of Contents
Advertisement
Quick Links
Quick sTarT guidE
dC-liNk-ulr1 / lr2 x.LiNk.L1
Getting Ready
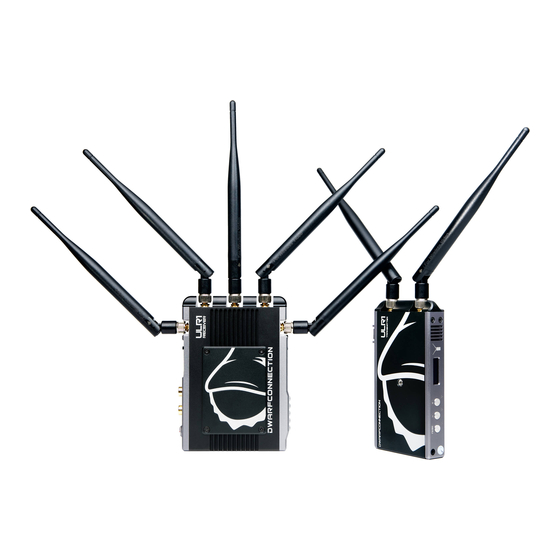
1. Connect the antennas to the SMA ports on
your devices.
2. Power your devices. Find details about
proper powering options in the product
manual provided on our website.
3. Connect an SDI or HDMI signal to the
transmitter's input (SDI will be prioritized)
4. Connect the receiver to the monitoring-
recording or distribution device of you
joice.
Establishing a Connection
Use the power switch to turn on your
transmitter and receiver(s). Make sure that
your devices are set to the same frequency
channel. (see "Choosing a Channel")
It takes between 10-30 seconds for the
transmitter to connect to the receiver. During
this brief period, the receiver's video output
displays "Waiting for connection".
Once the transmitter recognizes a video
input, the video format will be displayed on
the OLED display.
DC-SCAN & Antenna Check
DC-SCAN is a built in frequency scanner. To
enter DC-SCAN, connect a monitor to the
HDMI output of your receiver, then press
and hold the – button on the receiver for
3 seconds. The frequency scanner is only
available on the HDMI output. To leave
DC-SCAN press and hold the – button again.
Entering DC-SCAN from channel 0 will also
show the antenna status: green = OK, red
= not OK
Country-specific Regulations
Observe country specific rules that prohibit
the use of wireless transmission under certain
conditions!
Antenna Positioning
Position the antennas on transmitter and
receiver as shown on the back of your DC-
LINK device. This ensures the best possible
RF performance. Install the transmitter and
the receiver as high as possible (at least
2 meters above ground level) to maintain
a good line-of-sight. During operation, try
to keep the transmitter and the receiver at
similar heights.
Avoid obstacles such as walls, trees, water
and steel structures between transmitter and
receiver.
The connection is at its strongest when the
flat surfaces of the transmitter and receiver
face each other.
RSSI Display
The RSSI (Wireless Received Signal
Strength Indicator) display shows the
strength of the signal, allowing the operator
to ensure the system is working reliably.
Status
Description
Radio signal strength is weak and
0-1 LEDs
artefacts are visible in the video signal
Radio signal strength is normal and
2-3 LEDs
video quality is good
Radio signal strength is very strong and
4-5 LEDs
video quality is very good
Dark Mode*
Dark Mode turns off any lights on your DC-
LINK device. Press and hold + for 3 seconds
to (de)activate Dark Mode. When in Encryp-
tion Mode, all receivers will react to changes
made on the transmitter and follow into or
out of Dark Mode automatically.
www.dwarfconnection.com
Advertisement
Table of Contents

Subscribe to Our Youtube Channel
Related Manuals for DwarfConnection DC-LINK-ULR1


Summary of Contents for DwarfConnection DC-LINK-ULR1
- Page 1 Quick sTarT guidE dC-liNk-ulr1 / lr2 x.LiNk.L1 Getting Ready Antenna Positioning 1. Connect the antennas to the SMA ports on Position the antennas on transmitter and your devices. receiver as shown on the back of your DC- LINK device. This ensures the best possible 2.
- Page 2 MENU. Channels used to navigate to the fan menu and select the by DwarfConnection show no letter (0-9). For desired state by using + or – turns the fans more detailed information, read the full product on permanently.
Need help?
Do you have a question about the DC-LINK-ULR1 and is the answer not in the manual?
Questions and answers