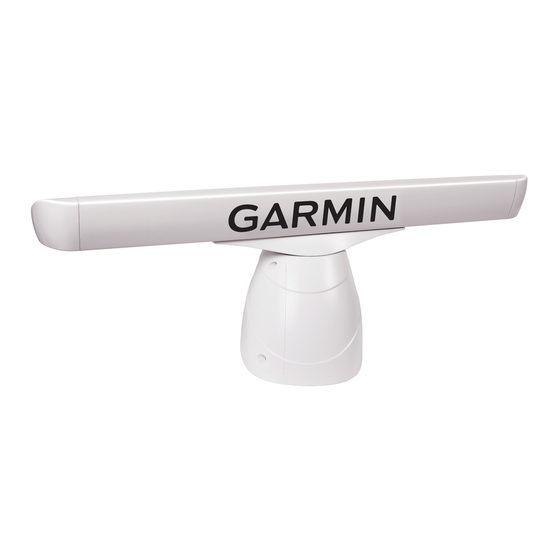
Garmin 404 Installation Instructions Manual
Garmin gmr 404 gps-marine radar: installation instruction
Hide thumbs
Also See for 404:
- Owner's manual (26 pages) ,
- Release note (2 pages) ,
- Specifications (2 pages)
Table of Contents
Advertisement
Quick Links
Advertisement
Table of Contents

Subscribe to Our Youtube Channel
Summary of Contents for Garmin 404
- Page 1 GMR 404/406 marine radar installation instructions...
- Page 2 Information in this document is subject to change without notice. Garmin reserves the right to change or improve its products and to make changes in the content without obligation to notify any person or organization of such changes or improvements.
-
Page 3: Contact Garmin
Be sure to keep your original sales receipt in a safe place or attach a photocopy inside the manual. NOTE: The Garmin GMR 404/406 has no user-serviceable parts. If you encounter a problem with your unit, please take it to an authorized Garmin NMEA dealer or contact Garmin Product Support for repairs. -
Page 4: Scanner Installation
Always wear safety goggles, ear protection, and a dust mask when drilling, cutting, or sanding. When drilling or cutting, always check first to see what is on the other side of the surface. If you experience difficulty with the installation, contact Garmin Product Support or seek the assistance of a professional installer. - Page 5 3. Fasten the scanner to the mounting surface using the M10 hex nuts, spring washers, and flat washers in the order shown in Figure 6. The M10 nuts should be torqued to 130in-lbs (11 ft-lbs). Bearing Offset = 0° Bearing Offset = 180° Figure 4 GMR 404/406 Marine Radar Installation Instructions Figure 2 mount). ® Figure 5 Figure 3 flat washer...
- Page 6 Distance Gauge 3 meters (9.8 ft) 12 AWG 5 meters (16.4 ft) 10 AWG 6.5 meters (21.3 ft) 9 AWG 8 meters (26.2 ft) 8 AWG Figure 7 Wire Gauge Table align waveguide faces GMR 404/406 Marine Radar Installation Instructions...
- Page 7 Route the cable as needed, depending on the type of mount you are using. DO NOT cut the cable! It may be necessary to drill a 31.7 mm (1.25") hole for routing the power/network cable. Garmin provides a rubber cable grommet which may be used to cover the cable installation hole.
- Page 8 M10 nut and flat washer to secure the cable. 10.5 to 38 VDC � Power Supply 15 amp slow-blow BLACK � fuse TO WATER GROUND TO GARMIN MARINE NETWORK Wiring Diagram GMR 404/406 Marine Radar Installation Instructions...
- Page 9 GARMIN GMR 404/406 MARINE RADAR GARMIN GDL 30/30A MARINE WEATHER/AUDIO SATELLITE RECEIVER GARMIN GMS 10 MARINE NETWORK PORT EXPANDER GPS 17 GARMIN GARMIN GSD 20 or GSD 21 SOUNDER MODULE xxxxxxxxxxxxxxxxxxx TO TRANSDUCER Expanded Network GMR 404/406 Marine Radar Installation Instructions...
-
Page 10: Radar Setup
Turn on the Garmin Marine Network: 1. Press the Power key on the MFD. The scanner turns on with the network. The Welcome Page appears showing that a GMR 404/406 is detected as a network connection. 2. When I Agree turns yellow, press the ENTER key. -
Page 11: Specifications
Specifications 4 ft Open-Array Antenna 6 ft Open-Array Antenna Open-Array Scanner GMR 404/406 Marine Radar Installation Instructions Type Horizontal Beamwidth Horizontal Sidelobes Vertical Beamwidth Antenna Gain Polarization Input Return Loss Weight Type Horizontal Beamwidth Horizontal Sidelobes Vertical Beamwidth Antenna Gain... - Page 12 2 guard zones – user adjustable Look ahead, Auto Shift and Manual Selectable to 24 or 48 rpm Tracks up to 10 MARPA targets for radar plotting and collision avoid- ance. (Heading sensor is required) GMR 404/406 Marine Radar Installation Instructions...
- Page 13 Model GMR 404 GMR 406 GMR 404/406 Marine Radar Installation Instructions 7.87″ 200.0 5.91″ 150.0 12.87″ 326.8 51.6" [1310mm] 75.7" [1923mm] 17.35″ 440.8 7.87″ 5.51″ 200.0 140.0 12.34″ 313.5...
-
Page 14: Warnings And Cautions
8 gauge copper cable. FCC Compliance The GMR 404/406 complies with Part 80 of the FCC rules. It has received a grant of equipment authorization, issued under the authority of the FCC. -
Page 15: Software License Agreement
Garmin dealer for repairs. The GMR 404/406 is fastened shut with screws. Any attempt to open the case to change or modify the unit in any way will void your warranty and may result in permanent damage to the equipment. - Page 17 © Copyright 2006 Garmin Ltd. or its subsidiaries Garmin International, Inc. 1200 E 151st Street, Olathe, Kansas 66062 U.S.A. Tel. 913/397.8200 Fax. 913/397.8282 Garmin (Europe) Ltd. Unit 5, The Quadrangle, Abbey Park Industrial Estate, Romsey, SO51 9AQ U.K. Tel. 44/0870.8501241 Fax.


Need help?
Do you have a question about the 404 and is the answer not in the manual?
Questions and answers