Matrox Monarch HDX Initial Setup
Hide thumbs
Also See for Monarch HDX:
- User manual (80 pages) ,
- Mounting manuallines (2 pages) ,
- Quick start manual (2 pages)
Advertisement
Table of Contents
- 1 Box Contents
- 2 Step 1 Powering up the Monarch HDX and Setting the IP Mode
- 3 Step 2 Connecting to the Network and Finding the IP Address
- 4 On a Network with a DHCP Server
- 5 On a Network Without a DHCP Server
- 6 Step 3 Accessing the Monarch HDX Command Center
- 7 Getting the Latest Firmware, Documentation, and Utilities
- Download this manual
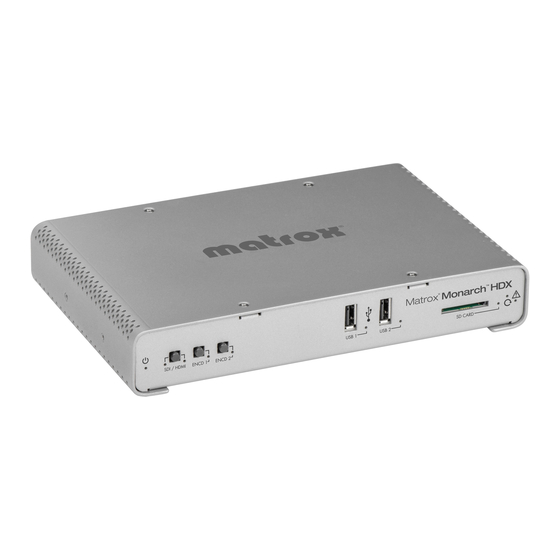
Box contents
• Matrox Monarch HDX device
• External power supply
• Three IEC320-C8 power cords (North America, Europe, and UK)
Initial setup
Step 1 Powering up the Monarch HDX and setting the IP mode
When you power up the Monarch HDX for the first time, the device will be in DHCP IP mode for connecting to
a DHCP-enabled network (such as through a router). If your network is not DHCP-enabled, you must force the
Monarch HDX to boot in Static IP mode.
Connect the Monarch HDX's external power supply to an AC outlet. Power-up begins and various LEDs,
1
including the warning LED, flash on and off.
(Optional) To boot Monarch HDX in static IP mode with the default IP address 169.254.1.11, press ENCD 2
2
on the device when the Encoder 2 LED flashes for three seconds.
Monarch HDX is ready when all LEDs are off except for Power (
Note When you power off Monarch HDX, the device maintains the previously-selected IP mode.
Step 2 Connecting to the network and finding the IP address
This is how to connect your Monarch HDX device to a network with or without a DHCP server, and how to find
the Monarch HDX's network IP address.
On a network with a DHCP server
The DHCP server assigns the IP address. Use one of the following options to find the assigned IP address:
• HDMI monitor Connect an HDMI monitor to the Monarch's HDMI output, and then power up the device.
The IP address is displayed on-screen for about 30 seconds before the passthrough signal is displayed.
• USB Device Connect a USB device to the Monarch HDX's USB 2 port, and then reboot the device. The
device's current IP address and status will be automatically copied to the USB device as a .txt file.
• Matrox Monarch HDX Utils Use the Matrox Monarch HDX Utils application (available for both Mac OS
and Windows). This is useful when you are not physically near the device.
Connect an Ethernet cable from the Monarch HDX's LAN port to a network port.
a
Download Matrox Monarch HDX Utils from the Matrox website at www.matrox.com/video/support, and
b
then copy it to a computer that is on the same network subnet as your Monarch HDX device.
Double-click the downloaded Matrox Monarch HDX Utils file to open the application. If Universal Plug
c
and Play (UPnP) is enabled on your network, Matrox Monarch HDX Utils will automatically scan for
Monarch HDX devices. To scan manually, click the Find All button.
All devices on the same subnet as your computer will be displayed with their IP addresses and other information.
Matrox Monarch HDX Setup
) and SDI/HDMI.
Advertisement
Table of Contents

Related Manuals for Matrox Monarch HDX


Summary of Contents for Matrox Monarch HDX
- Page 1 Step 1 Powering up the Monarch HDX and setting the IP mode When you power up the Monarch HDX for the first time, the device will be in DHCP IP mode for connecting to a DHCP-enabled network (such as through a router). If your network is not DHCP-enabled, you must force the Monarch HDX to boot in Static IP mode.
- Page 2 On a network without a DHCP server Without a DHCP server, an IP address is not assigned to the Monarch HDX. You must assign a static IP address and then configure your computer’s network to allow a connection between your computer and the Monarch HDX.
Need help?
Do you have a question about the Monarch HDX and is the answer not in the manual?
Questions and answers