Sign In
Upload
Download
Table of Contents
Contents
Add to my manuals
Delete from my manuals
Share
URL of this page:
HTML Link:
Bookmark this page
Add
Manual will be automatically added to "My Manuals"
Print this page
×
Bookmark added
×
Added to my manuals
Manuals
Brands
Sharp Manuals
Cell Phone
AQUOS wish
User manual
Sharp AQUOS wish User Manual
Hide thumbs
1
Table Of Contents
2
3
4
5
6
7
8
9
10
11
12
13
14
15
16
17
18
19
20
21
22
23
24
25
26
27
28
29
30
31
32
33
34
35
36
37
38
39
40
41
42
43
44
45
46
47
48
49
50
51
52
53
54
55
56
57
58
59
60
61
62
63
64
65
66
67
68
69
70
71
72
73
74
75
76
77
78
79
80
81
82
83
84
85
86
87
88
page
of
88
Go
/
88
Contents
Table of Contents
Bookmarks
Table of Contents
Table of Contents
Chapter 1: Getting Started
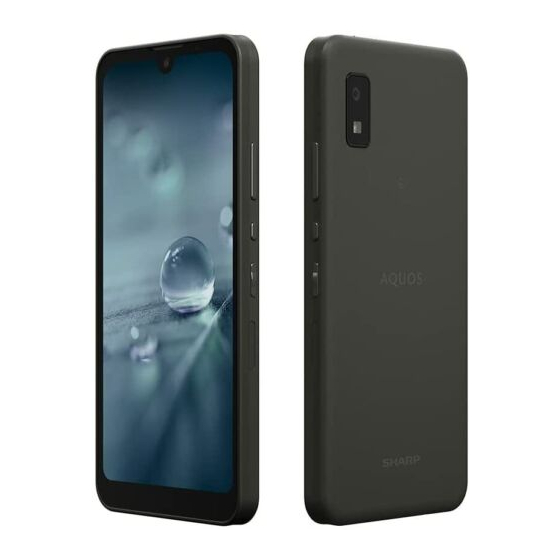
Part Names
Front View
Back View
Side Views
Top and Bottom Views
Accessories
Installing SIM Card and Memory Card
Remove the Nanosim/Microsd Tray
Install the SIM Card
Install the Memory (Microsd) Card
Replace the Nanosim/Microsd Tray
Charging the Battery
Turning the Device on or off
Turn the Device on or off
Restart the Device
Switch the Device to Airplane Mode
Switch the Device to Sleep Mode
Locking and Unlocking the Screen
Using the Headset
Adjusting the Volume
Chapter 2: The Basics
Home Screen
Status Bar
Notifications Panel
Open Apps
View Running Apps and Manage Resources
Home Screen Management
Folders
Launch the Google Assistant Screen
Changing the Device Settings
Chapter 3: Contacts
Adding Contacts
Copying Contacts
Communicating with Contacts
Call Contacts
Text Contacts
Video Chat with Contacts
Email Contacts
Managing Contacts
Edit Contacts
Delete Contacts
Send Contact Information
Add Contact to Blacklist
Favorite Contacts
Add to Favorites
Remove from Favorites
Searching for Contacts
Edit Contacts
Grouping Contacts
Chapter 4: Using the Phone
Making a Call
Make a Call from the Phone Screen
Make a Call from Contacts
Answering a Call
Accept or Reject an Incoming Call
Ending a Call
In-Call Options
Call Log
Chapter 5: Email & Messages
Text Message
Create and Send Text Messages
Receive and Manage Messages
Multimedia Message
Create and Send MMS Messages
Customizing Message Settings
Managing MMS Messages
Email Accounts
Set up Email Account
Add more Email Accounts
Manage Email Accounts
Delete Email Accounts
Using Email
Compose and Send Emails
Receive Emails
Read and Reply to Emails
Manage Email Folders
Start or Join a Meeting
Chapter 6: Using Internet
Connecting to the Internet
Wi-Fi
Cellular Data Network
Browsing a Website
Manage Web Browser Settings
Chapter 7: Using Bluetooth
Connecting to Bluetooth Devices
Chapter 8: Multimedia Apps
Photos and Videos
Access the Camera App
Take Photos
Record Videos
Capture Modes
Review Photos
Review Videos
Configure the Camera Settings
Viewing Photos & Videos
Google Lens App
Use Google Lens
Chapter 9: Apps
Apps Screen
Google Apps
Web Browsers
Gmail
Maps
Youtube
Drive
YT Music
Google Play Movies & TV
Duo
Calendar
Assistant
Google One
Google Pay
News
Podcasts
Lens
Files
Phone
Contacts
Messages
Photos
Play Store
Camera
Clock
Calculator
Settings
Karada Mate
Chapter 10: Managing Your Device
Device Settings
Change Basic Settings
Date and Time
Time Zone
To Manually Set the Time Zone
Time Format
Display Settings
Adjust Screen Brightness
Use Wireless & Networks
Protect Your Phone
Manage Mobile Data Limit
Reset the Device
Chapter 11: Specifications
Important Information
Compliance Information
Advertisement
Quick Links
1
Installing Sim Card and Memory Card
2
Home Screen
Download this manual
Model: SH-WS10
User Manual
Table of
Contents
Previous
Page
Next
Page
1
2
3
4
5
Advertisement
Table of Contents
Need help?
Do you have a question about the AQUOS wish and is the answer not in the manual?
Ask a question
Questions and answers
Related Manuals for Sharp AQUOS wish
Cell Phone Sharp aquos crystal User Manual
(194 pages)
Cell Phone Sharp AQUOS CRYSTAL Quick Start Manual
(13 pages)
Cell Phone Sharp AQUOS Crystal User Manual
Sharp aquos crystal mobile phone user guide (415 pages)
Cell Phone Sharp Aquos Crystal User Manual
(15 pages)
Cell Phone Sharp Aquos Crystal Get Started
(25 pages)
Cell Phone Sharp AQUOS Crystal User Manual
(412 pages)
Cell Phone Sharp AQUOS Xx User Manual
(188 pages)
Cell Phone Sharp Aquos Serie Manual
(57 pages)
Cell Phone Sharp AQUOS R User Manual
(182 pages)
Cell Phone Sharp AQUOS Crystal Sprint User Manual
(399 pages)
Cell Phone Sharp AQUOS SENSE Instruction Manual
(227 pages)
Cell Phone Sharp AQUOS sense Notes On Usage
(51 pages)
Cell Phone Sharp AQUOS zero User Manual
(216 pages)
Cell Phone Sharp AQUOS V User Manual
(83 pages)
Cell Phone Sharp Aquos R compact Basic Manual
(28 pages)
Cell Phone Sharp Aquos Phone Ex Instruction Manual
For docomo (29 pages)
This manual is also suitable for:
Sh-ws10
Table of Contents
Save PDF
Print
Rename the bookmark
Delete bookmark?
Delete from my manuals?
Login
Sign In
OR
Sign in with Facebook
Sign in with Google
Upload manual
Upload from disk
Upload from URL


Need help?
Do you have a question about the AQUOS wish and is the answer not in the manual?
Questions and answers