Table of Contents
Advertisement
Quick Links
Advertisement
Table of Contents

Subscribe to Our Youtube Channel
Related Manuals for LaserPro Spirit


Summary of Contents for LaserPro Spirit
- Page 1 Manual LaserPro Spirit...
-
Page 2: Table Of Contents
CONTENTS 1. OBJECTIVE 2. INTRODUCTION AND MATERIALS 3. PREPARING YOUR DRAWING 4. WORKFLOW 4.1. Preparation 4.2. Printing 4.3. On the lasercutter 4.4. Control 4.5. Cutting/ engraving 4.6. Taking out the material/clean up 5. TIPS * manual by Kurt Van Houtte, updated by Veerle De Ridder... -
Page 3: Objective
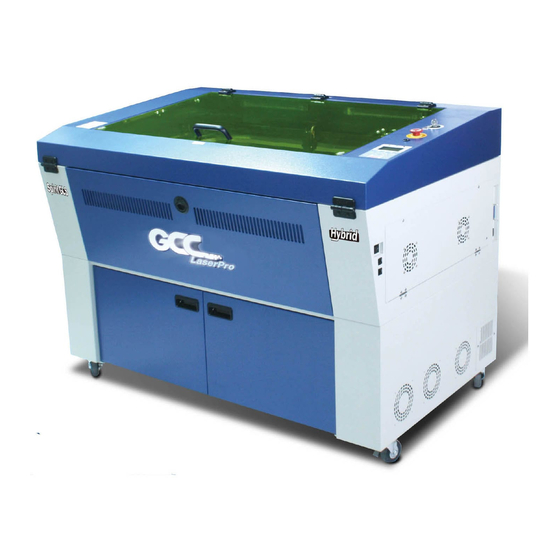
2. INTRODUCTION AND MATERIALS Our laser cutter is a 25 Watt LaserPro Spirit. This machine can cut and engrave flat materials like paper, cardboard, wood, acryl, textiles, rubber, and more with a laser. -
Page 4: Preparing Your Drawing
3. PREPARING YOUR DRAWING On the laser, you can use up to 16 colors in one drawing. Take into account that different types of software may use different line thicknesses. Make sure that lines you want to cut are drawn in 100% RGB red. Important: - Anything you want to cut needs to be a vector, and needs to be converted into a hairline. -
Page 5: Workflow
- In 001_USERS, make a folder with your name. In this folder, you can save your files. 2. Open “new from template” in CorelDraw and choose the “Spirit laser” template. This template has the same size as lasercutter, this way, you can easily posiyion your designs. -
Page 6: On The Lasercutter
4.3. On the lasercutter Before you start make sure the compressor and the suction are on!!! If you don’t know how to do this, ask assistance from a lab supervisor. 1. Turn on the machine. (the switch is located on the right side of the machine) 2. -
Page 7: Control
4.4. Control 1. Leave the lid open and press START/STOP. The laser will now do a test run without actually turning on the laser. 2. Check to see if the red pointer never goes beyond the edge of the material. 3. -
Page 8: Tips
5. TIPS - Next to the laser cutter, you will find a notebook with speed and power values for different materials. If you are using a new material, always do a small test. - Make a small test cut by drawing a small circle, selecting it, and choosing ‘print selection’.
Need help?
Do you have a question about the Spirit and is the answer not in the manual?
Questions and answers