Table of Contents
Advertisement
Advertisement
Table of Contents

Related Manuals for Onn 100043839


Summary of Contents for Onn 100043839
- Page 1 5.1 CH Wireless Sound Bar/ Wireless Subwoofer / Surround 100043839 USER MANUAL...
-
Page 2: You Should Have
Welcome Congratulations on purchasing this Sound Bar. This product will improve and amplify the sound from your TV or MP3 player. Please read the warning section on pages 18 & 20 carefully before using your Sound Bar. You should have Sound Bar Remote control (AAA batteries x 2) -
Page 3: Table Of Contents
Contents You should have Your Sound Bar Wireless Subwoofer Surround speaker Recognis the remote control buttons Prepare the Remote Control Position your Sound Bar Fitting the wall brackets Connecting your Sound Bar Mounting the Sound Bar Mounting the Surround Basic Operation AUX / OPTICAL / HDMI Operation ®... -
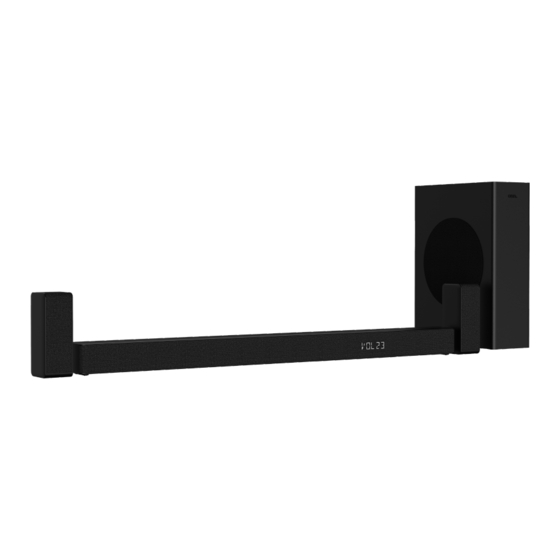
Page 4: Your Sound Bar
Your Sound Bar Remote Control Sensor HDMI OUT (ARC) Socket Receive signal from the remote The port for connecting a TV. control. The port supports the ARC HDMI feature, which allows the Sound Display Window Bar to play audio that originates Show the current status. -
Page 5: Wireless Subwoofer
Wireless Subwoofer AC~ Socket Connect to power. PAIR button Press activate the pairing function between the main unit and the subwoofer. Subwoofer's PAIR Indicator Light stops blinking once the subwoofer is paired with the Sound Bar. Recognis the remote control buttons : Switch the unit between ON and STANDBY mode. -
Page 6: Prepare The Remote Control
Prepare the Remote Control IMPORTANT: The remote control will work within a 6m range, however this may be impossible if there are obstacles between the unit and the control. If the remote control is used near other devices which generate infrared rays then it may not operate properly and may interfere with other devices. -
Page 7: Position Your Sound Bar
Position your Sound Bar Placement • (A) You can place the unit on the table directly in front of the TV stand, centered with the TV screen. Or (B) you can mount the unit on the wall directly below the TV screen. •... -
Page 8: Fitting The Wall Brackets
WARNING: Before attempting to fit the Sound Bar to the wall, if you are in any way unsure about how or where to fit the Sound Bar you should employ a qualified person to install your Sound Bar. IMPORTANT: The fittings supplied with your Sound Bar may not be suitable for all types of wall. -
Page 9: Connecting Your Sound Bar
Mounting the Sound Bar 3. Remove the screws at the back of the unit. Install the wall mounting screws into the back of the unit. 4. Lift the unit onto the wall mount brackets and slot into place. Mounting the Surround 1. - Page 10 HDMI OUT (ARC) HDMI IN • ARC only works with devices that are HDMI OUT (ARC) HDMI ARC capable as well as with an HDMI 1.4 cable (and higher). OPTICAL • Your TV digital sound output S/ PDIF mode setting must be PCM. OPTICAL HDMI IN Method 2: Standard HDMI...
- Page 11 Connect Surround Speakers 1. Use the 2.5mm surround speaker cable (included) to connect to the SPEAKER speaker socket on the bottom of the (R / L) surround speakers. 2. Use the DC adapter, connect to Pair up with the Subwoofer & the DC IN socket on the bottom Surround of the main surround speakers and...
-
Page 12: Basic Operation
1. Unplug both units from the mains interference from an electronic sockets again, then plug them in device) around the location. again after 3 minutes. Remove these conflicts or strong interferences and repeat the 2. Press and hold the PAIR button above procedures. - Page 13 Setup Menu Please turn the unit off completely to save energy when not in use. The unit allows you to configure advanced settings to provide you with Select Modes an even better experience. Press the (SOURCE) button 1. Press the (MENU) button repeatedly to select the AUX, repeatedly to switch the menu.
-
Page 14: Aux / Optical / Hdmi Operation
2. Activate your Bluetooth device all digital audio formats from the and select the search mode. input source. In this case, the unit “100043839” will appear on your will mute. This is NOT a defect. ® Bluetooth device list. Ensure that the audio setting of the 3. -
Page 15: Usb Operation
® To disconnect the Bluetooth • The player will also be disconnected when your device is moved beyond function, you can: the operational range. • Switch to another function on the unit; USB Operation • Disable the function from your ®... -
Page 16: Troubleshooting
Troubleshooting To keep the warranty valid, never try to repair the system yourself. If you encounter problems when using this unit, check the following points before requesting service. No power • Ensure that the AC cord of the apparatus is properly connected . •... -
Page 17: Technical Specification
Technical specification Soundbar Power Supply AC100-240V~ 50/60Hz Power Consumption 30 W / < 0.5 W (StandBy) 500mA Hi-Speed USB (2.0) / FAT32 / FAT16 32G (max) , MP3 Dimension (WxHxD) 37.4" x 2.4" x 2.7" (950 x 62 x 70 mm) Net weight (x.x Audio input sensitivity... - Page 18 Technical specification Surround speaker Adapter Mode KA3601A-2401500US Input 100-240V~ 50/60Hz, 1.0A (Max) Output 1.5A Dimension (WxHxD) 5.3" x 2.4" x 2.7" (135 x 62 x 70 mm) Net weight (x.x Frequency Response 120Hz - 20KHz Impedance 8 Ω x 2 Amplifier (RMS Output power) Total 170 W...
-
Page 19: Warnings
Warnings This product was designed and manufactured to meet strict quality and safety standards. There are, however, some operation precautions that you should be aware of: CAUTION RISK OF ELECTRIC SHOCK DO NOT OPEN CAUTION: TO REDUCE THE RISK OF ELECTRIC SHOCK, DO NOT REMOVE THE COVER (OR BACK). - Page 20 incorrectly replaced. Replace only This equipment is a Class II or double insulated electrical with the same or equivalent type. appliance. It has been designed in Warning such a way that it does not require a • The battery (batteries or battery safety connection to electrical earth.
- Page 21 as marked on the apparatus. Other trademarks and trade names are those of their respective owners. Do not mix old and new batteries. Do not mix alkaline, standard (Carbon-Zinc) or rechargeable (Ni- Cd, Ni- MH, etc.) batteries. Remove batteries when the unit is The Adopted Trademarks HDMI, HDMI High-Definition Multimedia Interface, and not used for a long time.
- Page 22 FCC Statement : This device complies with Part 15 of the FCC Rules. Operation is subject to the following two conditions: 1) This device may not cause harmful interference, and 2) This device must accept any interference received, including interference that may cause undesired operation.
- Page 23 Déclaration de la FCC : Cet appareil est conforme à la partie 15 du règlement de la FCC. Le fonctionnement est sujet aux deux conditions suivantes : 1) Cet appareil ne doit pas provoquer de brouillage préjudiciable et (2) cet appareil doit accepter tout brouillage reçu, y compris le brouillage susceptible de provoquer un fonctionnement indésirable.
- Page 24 This symbol on the product or in the instructions means that your electrical and electronic equipment should © 2021 Walmart onn. is a trademark of Walmart All Rights Reserved. be disposed at the end of its life separately from your household waste.
Need help?
Do you have a question about the 100043839 and is the answer not in the manual?
Questions and answers
Can the Onn sub woofer (model number 100069413) be used as a Bluetooth sub woofer without the sound bar on another device, specifically the Amazon Eco Dot?