Table of Contents
Advertisement
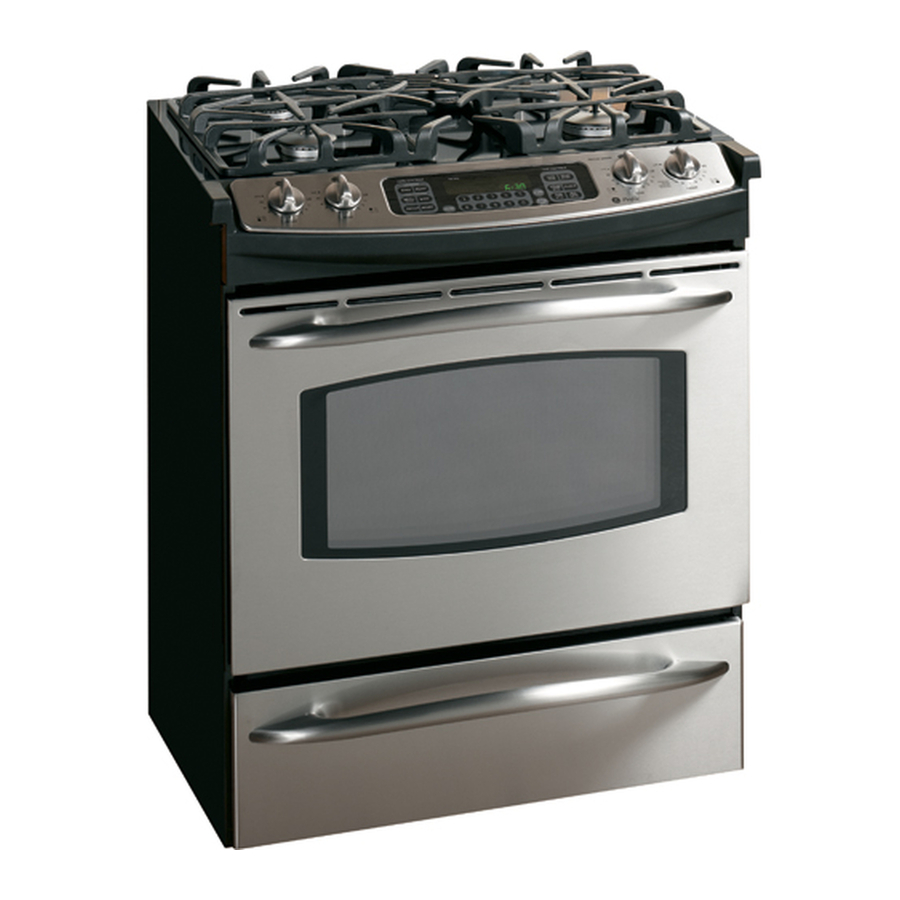
Thank you for purchasing a GE cooking product! The broiler pan
referred to in the enclosed literature is not included and is
available as an optional accessory. You can order your broiler pan
(a $25 value) at a discount using the redemption coupon below or
by calling 1-800-626-2002 toll free.
Limited Time Offer!
Free Shipping
When you order your broiler pan within 30 days
of purchasing your GE cooking product
Get the Most out of your Broiler Pan!
Use your pan and grid cover to:
Broil hamburgers, seafood, steaks, vegetables, bacon,
chops, and so much more! The pan below catches the
excess fat and oils!
• Genuine GE Part
• Easy to Clean
• One Year Warranty
Small
Part #
WB48X10055
8-3/4" W
Dimensions
1-1/4" H
13-1/2" D
Price
$10.50
FREE SHIPPING!!
*The large (standard) broil pan does not fit in compact ranges.
**The XL pan does not fit in 24 inch wall ovens, 27 inch drop-ins, or compact ranges.
Call 1-800-626-2002 or
Use this mail-in form to place your order
Experience these other great products to keep your kitchen looking great!
Ceramic Cooktop
Cleaning Kit:
Includes cleaner,
scraper and pad
WX10X117GCS
$12.75
.
Large*
WB48X10056 WB48X10057
12-3/4" W
1-1/4" H
1-1/4" H
16-1/2" D
19-1/4" D
$14.50
$16.75
Ceramic Cooktop
Cleaning Wipes
WX10X305
$4.25
Broiler Pan Order Form
Customer Information
First
Name________________________
_
Last
Name________________________
_
Address
___________________________
City
_____________________________
_
State _______
Zip_______________
Phone __________________________
E-mail
_____________________________
I would like to order:
XL**
Quantity
________
17" W
________
________
Product Information
Model#
____________________________
Serial#
____________________________
Brand
_____________________________
Date of Purchase
Stainless Steel
Appliance Polish Wipes
WX10X10001
$5.25
Part #
_____________
_____________
_____________
Stainless Steel
Appliance Cleaner
PM10X311
$6.00
Advertisement
Table of Contents

Related Manuals for GE Profile JGSP48WHWW


Summary of Contents for GE Profile JGSP48WHWW
-
Page 1: Product Information
Thank you for purchasing a GE cooking product! The broiler pan referred to in the enclosed literature is not included and is available as an optional accessory. You can order your broiler pan (a $25 value) at a discount using the redemption coupon below or by calling 1-800-626-2002 toll free. -
Page 2: Table Of Contents
Safety Instructions ... .2–7 Operating Instructions Baking or Roasting ....11 Broiling, Broiling Guide ..14 Clock and Timer . -
Page 3: Important Safety Information
WARNING! ANTI-TIP DEVICE ALL RANGES CAN TIP INJURY TO PERSONS COULD RESULT INSTALL ANTI-TIP DEVICES PACKED WITH RANGE SEE INSTALLATION INSTRUCTIONS WARNING: If the information in this manual is not followed exactly, a fire or explosion may result causing property damage, personal injury or death. - Page 4 If you pull the range out from the wall for any reason, make sure the device is properly engaged when you push the range back against the wall. If it is not, there is a possible risk of the range tipping over and causing injury if you or a child stand, sit or lean on an open door.
-
Page 5: Safety Precautions
Have the installer show you the location of the range gas shut-off valve and how to shut it off if necessary. Have your range installed and properly... - Page 6 CAUTION: Items of interest to children should not be stored in cabinets above a range or on the backsplash of a range—children climbing on the range to reach items could be seriously injured.
-
Page 7: Surface Burners
This will both save cleaning time and prevent hazardous accumulations of food, since heavy spattering or spillovers left on range can ignite. Use pans with handles that can be easily grasped and remain cool. Always use the LITE position when igniting the top burners and make sure the burners have ignited. - Page 8 INTERNAL temperature of 180°F. Cooking to these temperatures usually protects against foodborne illness. WARNING! OVEN Stand away from the range when opening the oven door. Hot air or steam which escapes can cause burns to hands, face and/or eyes. Do not heat unopened food containers.
-
Page 9: Using The Gas Surface Burners
LITE position. Use extreme caution when lighting burners this way. Before Lighting a Gas Burner Make sure all grates on the range are in place before using any burner. When one burner is turned to LITE, all the burners spark. - Page 10 This could be dangerous to your health. ge.com Heatproof Glass Ceramic: Can be used for either surface or oven cooking. It conducts heat very slowly and cools very slowly. Check cookware manufacturer’s directions to be sure it can be used on gas ranges.
-
Page 11: Using The Oven Controls
Using the oven controls. (Throughout this manual, features and appearance may vary from your model.) Features and appearance may vary. Oven Control, Clock and Timer Features and Settings BAKE Pad Touch to select the bake function. BROIL HI/LO Pad Touch to select the broil function. CONVECTION BAKE Pad Touch to select baking with the convection function. -
Page 12: Baking Or Roasting
Check food for doneness at minimum time on recipe. Cook longer if necessary. Touch the CLEAR/OFF pad when cooking is complete. ge.com To replace, place the end of the rack (stop-locks) on the support, tilt up the front and push the rack in. CAUTION:... -
Page 13: Using The Oven
Using the oven. Preheating and Pan Placement Preheat the oven if the recipe calls for it. Preheating is necessary for good results when baking cakes, cookies, pastry and breads. To preheat, set the oven at the correct temperature. The control will beep when the oven is preheated Do not place foods directly on the and the display will show your set temperature. - Page 14 Oven Vent Your oven is vented through one vent located toward the rear of the range. Do not block this vent when cooking in the oven—it is important that the flow of hot air from the oven and fresh air to the oven burner be uninterrupted.
-
Page 15: Broiling Guide
Using the oven. How to Set the Oven for Broiling IMPORTANT: To avoid possible burns, place the shelves in the desired position before you turn the oven on. Always use the broiler pan and grid that came with your oven. It is designed to minimize smoking and spattering by trapping juices in the shielded lower part of the... -
Page 16: Using Clock, Timer, Control Lockout
To unlock the control, touch the 9 and 0 pads at the same time for 3 seconds, until the display shows LOC OFF. ge.com Touch the CLOCK pad. Touch the number pads. Touch the START pad. After touching the START pad, SET disappears;... -
Page 17: Timed Baking & Roasting
Using the timed baking and roasting features. NOTE: Foods that spoil easily—such as milk, eggs, fish, stuffings, poultry and pork—should not be allowed to sit for more than 1 hour before or after cooking. Room temperature promotes the growth of harmful bacteria. Be sure that the oven light is off because heat from the bulb will speed harmful bacteria growth. -
Page 18: Using The Probe
200ºF. Touch the BAKE pad. Touch the number pads to set the desired oven temperature. Touch the START pad. ge.com Cable Plug Handles Never leave your probe inside the oven during a self-cleaning cycle. -
Page 19: Convection
Using the convection oven. Convection Fan In a convection oven, a fan circulates hot air over, under and around the food. This circulating hot air is evenly distributed throughout the oven cavity. As a result, foods are evenly cooked and browned—often in less time with convection heat. -
Page 20: Cookware
CONVECTION ROAST pad. Touch the number pads to set the desired oven temperature. Touch the START pad. ge.com When you are convection roasting it is important that you use the broiler pan and grid and the special roasting rack for best convection roasting results. -
Page 21: Using The Timed Features For Convection Cooking
Using the timed features for convection cooking. You will hear a fan while cooking with these features. The fan will stop when the door is opened, but the heat will not turn off. NOTE: Foods that spoil easily—such as milk, eggs, fish, stuffings, poultry and pork—should not be allowed to sit for more than 1 hour before or after cooking. - Page 22 COOK TIME pad to check the length of cooking time you have set. Touch the START pad. ge.com NOTE: An attention tone will sound if you are using timed baking or roasting and do not touch the START pad after entering the baking or roasting temperature.
-
Page 23: Set Oven For Convection Roasting
Using the convection oven. How to Set the Oven for Convection Roasting when Using the Probe The display will flash PROBE and the oven control will signal if the probe is inserted into the outlet, and you have not For best results when roasting large set a probe temperature and pressed the turkeys and roasts, we recommend START pad. -
Page 24: Proofing
Do not use plastic containers, lids or plastic wrap. CAUTION: Plastic containers, lids or plastic wrap will melt if placed in the oven. Melted plastic may not be removable and is not covered under your warranty. ge.com... -
Page 25: Adjust The Oven Thermostat—Do It Yourself
Adjust the oven thermostat—Do it yourself! You may find that your new oven cooks differently than the one it replaced. Use your new oven for a few weeks to become more familiar with it. If you still think your new oven is too hot or too cold, you can adjust the thermostat yourself. -
Page 26: Using The Self-Cleaning Oven
Soil on the front frame of the range and outside the gasket on the door will need to be cleaned by hand. Clean these areas with hot water, soap-filled or plastic... - Page 27 Using the self-cleaning oven. The oven door must be closed and all controls must be set correctly for the cycle to work properly. How to Delay the Start of Cleaning You can change the clean time to any time between 3 hours and 5 hours, depending on how dirty your oven is.
-
Page 28: Special Features Of Your Oven Control
SF. Touch the BROIL HI/LO and BAKE pads at the same time for 3 seconds until the display shows SF. ge.com Touch the DELAY START pad until no shdn (no shut-off) appears in the display. Touch the START pad to activate the no shut-off and leave the control set in this special features mode. - Page 29 Special features of your oven control. Tone Volume This feature allows you to adjust the tone volumes to a more acceptable volume. There are three possible volume levels. 12-Hour, 24-Hour or Clock Blackout Your control is set to use a 12-hour clock. If you would prefer to have a 24-hour military time clock or black out the clock display, follow the steps below.
- Page 30 The display will show CON ON. Touch the CONVECTION BAKE pad again. The display will show CON OFF. Touch the START pad. To turn on this feature, repeat steps 1–3 above but touch the START pad when CON ON is in the display. ge.com...
-
Page 31: Sabbath Feature
Using the Sabbath Feature. (Designed for use on the Jewish Sabbath and Holidays.) The Sabbath feature can be used for baking/roasting only. It cannot be used for convection, broiling, self-cleaning or Delay Start cooking. NOTE: The oven light comes on automatically (on some models) when the door is opened and goes off when the door is closed. The bulb may be removed. -
Page 32: Burner Assembly
Care and cleaning of the range. Be sure all controls are off and all surfaces are cool before cleaning any part of the range. If your range is removed for cleaning, servicing or any reason, be sure the anti-tip device is reengaged properly when the range is replaced. Failure to take this precaution could result in tipping of the range and cause injury. -
Page 33: Vent Grille
Care and cleaning of the range. Burner Grates and Vent Grille Porcelain enamel burner grates and the vent grille should be washed regularly and, of course, after spillovers. Wash them in hot, soapy water and rinse with clean water. You may also use abrasive cleaners and scouring pads to clean burner grates and the vent grille. -
Page 34: Racks
Oven Light Replacement CAUTION: light bulb, disconnect the electrical power to the range at the main fuse or circuit breaker panel. Be sure to let the light cover and bulb cool completely. To remove the cover: Broiler Pan and Grid Do not clean the broiler pan or grid in a self-cleaning oven. -
Page 35: Lift-Off Oven Door
Care and cleaning of the range. Cleaning the Oven Door To clean the inside of the door: Do not rub or clean the door gasket— it has an extremely low resistance to abrasion. If you notice the gasket becoming worn,... -
Page 36: Painted Surfaces
Camco Parts Store nearest you, please call our toll-free number: National Parts Center ge.com (U.S.) www.GEAppliances.ca (Canada) Do not use commercial oven cleaners, cleaning powders, steel wool or harsh abrasives on any painted surface. -
Page 37: Glass Cooktop
Cleaning the glass cooktop. Control Lockout Begin by locking the cooktop; see the Control Lockout section. Normal Daily Use Cleaning ONLY use CERAMA BRYTE Cooktop Cleaner on the glass cooktop. Other creams may not be as effective. To maintain and protect the surface of your glass cooktop, follow these steps: Clean your cooktop after each spill. - Page 38 888.261.3055 (Canada) ® Ceramic ® Ceramic ® Cleaning Pads for ge.com Any remaining spillover should be left until the surface of the cooktop has cooled. Don’t use the surface units again until all of the residue has been completely removed.
-
Page 39: Before You Call For Service
Switch operating light is broken. Oven will not work Plug on range is not completely • Make sure electrical plug is plugged into a live, properly inserted in the electrical outlet. A fuse in your home may be blown or the circuit breaker tripped. -
Page 40: Storage Drawer
• Make sure you touch the BROIL HI/LO pad. • See the Broiling Guide. • Use the broiling pan and grid that came with your range. • Unplug and remove the probe from the oven. • See the Using the oven section. -
Page 41: Troubleshooting Tips
Troubleshooting Tips Problem Possible Causes Clock and timer do Plug on range is not completely • Make sure electrical plug is plugged into a live, properly not work inserted in the electrical outlet. A fuse in your home may be blown or the circuit breaker tripped. - Page 42 • This is temporary. to cool internal parts. It may run after the oven is turned OFF. The convection fan (on some models) will cycle on and off until the function is over or the door is opened. ge.com...
- Page 43 Before you call for service… Troubleshooting Tips Problem Possible Causes Scratches (may appear Incorrect cleaning as cracks) on cooktop methods being used. glass surface Cookware with rough bottoms being used or coarse particles (salt or sand) were between the cookware and the surface of the cooktop.
- Page 44 You can rest easy, knowing that all your valuable household products are protected against expensive repairs. Place your confidence in GE and call us in the U.S. toll-free at for more information. *All brands covered, up to 20 years old, in the continental U.S.
- Page 45 Check here if you do not want to receive communications from GEA’s carefully selected partners. FAILURE TO COMPLETE AND RETURN THIS CARD DOES NOT DIMINISH YOUR WARRANTY RIGHTS. For more information about GEA’s privacy and data usage policy, go to ge.com and click on “Privacy Policy” or call 800.626.2224. Read your Owner’s Manual carefully.
-
Page 46: Accessories
Accessories. Looking For Something More? You can find these accessories and many more at ge.com (U.S.) or www.geappliances.ca (Canada), or call 800.626.2002 (U.S.) or 888.261.3055 (Canada) (during normal business hours). Have your model number ready. Oven Racks Tired of discolored racks? Wishing you had extra-heavy-duty oven racks? GE’s innovative, self-cleanable porcelain-coated oven racks! - Page 47 This warranty is extended to the original purchaser and any succeeding owner for products purchased for home use within the USA. If the product is located in an area where service by a GE Authorized Servicer is not available, you may be responsible for a trip charge or you may be required to bring the product to an Authorized GE Service location for service.
- Page 48 Camco Will Replace: One Year Any part of the range which fails due to a defect in materials or workmanship. During this From the date of the limited one-year warranty, Camco will also provide, free of charge, all labor and in-home original purchase service to replace the defective part.
-
Page 49: Consumer Support
Customers in Canada should consult the yellow pages for the nearest Camco service center, or call 1.888.261.3055. Contact Us If you are not satisfied with the service you receive from GE, contact us on our Website with all the details including your phone number, or write to: General Manager, Customer Relations In Canada: www.geappliances.ca, or write to: Director, Consumer Relations, Camco, Inc.
Need help?
Do you have a question about the Profile JGSP48WHWW and is the answer not in the manual?
Questions and answers
How do I set the lowest oven temp to 150 degrees (for drying soaked nuts)
To set the oven temperature to 150 degrees on a GE Profile JGSP48WHWW:
1. Touch the BAKE pad.
2. Enter 150 using the number pads.
3. Touch the START pad.
This sets the oven to bake at 150 degrees.
This answer is automatically generated