Advertisement
Quick Links
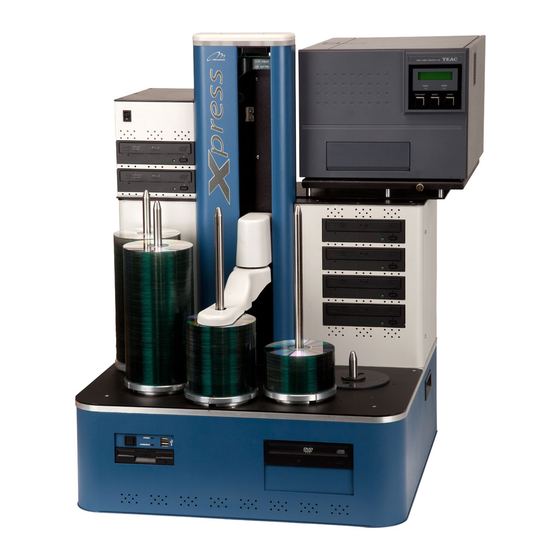
Xpress Hardware Assembly Guide
•
These instructions show how to assemble an Xpress systems out of the box.
•
Although the pictures show the Xpress XP model, the procedure is very similar for the XE and XL models except where noted.
•
No tools are mandatory for this procedure (flat-head screwdriver is optional).
•
For XE systems, which arrive partially assembled, skip to step '13'.
1
Place the base unit on a sturdy work surface, keeping in
mind that the printers on most systems will protrude off the
back of the unit approximately 6 – 8 inches.
3
Secure the drive enclosure to the base unit using the (6)
thumbscrews inside of the drive enclosure. Tighten each
screw partially first until all are threaded. Then proceed to
tighten each of the (6) screws completely.
(includes XE, XP, and XL)
2
Remove the rear panel from the back of the drive
enclosure (upper base assembly) by unscrewing the (2)
thumbscrews - XL has (3). Place the drive enclosure on top
of the base unit so it sits flush and even on all sides.
4
Connect the power tail from the drives to the power
connector coming from the base unit power supply. These
connectors are color-coded for simplicity.
NOTE: For XL systems these cables are already
connected, so you may skip this step.
1
Advertisement

Related Manuals for Microtech Xpress XE


Summary of Contents for Microtech Xpress XE
- Page 1 Xpress Hardware Assembly Guide (includes XE, XP, and XL) • These instructions show how to assemble an Xpress systems out of the box. • Although the pictures show the Xpress XP model, the procedure is very similar for the XE and XL models except where noted. •...
- Page 2 Route the SATA drive cables from the base unit up to Connect the power lead from the drive enclosure fans to the drive enclosure, and connect each to its respective the matching power connector from the power supply on drive. The cables are tied so that each goes to a specific the base unit.
- Page 3 Ports used on the Xpress XP Ports used on the Xpress XL Connect the robotics control and printer control cables to the back of the elevator. These are the gray cables that com e from behind the two fans on the drive enclosure, near the printer control and host communication ports . Just follow the above diagram and remember that each plug is unique and keyed so that it is not possible to plug one into the wrong port.
- Page 4 Replace the rear cover panel on the drive enclosure To install the printer plate (onto which the printer is mounted on), place it on top of the drive enclosure so that using the (2) thumbscrews - XL has (3). the pins are facing up and the (2) tabs go into the slots on the right side of the drive enclosure.
- Page 5 PRISM PRINTER ONLY ) Connect the serial (DB9 PRISM PRINTER ONLY ) Connect the other end of to PS2) cable to the back of the printer. For XL systems, the serial cable to the COM1 port on the base unit. For XL each cable should be labeled- simply match the numbers to systems, the cables should be labeled.
- Page 6 Connect the serial (DB9M to DB9F) cable (with serial- ( XPRESSJET II and TEAC K2 PRINTER ONLY ) to-USB adapter) to the port labeled ‘Host Communication’ Connect the other end of the serial cable to the Printer on the back of the drive enclosure. Control port on the back of the drive enclosure.
- Page 7 Unpackage the flat-panel monitor and connect the Plug the power cords into the base unit, printer(s), and upper base unit on XL systems only. If the power supply VGA cable from the monitor to the back of the base unit. on the base unit (or upper base) has a power switch, switch it to the ‘ON’...
- Page 8 For ‘ImageAligner 2’ Only: Mount the boom arm using the (3) wing-nuts. For XL Attach the camera mount plate/ light shield assembly to systems, there are separate ‘left’ and ‘right’ arms- just the arm by lining up the (2) pins and (1) mounting screw with the holes on the boom arm.
Need help?
Do you have a question about the Xpress XE and is the answer not in the manual?
Questions and answers