Advertisement
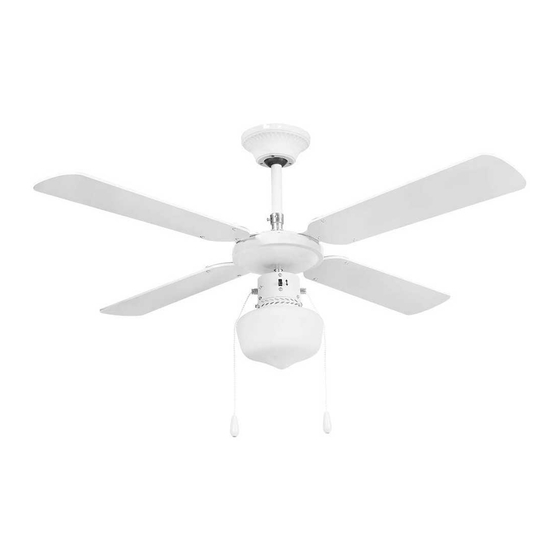
SCHOOLHOUSE FAN SVAN SVVE 42T
Installation and User Instructions—Please Keep for Future Reference
Contents
Content
Safety Information and Warnings
Cleaning, Location & Reverse Control
Parts and Components List
1
Page
Content
Installation—Blades & Shaft
2
2
Installation—Fan Body & Light
3
Installation—Mounting to the ceiling & Wiring
APPROVED
Q.C
25/09/2019
ISSUE 1
Page
4
5
6
Advertisement
Table of Contents

Related Manuals for Svan SVVE 42T


Summary of Contents for Svan SVVE 42T
- Page 1 SCHOOLHOUSE FAN SVAN SVVE 42T Installation and User Instructions—Please Keep for Future Reference APPROVED 25/09/2019 ISSUE 1 Contents Page Content Page Content Installation—Blades & Shaft Safety Information and Warnings Installation—Fan Body & Light Cleaning, Location & Reverse Control Installation—Mounting to the ceiling & Wiring...
- Page 2 Safety Information IMPORTANT – Please read these instructions fully before installation and keep for future reference Your product is produced in conformity with all relevant WARNING – Do not modify or alter any product before or after installation. This may render the product un-safe. safety regulations relating to electrical appliances.
- Page 3 Parts and Components List Blade bracket x 4 Ceiling Can x 1 Glass shade x 1 Mounting Bracket & fixings x 1 Fan body x 1 Shaft x 1 Shaft pin x 1 Shaft cover x 1 Blade bracket bolt x 12 Fan blades x 4 Blade bracket nut x 12...
- Page 4 Installation Fitting the blades Line the blade bracket up with the holes on the fan blade, ensuring you mount the bracket to the decora ve side of the blade. Push the 3 blade bolts through the bracket & blade, then secure using the 3 blade nuts provided. Remove the 2 motor screws that are pre-fi7ed to the fan body.
- Page 5 Installation Securing the shaft to the fan body Place the sha down into the fan body, ensuring the holes are lined up. Insert the sha pin through the sha & fan body, then secure in place with the push clip. Tighten the 2 screws in the fan body to lock the sha in place, ensuring the sha is central.
- Page 6 Installation Fitting the ceiling bracket For normal plasterboard ceilings, ensure the bracket is secured to a ceiling joist or brace. For concrete ceilings drill pilot holes, and secure bracket with the anchoring screws provided. Use the bracket as a template to mark 2 holes on the ceiling. Using the appropriate fixings, secure the bracket to the ceiling.
Need help?
Do you have a question about the SVVE 42T and is the answer not in the manual?
Questions and answers