Advertisement
Quick Links
Advertisement

Subscribe to Our Youtube Channel
Related Manuals for vita VA68894


Summary of Contents for vita VA68894
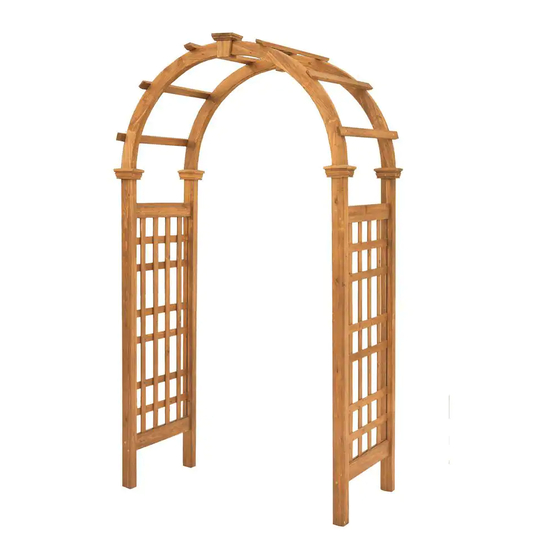
- Page 1 ASSEMBLY GUIDE Rosewood Arbor VA68894 VER 1.8 131120...
- Page 2 1-800-282-9346 hello@wearevita.com 5:00 PM EST 8: 00 AM wearevita.com...
-
Page 3: In This Guide
IN THIS GUIDE PARTS LIST TOOLS YOU WILL NEED - PRODUCT DIMENSIONS STEP 1 AND 2 STEP 3 AND 4 STEP 5 AND 6 STEP 7 AND 8 STEP 9 AND 10 (TEMPORARY INSTALLATION) STEP 11 (PERMANENT INSTALLATION) -
Page 4: Parts List
PARTS LIST PRE-ASSEMBLED SIDE PANEL - 12004 - X2 POST TRIM ARCH KEYSTONE 12001 - X4 12000 - X2 RIGHT ARCH - 12002 - X2 LEFT ARCH - 12043 - X2 ARCH RAFTER - 12003 - X6 WOOD BLOCK - X1 METAL GROUND STAKES - 12006 - X4 20071 - SCREW A - 1 1/4IN (3.18CM) - X8 - TO SECURE POST TRIM CAPS TO ARBOR POSTS 20064 - SCREW B - 1 1/4IN (3.18CM) - X8 - TO ATTACH METAL STAKES TO ARBOR... -
Page 5: Tools You Will Need
TOOLS YOU WILL NEED PRODUCT DIMENSIONS 26.5IN (67.3CM) 88.7 84.5IN (225.3CM) (214.6CM) 42IN (106.7CM) 20IN (50.8CM) 47IN 24IN (119.4CM) (60.9CM) VER 1.8 131120... - Page 6 12002 - x2 12043 - x2 12043 x2 12000 - x2 12002 x2 20067 - x4 E VER 1.8 131120...
- Page 7 20063 - x2 Align central trim at arch marking 20063 - x12 12003 - x6 Stapled side of archs have to face each other, space between arches is 20in(50.8cm) VER 1.8 131120...
- Page 8 12001 - x4 Screw holes to face inside of arbor VER 1.8 131120...
- Page 9 20065 - x8 D 20071 - x8 Use wood block provided to help you hold post trim in place! Repeat for each trim VER 1.8 131120...
- Page 10 20064 x8 12006 - x4 Temporary Installation Carefully push arbor stakes into desired ground area VER 1.8 131120...
- Page 11 Permanent Installation For a permanent installation, measure four 8in (20.3cm) holes in diameter, 44 1/2in (113cm) apart by 22in apart (56cm), from center to center. Dig each hole 14in (36cm) deep. Fill excavated holes with mixed concrete 44 1/2in and carefully lift arbor (113cm) 22in (56cm) into place.
Need help?
Do you have a question about the VA68894 and is the answer not in the manual?
Questions and answers