Advertisement
Quick Links
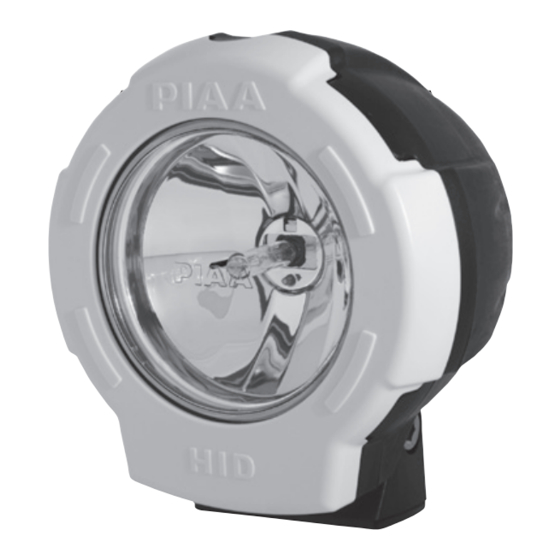
Shock Lamp RS400 H.I.D.
Thank you very much for purchasing this PIAA product.
Please read the entire manual before installation and use of this product.
For Installers
Please give this installation manual to customer after installing.
When installing two lamps on the vehicle, it is necessary to purchase another relay harness
(Pn 34035). One harness is required for each lamp.
WARNING
• Lighting laws vary from state to state.
Check your local laws before use.
• The lamps get very hot when they have been in use.
Do not touch them as they may cause burns.
• After the lights have been on, do not place them near flammable objects.
• Do not splash water directly on the hot lamps, as this may cause cracking of the lens due
to dramatic change in temperature.
• To avoid potential damage to your eyes, do not look directly into the lamp.
• This product is designed for 12V automotive electrical systems only.
• Using this light system while the engine is not running will drain the battery.
• Do not repeatedly turn the light system on and off as it will shorten the life of the system.
• To avoid potential damage to your lights, make sure your lights are turned on prior to
starting or shutting off your vehicle.
• Using the wrong bulbs may cause a malfunction. Use only specified PIAA bulbs.
• When changing bulbs or lenses follow the lamp assembly/disassembly diagram.
Installation Instructions
1
Advertisement

Subscribe to Our Youtube Channel
Related Manuals for Piaa RS400


Summary of Contents for Piaa RS400
- Page 1 • To avoid potential damage to your lights, make sure your lights are turned on prior to starting or shutting off your vehicle. • Using the wrong bulbs may cause a malfunction. Use only specified PIAA bulbs. • When changing bulbs or lenses follow the lamp assembly/disassembly diagram.
- Page 2 • This product generates high voltages and is very dangerous. For installation, always contact one of the PIAA authorized dealers. • This lamp should only be mounted in the upright position. The PIAA logo should be read right side up.
- Page 3 Contents Make sure that all parts are in the package. If something is missing, please contact the store where you purchased the product. One (1) Lamp assembly. One (1) rubber cushion. One (1) Allen Wrench tools Philips-head screwdriver Flat-head screwdriver 8mm/19mm wrench Diagonal cutters Pliers...
-
Page 4: Lamp Installation
• The lamp installation surface should be flat. 2. Using the rubber cushion, flat washer, spring washer, and nut, install the lamp to the car ensuring the PIAA logo reads right side up. cAutIoN • The lamp should be tightened to the degree that the lamp body cannot be moved by hand. -
Page 5: Harness Installation
Harness InstallatIon When connecting the wires on the harness, follow the wiring diagram and the se- quence below. Before connecting any wires, disconnect the negative (-) battery terminal. note: When running the wires through the engine compartment be sure to keep them securely away from moving parts such as the fan and the throttle cable and away from hot parts such as the exhaust manifold. -
Page 6: Wiring Diagram
WIrInG DIaGraM... - Page 7 DrIVInG lIGHt aIMInG Typically, driving lights are mounted above the front bumper about 14-30 inches from the ground to provide extra high beam illumination. Driving lights can be mounted below the bumper, although they will not be as efficient because the light will hit the ground sooner and reduce the range of the light.
- Page 8 DIsasseMbly Pry white cover off lamp at the arrow location on the black housing. Unscrew the black (BK) frame. Remove L&R&BK frame unit. Unplug 2 bulb plugs.
- Page 9 L&R&BK frame unit... Unscrew 6 screws on the L&R&BK frame unit and take L&R unit away from the B&K frame. (Note: No need to unscrew this if you are only changing the bulb!) Unscrew the little screws that mount the bulb. Take out the bulb carefully!
- Page 10 notes...
- Page 12 PIAA product. PIAA reserves the right to change the design of its products without any obligation to modify any previ- ous product.
Need help?
Do you have a question about the RS400 and is the answer not in the manual?
Questions and answers