Table of Contents
Advertisement
Quick Links
Advertisement
Table of Contents

Subscribe to Our Youtube Channel
Related Manuals for KALOS KLEH162-0600


Summary of Contents for KALOS KLEH162-0600
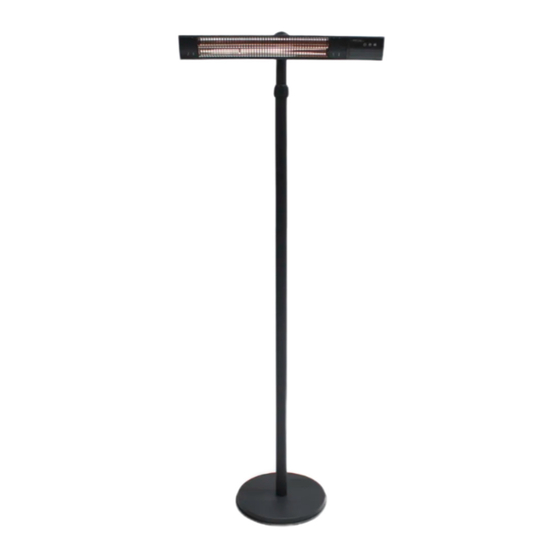
- Page 1 Assembly Instructions Ibiza Electric Floor Standing Heater - 2500W KLEH162-0600 IMPORTANT PLEASE KEEP THIS BOOKLET FOR FUTURE REFERENCE. THIS IS IMPORTANT INFORMATION REGARDING THE USE AND CARE OF YOUR OUTDOOR HEATER. ASSEMBLY PERSONS TIME REQUIRED Oct 2021...
- Page 2 Important Information Unpack the outdoor heater making sure that all of the items are present and that there are no components left in the box and the heater head is free from any packaging material. Extra packaging is added to some models for transportation protection which must be removed before assembly.
-
Page 3: For Your Safety
For Your Safety Warning Caution • This heater is not equipped with a device • Some parts of this product can become DO NOT to control the room temperature. very hot and cause burns. Particular use this heater in small rooms when they attention must be given where children, are occupied by persons not capable of vulnerable people and animals are... - Page 4 For Your Safety 11. The marking concerning covering should DO NOT use this unit in place where be visible after the heater has been causticity or volatile air exists, i.e. dust, installed. It shall not be placed on the steam, gas, etc. back of portable heaters.
- Page 5 For Your Safety 35. Avoid the use of an extension cord Ibiza Freestanding Heater is built with the best quality components in accordance because the extension cord may to the prevailing legal regulations and overheat and cause a risk of fire. certified for safety in use.
- Page 6 Assembly . Fix the bottom tube onto the base by screwing. . Connect the middle tube with bottom tube by screwing them together.
- Page 7 Assembly . Connect the top tube with middle tube by screwing them together (as same as Step2). . Place the power cord plug through the base , bottom tube, middle tube and top tube. Connect the power cord plug to the socket in the heater head.
- Page 8 Assembly Insert the Heater Head onto the top tube and fix in position using the 4*8mm screws. Fix the Power Cord on the Base by using the 4*M4 screws.
- Page 9 Assembly Fix the heater to the ground by screwing via the fixing plates. Loosen the two M6*10 screws by the L hexagonal wrench to change the best angle of the heating head, then retighten them.
-
Page 10: Remote Control Operation
Operation Connect the power cable to a 220-240V 13amp supply that is located in a safe, dry area. • Press “ ” to turn the heater on • Press on the panel for low setting (800W) • Press on the panel for the medium setting (1600W) •... -
Page 11: Care And Maintenance
Operation Care and Maintenance • When disconnected from the electrical supply, clean the outside of the patio heater with a damp cloth. Never use corrosive or solvent cleaners or immerse in water. • Any maintenance or repairs including replacing the halogen tube should only be carried out by a qualified electrician or by a qualified service centre. -
Page 12: Maintenance And Care Instructions
Maintenance and Care Instructions • When disconnected from the electrical supply, clean the outside of the patio heater with a damp cloth. Never use corrosive or solvent cleaners or immerse in water. • Any maintenance or repairs including replacing the halogen tube should only be carried out by a qualified electrician or by a qualified service center.
Need help?
Do you have a question about the KLEH162-0600 and is the answer not in the manual?
Questions and answers