
Subscribe to Our Youtube Channel
Related Manuals for Sakura Dry-Boy SDB-45


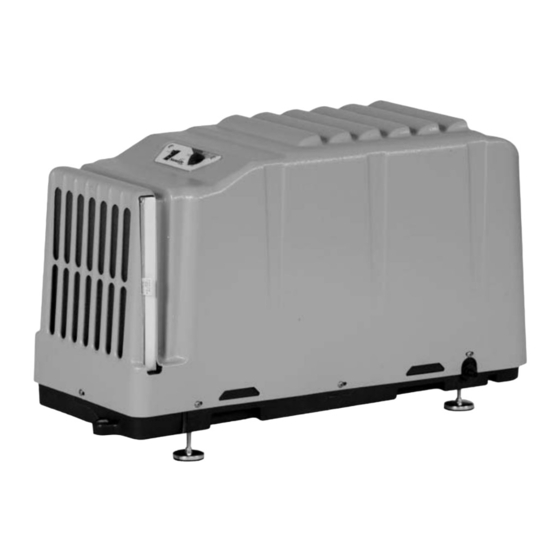
Summary of Contents for Sakura Dry-Boy SDB-45
- Page 1 Dry-Boy H ig h E fficiency D ehumi di fi er SAKURA Basement Air System (for Basement / Crawlspace Dehumidification) Model : S DB- 45 Installer’s & Owner’s Manual...
-
Page 2: Table Of Contents
Duct Kit: Shipping play with or near the unit or in its air flow. Width: 14-1/2 " 14-1/2 " 22" • SAKURA Dry-Boy is designed to be installed indoors only. Height: 19" w/o feet 22-1/4 " w/o feet 25" Depth: 33"... -
Page 3: Unit Assembly
4.1 Installing Feet (Optional) 5.1 Location Included with your SAKURA Dry-Boy SAKURA Dry-Boy can be installed in a variety oflocations to are four leveling feet. It meet the owner’s needs, but should beinstalled directly in the area is important to level the unit for to be dehumidified. -
Page 4: Electrical Requirements
INSTALLER'S AND OWNER'S MANUAL 5.2 Electrical Requirements SAKURA Dry-Boy plugs into a common grounded outlet on a 15-Amp circuit. While operating, it draws less than 7 amps @ 80°F, 60% RH and less than 6 amps @ 75°F, 50% RH. Use of a ground fault circuit interrupter (GFCI) protected circuit is recommended. -
Page 5: Maintenance
8.1 Technical Description visibly dirty. See cleaning instructions below. SAKURA Dry-Boy uses a refrigeration system similar to an air conditioner’s to remove heat and moisture from incoming air and add heat to the air that is discharged. Hot, high pressure refrigerant The 1/4"... -
Page 6: Troubleshooting
INSTALLER'S AND OWNER'S MANUAL Evaporator coil frosted continuously, low dehumidifying capacity. gas is routed from the compressor to the condenser coil. The Dirty air filter or air flow restricted. refrigerant is cooled and condensed by giving up its heat to the air that is discharged from the dehumidifier. -
Page 7: Condensate Pump Kit
CONDENSATE PUMP INSTALLATION Optional Accessory: You will not need Condensate Pump Kit this hose adaptor. Note: Before attaching pump assembly, ensure that the dehumidifier has leveling feet installed on bottom of unit. If your unit has casters, you will need order a set of leveling feet. These will be needed for additional height. - Page 8 CONDENSATE PUMP INSTALLATION Step 5. Attach the 20' drain hose to the condensate pump and route it to a floor drain. Plug in the condensate pump and the assembly is completed. Installer’s & Owner’s Manual...
-
Page 9: Duct Kit Assembly
DUCT KIT ASSEMBLY Optional Accessory: Duct Kit Duct Kit Assembly Instructions Do not drill any pilot holes into the plastic housing. You may damage the internal components. When installing screws, be careful not to strip. Lightly tighten screws. ATTACHING COLLARS Step 3. - Page 10 DUCT KIT ASSEMBLY Duct Kit Assembly Instructions Continued FIGURE 1 FIGURE 2 FRONT DUCT ASSEMBLY TOP DUCT ASSEMBLY 1. Check sealing foam on the front duct assembly. Ensure that 1. Check sealing foam on the top duct assembly. Ensure none has none has come loose.
Need help?
Do you have a question about the Dry-Boy SDB-45 and is the answer not in the manual?
Questions and answers