Advertisement
Quick Links
Advertisement

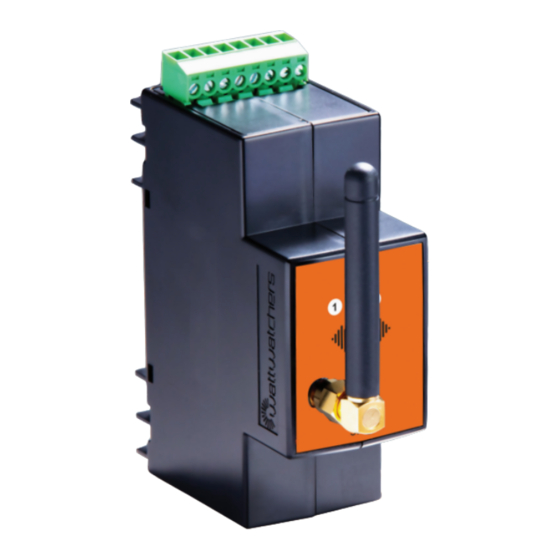
Summary of Contents for wattwatchers Auditor 3R
- Page 1 Quick Start Guide Auditor A3R Rogowski Coil Version 1.0_September 2018...
- Page 3 Auditor 3R Complete these four easy steps, then start monitoring your site. 1. Before you begin 2. Connect your Auditor 3. Use the onboarding tool 4. Validate that your installation is correct ONLY use this Auditor with the R-coils it is supplied with.
-
Page 4: Before You Begin
1. Before you begin Ensure you have the equipment - See Auditor 3R checklist below. You’ll need an internet connected smart device (e.g. smartphone, tablet, laptop) to configure the Auditor and capture information about the installation. A marker is useful for numbering Rogowski coil (R-coil) and cables during installation. - Page 5 2. Connect your Auditor Three-Phase Voltage Connections Use this configuration when there are multiple phases present. The voltage connections are labelled P1, P2, P3, N. Connect voltage phases to P1, P2, and P3. Connect neutral to N. Use three-phase wiring tails if they were provided with your Auditor.
- Page 6 600A, up to 3,000A, or when the aperture required is greater than 36mm in diameter. • R-coils must be a loose fit around the conductor and the two ends must join completely. • Wattwatchers 3,000A R-Coils can be used to measure 200A or more.
- Page 7 2. Connect your Auditor continued Auditor 3R R-coil Connections • The R-coil connections are labelled 3+, 3-, 2+, 2-, 1+, 1- • Connect the R-coil blue wires to terminals marked 1+, 2+, 3+ • Connect the R-coil white wires to terminals marked 1-, 2- , 3- •...
- Page 9 3. Use the onboarding tool The onboarding tool at onboarding.wattwatchers.com.au collects the installation details for each site including device serial number, circuit names and R-Coil size. Log into the onboarding tool and work through the steps to configure your devices...
- Page 10 4. Validate installation Check the lights When installation is completed successfully, all three green lights on the front of the Auditor should be lit solid. The table below shows the meaning of the lights. Auditor Indicators Explanation Powered off Blinking Powering on Powered on –...
- Page 11 Validating that your installation is correct If... Then... Otherwise... Circuit current rating is less The correct size R-coils Contact Wattwatchers than the R-coil rating. are installed. support. Install data shows three The voltage connections Check the voltage voltages around 220V, less are good.
- Page 13 The shields of each R-Coil connect to the respective negative terminal 1-, 2-, 3- R-COIL Find diagrams for more configurations at SHEILDS www.wattwatchers.com.au/support Place R-coil connected to ... On cables connected to ... Auditor 3R connection Supply 3 phases Loads None Solar None...
- Page 14 Our team is available from 0900 to 1700, Monday to Friday, Sydney time. Support phone: 02 8316 7540 (+61 2 8316 7540 from overseas) Support: To lodge a Support ticket, please visit our Support Portal at www.wattwatchers.com.au/support WW018021 Quick Start Guide - A3R Rogowski Coil S018019 Quick Start Guide - A6M...


Need help?
Do you have a question about the Auditor 3R and is the answer not in the manual?
Questions and answers