Page 1
Contents 1. General safety instructions _______________________________ 2 Installation ___________________________________________ 9 
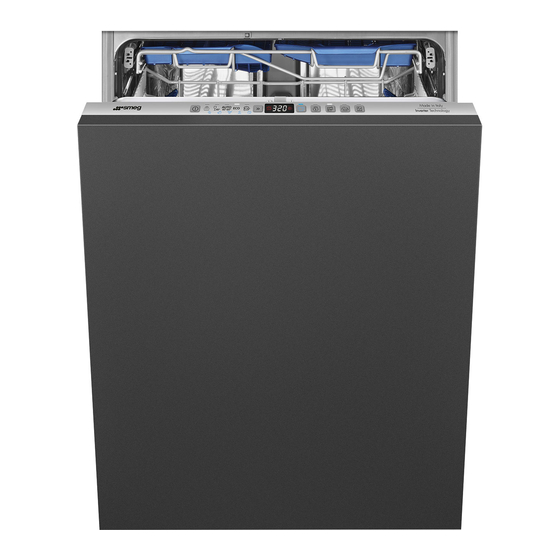
You are advised to read this manual carefully; it contains all the information you need about the right conditions for the proper, safe use of your dishwasher. INSTALLATION INSTRUCTIONS: these are intended for the qualified technician who must carry out the installation, hook-up and testing of the appliance.
Installation TRANSLATION ORIGINAL INSTRUCTIONS 1. General safety instructions This manual is an integral part of the appliance; it must always be kept intact together with the dishwasher for future reference (even if sold). Before using the appliance, carefully read all the instructions contained in this manual.
Page 3
Installation Separate waste packaging materials by type and consign them to the nearest recycling centre. The plate with the technical data, serial number and marking is in a visible position on the inside edge of the door. It must not be removed. ...
Page 4
Installation To ensure stability, install the appliance only under continuous worktop, securely fixed to adjacent cabinets. If the appliance is installed in a high cabinet, both the appliance and the cabinet must be adequately fixed. If the appliance is not built-in and is therefore accessible on one side, the door hinge area must be covered for safety reason (injury hazard).
Page 5
Installation Briefly test the appliance after installation. Run a wash cycle with a temperature of between 45 and 70°C with the dishwasher empty and using a specific dishwasher detergent. (It is not sufficient to run a soak cycle). If the dishwasher fails to operate correctly, disconnect it from the electrical power supply and call the nearest technical service centre.
Page 6
Installation Do not drink the water residues which may be present on the dishes or appliance at the end of the washing program. Never place solvents such as alcohol or turpentine, which potentially explosive, inside appliance. Never load dishes soiled with ash, wax or paint.
Page 7
Installation cord, have it replaced by the manufacturer or an authorised technical service centre. Some components are live even with the on/off button in the off position. Before performing any maintenance work on the appliance, disconnect it from the electrical power supply. ...
Page 8
Installation 1.1 Declaration of conformity The appliance complies with the essential requirements of the following European directives: - 2009/125/EC - 2011/65/EU - 2014/35/EU - IEC/EN 62471, risk group 1, for models with internal lighting. - IEC/EN 61770 1.2 Disposal This appliance must be disposed of separately from other waste (directive 2012/19/EC).
Installation 2. Installation 2.1 Technical characteristics Water supply pressure min. 0.05 - max. 0.9 MPa (min. 0.5 – max. 9 bar) Water supply temperature max. 60°C Capacity 14 standard place settings Class of protection against IPX0 moisture Protection against electric class I shock Electrical data...
Installation 2.2 General information Remove the polystyrene basket retainers. Position the appliance in the desired place of installation. This appliance may be placed up against walls or other furniture units. If the appliance is installed near a heat source, fit a special insulating panel to prevent overheating and malfunction of the appliance.
Page 11
Installation filters and acquastop devices; structural and internal parts of the door (separately or as an assembly); electronic boards and printed circuits; electronic displays; pressure switches; thermostats and sensors, software and firmware, including reset software. The following spare parts will be available for 10 years after the model is no longer produced: door hinge and seal;...
Page 12
Installation Some models are equipped with only one adjustable foot at the rear, which can be adjusted by turning the screw on the lower front part of the appliance. Building-in a dishwasher underneath a hob is absolutely forbidden. Moreover, dishwashers may not be installed directly touching appliances which are not conventional built-in kitchen appliances (e.g.
Page 13
Installation For free-standing models only - Installing a hob on top of a free-standing dishwasher is absolutely forbidden. - If the appliance is accessible from one side, the door hinge area has to be covered for safety reasons (risk of injury). The covers are available as an accessory and can be ordered through the Technical Assistance Service.
Installation CONNECTING TO THE WATER SUPPLY Connect the intake hose to a cold water supply with ¾” gas thread, inserting the filter A supplied with the dishwasher. Take care to screw the hose firmly into place with your hands then complete tightening about ¼...
Page 15
Installation The dishwasher can also be connected to a hot water supply not exceeding 60°C. Supplying the appliance with hot water cuts down the washing time be approximately 20 minutes, but slightly reduces its effectiveness. Make the connection to the domestic hot water supply using the same procedure described for connecting to the cold water supply.
Installation DRAIN CONNECTION Insert dishwasher’s drain hose into a drain pipe having a diameter of at least 4 cm, or alternatively, place it inside the kitchen sink using plastic support provided, taking care not to crush or excessively bend the hose. It is important to prevent the hose from coming loose and falling.
Page 17
Installation 2.4 Electrical connection and precautions The dishwasher and any additional equipment must be connected to the electrical system by authorised, skilled staff, in accordance with the relevant regulations; also comply with the technical instructions for the connection. The total rated power is stated on the appliance’s technical data plate.
Page 18
Installation Some components are live even with the ON/OFF position. Before performing any maintenance work appliance, disconnect it from the electrical power supply. The dishwasher meets all the requirements set out by the regulations in force concerning safety and electrical equipment. Any technical checks should be conducted exclusively by a trained and authorised techcician: repairs carried out by unauthorised persons will invalidate the...
Page 19
Installation ADJUSTING THE APPLIANCE’S POWER SETTING The dishwasher leaves the factory in single-phase version. The power can be set at three different levels as shown below. Power Fuse P3-Max 5,45 3x16A P2-Medium 3,50 3x16A P3-Max: Factory setting P1-Min 2,00 3x16A To adjust the power setting, proceed as follows: Set a washing program other than the soak program.
Page 20
Installation CONNECTION DIAGRAM 400-415V/50Hz/3/N/PE COLORE DEI FILI COLEUR DE FIL WIRE COLOR ADERNFABER GRIGIO GRIS GREY GRAU BLEU BLUE BLAU MARRON MARRON BROWN BRAUN NERO NOIR BLACK SCHWARZ G/V GIALLO/VERDE JEUNE/VERT YELLOW/GREEN GELB/GRUN...