Advertisement
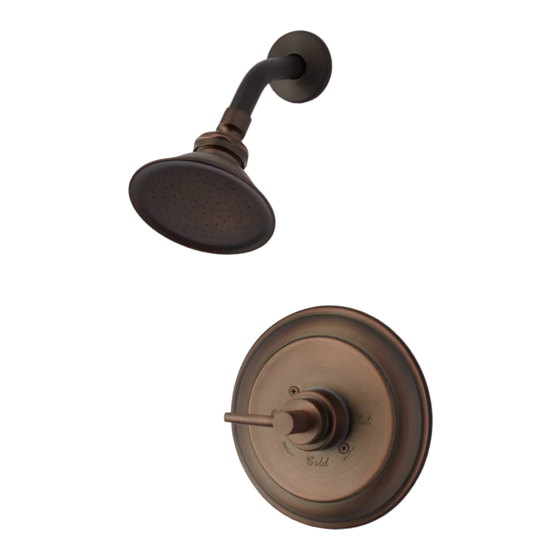
W A L L- M O U N T S H O W E R S E T
SKU: 926360
BEFORE YOU BEGIN
We recommend consulting a professional if you are
unfamiliar with installing plumbing �xtures. Signature
Hardware accepts no liability for any damage to the wall,
plumbing, shower, or for personal injury during installa-
tion.
Observe all local plumbing and building codes.
Unpack and inspect the product for shipping damage. If
any damage is found, contact our Customer Relations
team at 1-866-855-2284.
GETTING STARTED
Ensure that you have gathered all the required
materials that are needed for the installation.
For Warranty information, please visit: signaturehardware.com/services/warranty
TOOLS AND MATERIALS:
Adjustable Wrench
Safety Glasses
Thermometer
Painter's Tape
Long-nose Pliers
Drill
1
Flathead
Phillips
Screwdriver
Screwdriver
Keyhole Saw
Tape Measure
Silicone Sealant
Strap Wrench
(100% Neutral Cure)
Hex Wrench
Pliers
Pencil
Thread Sealant
REVISED 03/17/2020
CODES: 244336, 459347, 497555, 514910, 514914
244335, 392535, 459348, 497556, 508317, 114321
244337, 459349, 497557, 514911, 231894, 231892
231895, 231890, 231888, 231891
Advertisement
Table of Contents

Related Manuals for Signature Hardware 926360


Summary of Contents for Signature Hardware 926360
- Page 1 W A L L- M O U N T S H O W E R S E T SKU: 926360 TOOLS AND MATERIALS: BEFORE YOU BEGIN We recommend consulting a professional if you are unfamiliar with installing plumbing �xtures. Signature...
- Page 2 W A L L- M O U N T S H O W E R S E T SKU: 926360 Copper (Soldering) If you are replacing your plumbing valve, please review the common plumbing methods illustrated below (Copper, IPS). Remove the existing handle and valve trim before replacing your valve.
- Page 3 W A L L- M O U N T S H O W E R S E T SKU: 926360 PRESSURE BALANCE VALVE INSTALLATION 4. Remove the plaster guard (1) from the body (2). 1. Shut o� the water supply.
- Page 4 W A L L- M O U N T S H O W E R S E T SKU: 926360 6. Wrap plumbers tape around the pipe threads in a 7. If the hot and cold inlets are reversed (hot on right clockwise direction.
- Page 5 W A L L- M O U N T S H O W E R S E T SKU: 926360 8. Use 1/2” iron pipe plugs to seal shower outlet. Turn 10. Place the plaster guard (1) onto the valve body (2).
- Page 6 W A L L- M O U N T S H O W E R S E T SKU: 926360 12. Rotate the lever counterclockwise until the water 14. For colder water, adjust the limit stop ring (1) in a...
-
Page 7: Outlet Connections
W A L L- M O U N T S H O W E R S E T SKU: 926360 OUTLET CONNECTIONS 2. Install escutcheon and handle onto valve, as refenced in below installation. 1. There are 3 outlets on the diverter valve, providing 3 separate connections. -
Page 8: Care Instructions
W A L L- M O U N T S H O W E R S E T SKU: 926360 2. Install the shower arm using a strap wrench. 5. Install shower head on shower arm. Thread the ball onto the shower arm clockwise. - Page 9 W A L L- M O U N T S H O W E R S E T SKU: 926360 REMOVAL OF CARTRIDGE 4. Place the cartridge into the transfer valve body and FOR MAINTENACE ensure the seals are in the correct position.
Need help?
Do you have a question about the 926360 and is the answer not in the manual?
Questions and answers