
Related Manuals for Delta Children Disney PIXAR Cars BB86609CR


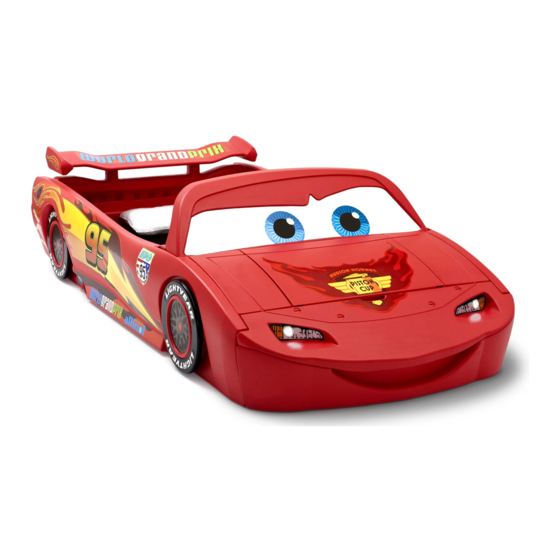
Summary of Contents for Delta Children Disney PIXAR Cars BB86609CR
- Page 3 Stickers • Please apply all stickers on individual parts before assembly unless otherwise specified • DO NOT apply stickers to tires, steering wheel, or spoiler until AFTER the toddler bed is fully assembled • For best results, place individual parts on a flat surface before applying stickers.
-
Page 4: Right Side Panel
1 Right Side Panel Align A11 sticker to A10 along dotted line Align A10 sticker to A9 along dotted line Step 3: Apply A11 Step 2: Apply A10 Step 1: Apply A9 Overlap Overlap Dotted line located here Dotted line located here... -
Page 5: Left Side Panel
2 Left Side Panel Align B11 sticker to B10 along dotted line Align B10 sticker to B9 along dotted line Step 3: Apply B11 Step 2: Apply B10 Step 1: Apply B9 Overlap Overlap Dotted line located here Dotted line located here... - Page 6 • Apply D2 sticker beginning here. Overlap •Match cut-out in headlight sticker to holes on front bumper...
- Page 7 4 x 3/4” • APPLY STICKERS...
- Page 8 4 x 3/4” • APPLY STICKERS...
- Page 9 • Turn both side panels and front bumper upside down to begin assembly 4 x 3/4” • Fold cover upwards into fully locked position • Turn bed over • If assembling twin bed ONLY, skip to step 10...
- Page 10 Follow steps 5A through 9 for toddler bed 2 x 3/4” • APPLY STICKERS 1 x 1.0” DIA. 1 x 1/2”...
- Page 11 • Align center wall with groove on left and right side panels. Slide down into a fully locked position. 2 x 1/2” DIA. 2 x 3/4” • Fold flap downward towards side panels • Screw down flap onto side panels...
- Page 12 BACK VIEW • Optional mattress support board assembly Dimensions: 53.65”(L) x 30.5”(W) x 0.50” THICK 1. Insert back panel latch hooks into both left/right side panel grooves 2. Slide downward into a fully locked position 2 x 1.0” • If only assembling twin bed, skip to 17A...
- Page 13 • Push windshield downward into groove on right side panel into a fully locked position. • Align hood tabs with holes on left and right side panels. Push into a fully locked position. 4 x 3/4”...
- Page 14 2 x 1.0” DIA. 2 x 3/4”...
- Page 15 • APPLY “N” STICKER AFTER SPOILER • APPLY “O” STICKER AFTER SPOILER IS IS FULLY ASSEMBLED FULLY ASSEMBLED 2.50” (approx.) Apply sticker here Align O sticker on N along dotted line Overlap Dotted line located here...
- Page 17 Twin Conversion • To remove windshield, pull upward on right side while pushing side panel outward to unlock. • Lift off center hood • Unscrew left and right hood panels • Please keep and store all loose screws in a safe place when converting toddler bed to twin bed.
- Page 18 Twin Bed • Remove mattress and left/right mattress frames • Works with standard boxspring and twin mattress...
- Page 19 Toy Box • APPLY STICKERS • APPLY STICKERS 2 x 1.0”...
- Page 20 • Fold flap downward towards side panels. 2 x 1.0” • Align center wall with grooves on left and right side panels of toy box. Slide down into a fully locked position. 2 x 3/4” 2 x 1/2” DIA. • Screw down flap onto side panels...
- Page 22 • Push windshield downward into groove on side panel into a fully locked position.
- Page 23 4 x 3/4” • Align hood tabs with holes on left and right side panels. Push into a fully locked position. Toy Box...
- Page 24 TODDLER BED WARNING WARNING INFANTS HAVE DIED IN TODDLER BEDS FROM ENTRAPMENT. Openings in and between bed parts can entrap head and neck of a small child. NEVER use bed with children younger than 15 months. ALWAYS follow assembly instructions. The maximum user weight is 50lbs (22.7kg) WARNING STRANGULATION HAZARD...
Need help?
Do you have a question about the Disney PIXAR Cars BB86609CR and is the answer not in the manual?
Questions and answers