
Subscribe to Our Youtube Channel
Related Manuals for WONDERFOLD WAGON W2S 2.0


Summary of Contents for WONDERFOLD WAGON W2S 2.0
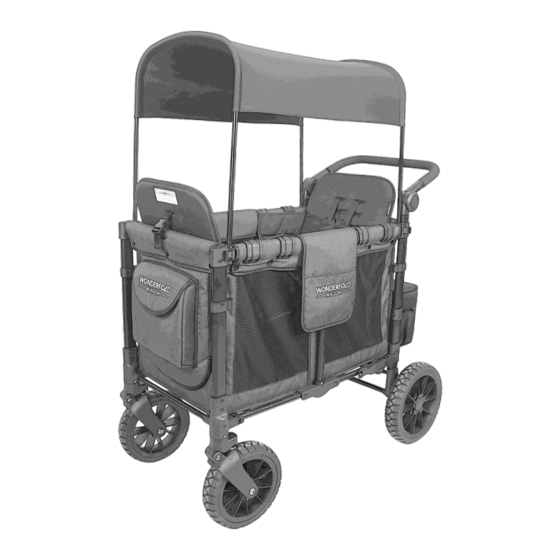
- Page 1 W2S 2.0 Assembly & Safety Instructions www.WonderFoldWagon.com Please keep this booklet in a safe place for the life of your WonderFold stroller. www.WonderFoldWagon.com...
- Page 2 WARNING If any parts are either missing or broken or need for immediate assistance in assembling your stroller, please contact your local dealer or retailer. Important—Keep these instructions for future reference. Parts Check List............................3 Avoid Serious Injury To Children From Falling Or Sliding Out: Assembly •...
-
Page 3: Unfolding The Stroller
Assembly Assembly of Rear Wheels 1. Line up and connect the rear wheel assembly to the rear tube joint. Unfolding the Stroller 2. Check that the clips are in place on both sides of the wheel housing. 1. Standing on either side of the stroller, push smoothly outward on the upper front and rear frame tubes to unfold the stroller. -
Page 4: Parking Brake Operation
Operation Handle Strap Assembly Securing the Harness 1. Locate the handle strap in the zippered front stroller storage pocket. 1. With harness unbuckled, place child in seat. 2. Fix the handle strap onto the lower front frame tube. 2. Secure child with harness by placing shoulder and waist belts over shoulders and over thighs. -
Page 5: Folding The Stroller
Folding the Stroller Operation of the Privacy/Wind Curtains 1. Flip the side pockets into the stroller. 1. Unzip the pocket located on the upper part of the inner carriage fabric. 2. Stand in front of the stroller, gently release the upper lock on the right hand side. 2. - Page 6 1. Place the baseboard into the base of the carriage fabric nestled against the frame. WonderFold warrants this product to be free from defects in material or workmanship 2. Press the baseboard with your hands to level and secure it in place.
Need help?
Do you have a question about the WAGON W2S 2.0 and is the answer not in the manual?
Questions and answers